Australian and New Zealand Navies Embark John L. Canley for Integrated MCM Operations during Talisman Sabre 25
07.19.2025

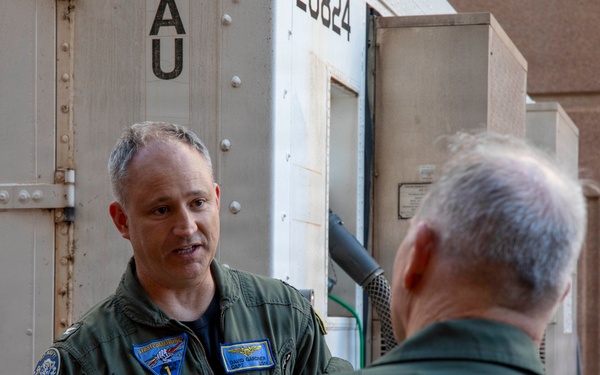
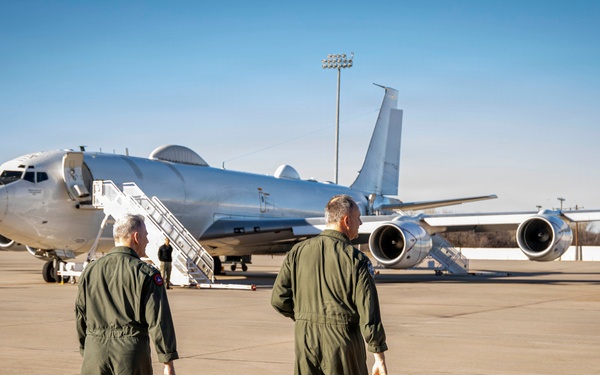
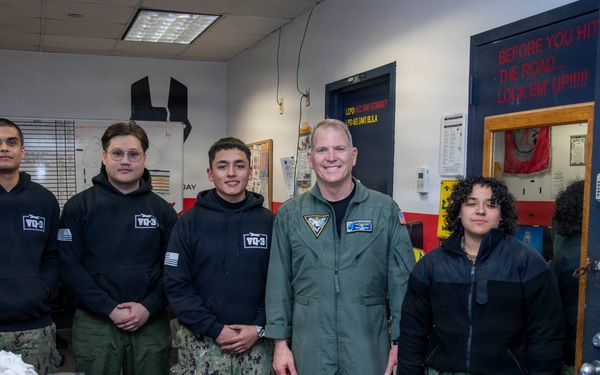
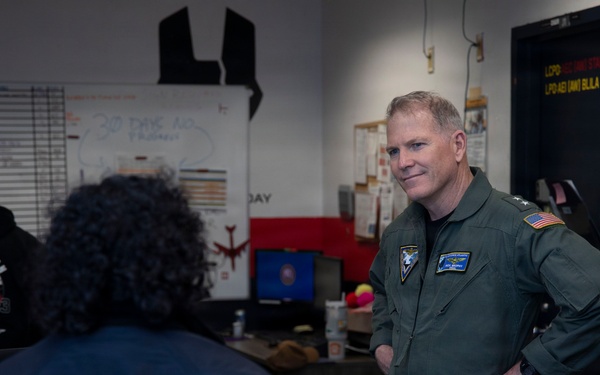
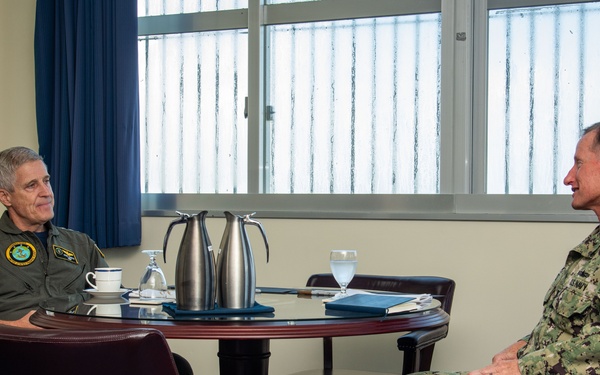
Rear Adm. Brophy Visits Strategic Communications Wing 1
Strategic Communications Wing One
Visit images Page
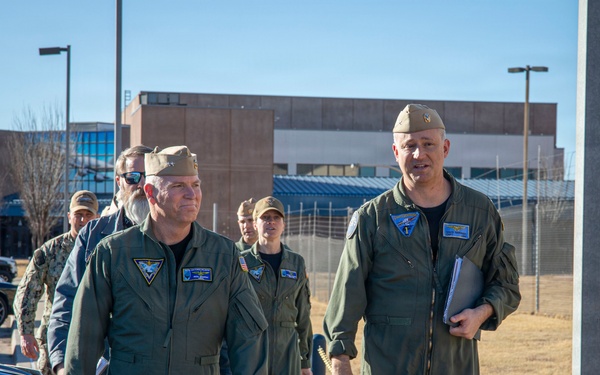
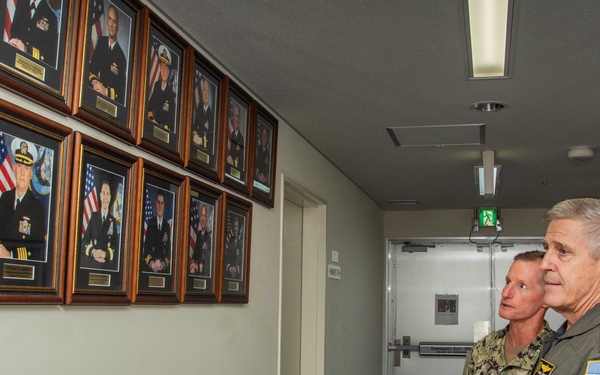
Rear Adm. Brophy Visits Strategic Communications Wing 1
Strategic Communications Wing One
Visit images Page
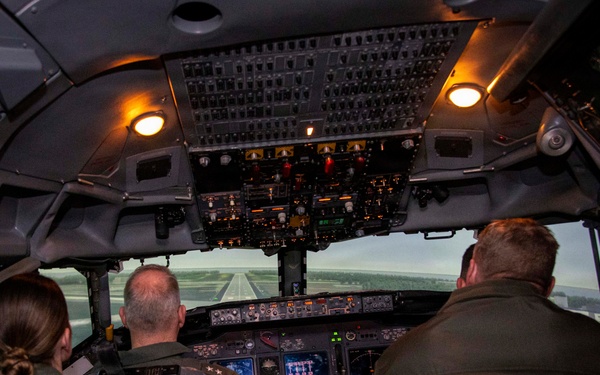
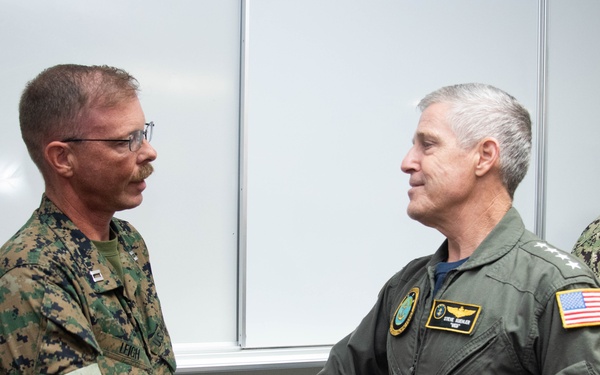
Rear Adm. Brophy Visits Strategic Communications Wing 1
Strategic Communications Wing One
Visit images Page
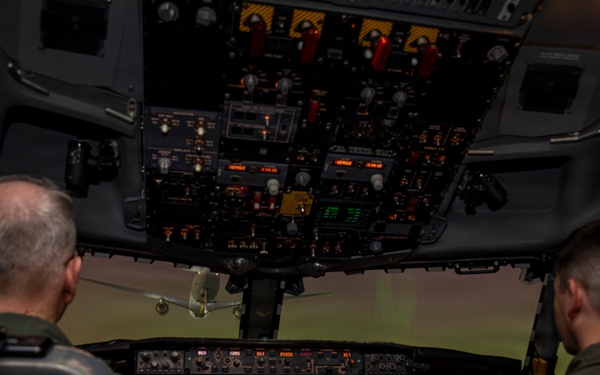
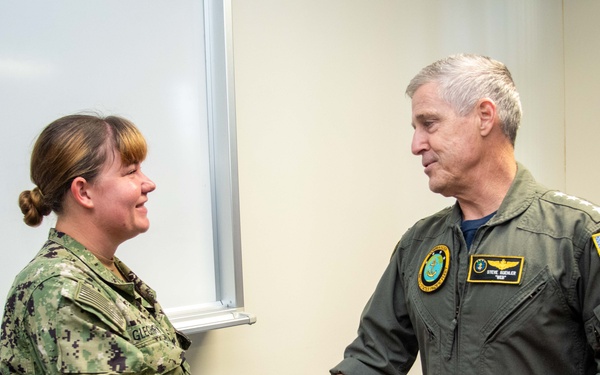
Rear Adm. Brophy Visits Strategic Communications Wing 1
Strategic Communications Wing One
Visit images Page
Rear Adm. Brophy Visits Strategic Communications Wing 1
Strategic Communications Wing One
Visit images Page
Rear Adm. Brophy Visits Strategic Communications Wing 1
Strategic Communications Wing One
Visit images Page
Rear Admiral. Brophy Visits Strategic Communications Wing 1
Strategic Communications Wing One
Visit images Page
U.S. Pacific Fleet visits Commander Task Force 76
Commander, Expeditionary Strike Group 7
Visit images Page
U.S. Pacific Fleet visits Commander Task Force 76
Commander, Expeditionary Strike Group 7
Visit images Page
U.S. Pacific Fleet visits Commander Task Force 76
Commander, Expeditionary Strike Group 7
Visit images Page
U.S. Pacific Fleet visits Commander Task Force 76
Commander, Expeditionary Strike Group 7
Visit images Page
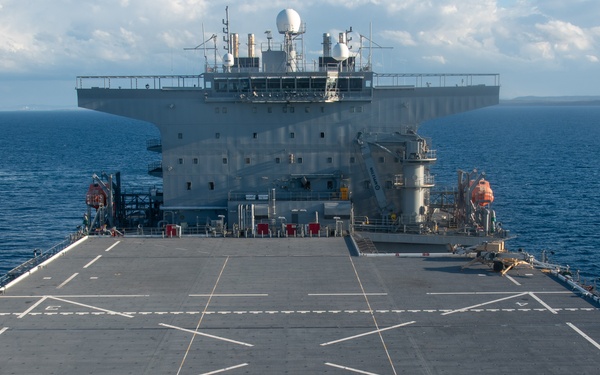
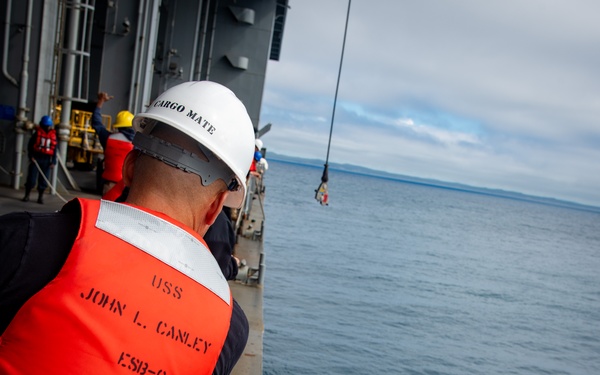
Australian and New Zealand Navies Embark John L. Canley for Integrated MCM Operations during Talisman Sabre 25
Commander, Expeditionary Strike Group 7
Visit news Page
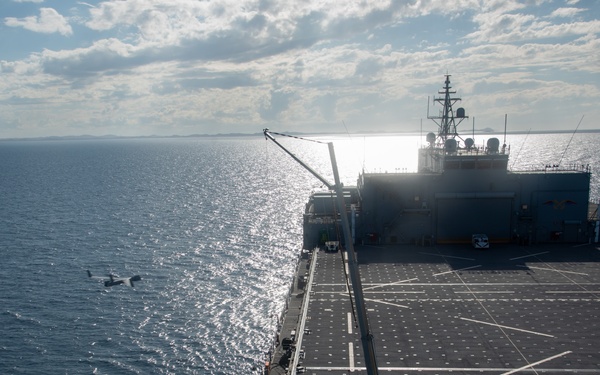
USS John L. Canley utilizes Scan Eagle during Talisman Sabre 25
Commander, Expeditionary Strike Group 7
Visit images Page
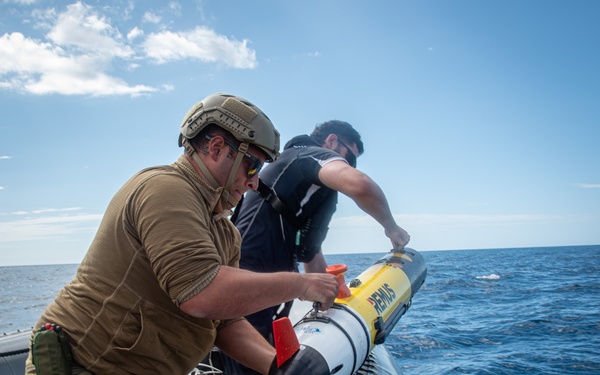
USS John L. Canley and Royal New Zealand Navy Conduct Talisman Sabre AUV Operations
Commander, Expeditionary Strike Group 7
Visit images Page
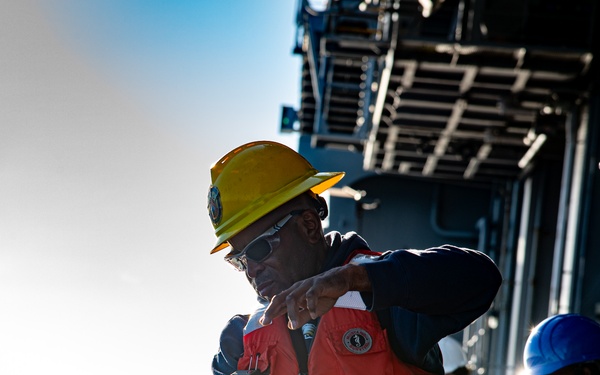
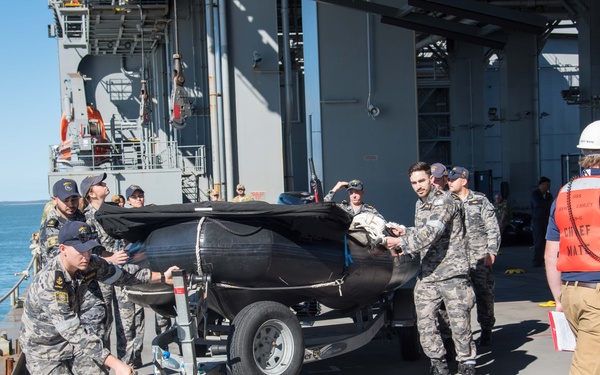
USS John L. Canley, Royal Australian Navy and Royal New Zealand Navy Conduct Talisman Sabre Operations
Commander, Expeditionary Strike Group 7
Visit images Page
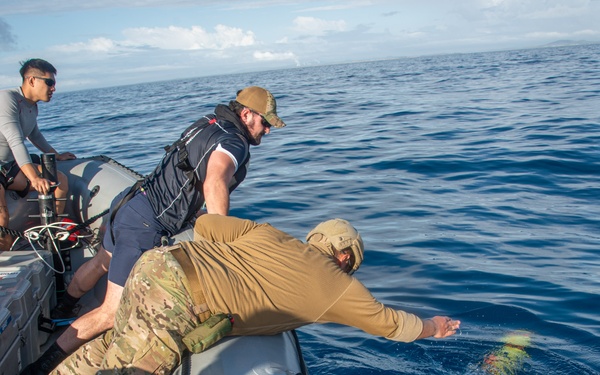
USS John L. Canley and Royal New Zealand Navy Conduct Talisman Sabre AUV Operations
Commander, Expeditionary Strike Group 7
Visit images Page
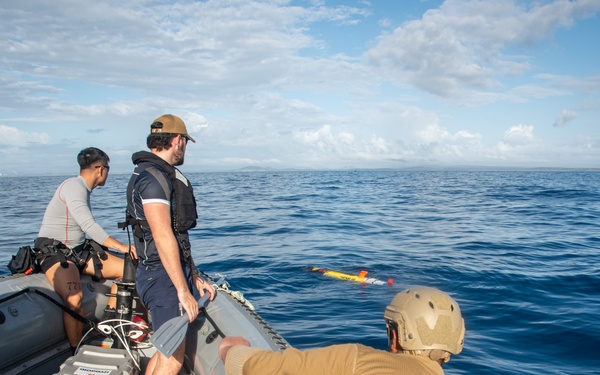
USS John L. Canley and Royal New Zealand Navy Conduct Talisman Sabre AUV Operations
Commander, Expeditionary Strike Group 7
Visit images Page
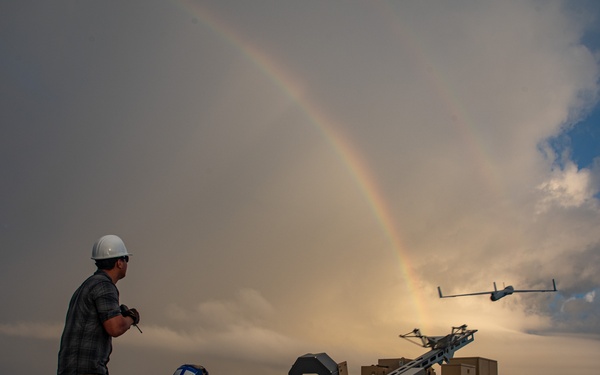
USS John L. Canley utilizes Scan Eagle during Talisman Sabre 25
Commander, Expeditionary Strike Group 7
Visit images Page
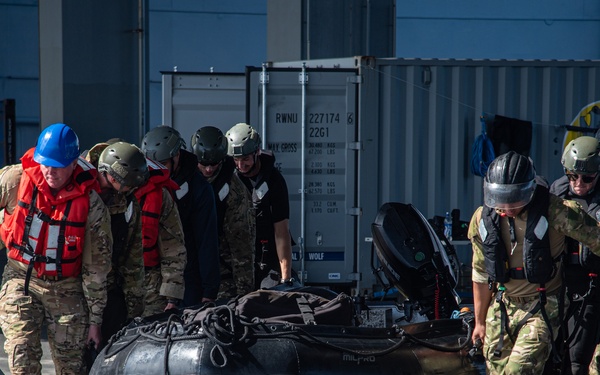
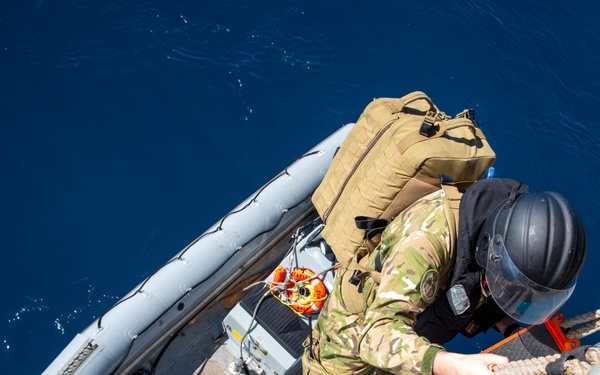
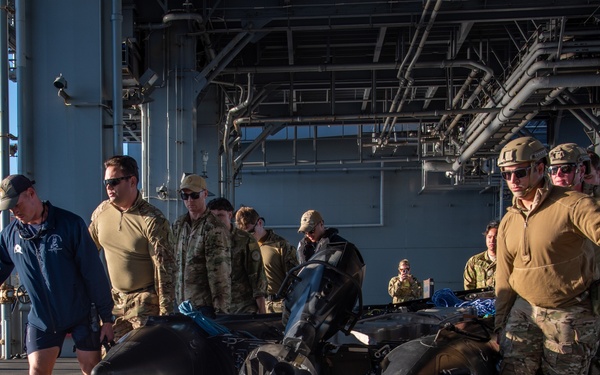
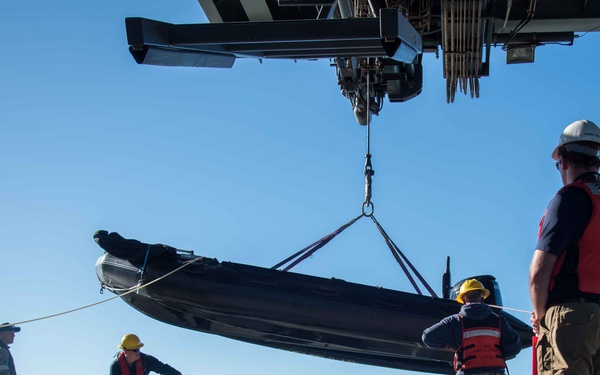
USS John L. Canley, Royal Australian Navy and Royal New Zealand Navy Conduct Talisman Sabre Small Boat Operations
Commander, Expeditionary Strike Group 7
Visit images Page
USS John L. Canley, Royal Australian Navy and Royal New Zealand Navy Conduct Talisman Sabre Small Boat Operations
Commander, Expeditionary Strike Group 7
Visit images Page
USS John L. Canley, Royal Australian Navy and Royal New Zealand Navy Conduct Talisman Sabre Small Boat Operations
Commander, Expeditionary Strike Group 7
Visit images Page

USS John L. Canley, Royal Australian Navy and Royal New Zealand Navy Conduct Talisman Sabre Small Boat Operations
Commander, Expeditionary Strike Group 7
Visit images Page
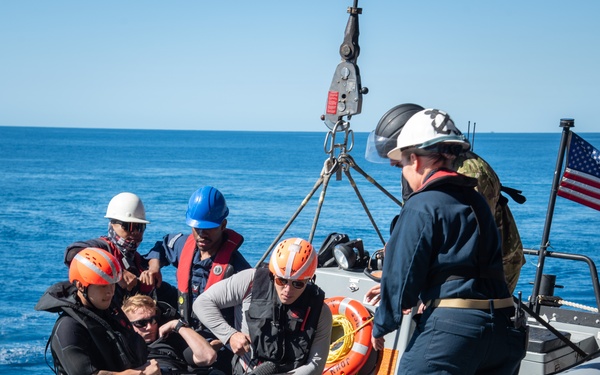
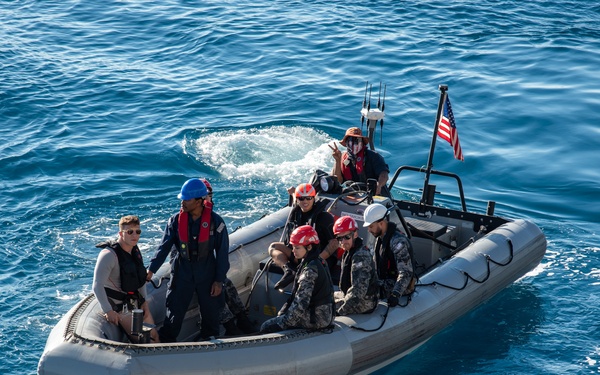
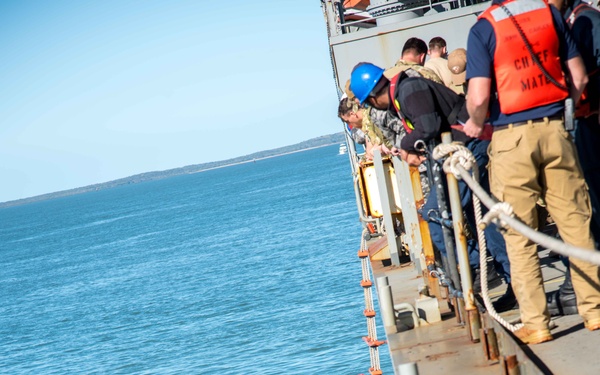
USS John L. Canley, Royal Australian Navy and Royal New Zealand Navy Conduct Small Boat Operations
Commander, Expeditionary Strike Group 7
Visit images Page
USS John L. Canley, Royal Australian Navy and Royal New Zealand Navy Conduct Small Boat Operations
Commander, Expeditionary Strike Group 7
Visit images Page
USS John L. Canley, Royal Australian Navy and Royal New Zealand Navy Conduct Small Boat Operations
Commander, Expeditionary Strike Group 7
Visit images Page
USS John L. Canley, Royal Australian Navy and Royal New Zealand Navy Conduct Small Boat Operations
Commander, Expeditionary Strike Group 7
Visit images Page
RAN and USS John L. Canley Conduct Talisman Sabre Small Boat Operations
Commander, Expeditionary Strike Group 7
Visit images Page
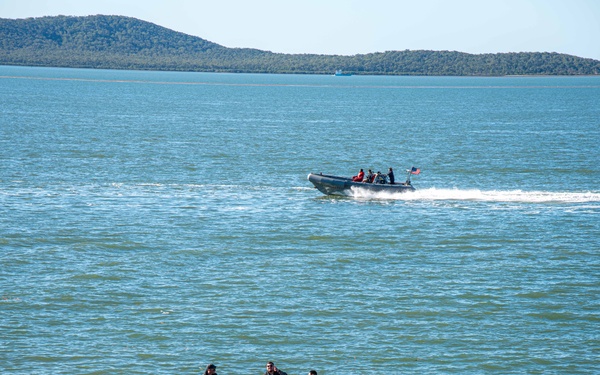
RAN and USS John L. Canley Conduct Talisman Sabre Small Boat Operations
Commander, Expeditionary Strike Group 7
Visit images Page
RAN and USS John L. Canley Conduct Talisman Sabre Small Boat Operations
Commander, Expeditionary Strike Group 7
Visit images Page
RAN and USS John L. Canley Conduct Talisman Sabre Small Boat Operations
Commander, Expeditionary Strike Group 7
Visit images Page