U.S. Naval Forces Central Command / U.S. 5th Fleet
Visit images Page
U.S. Naval Forces Central Command / U.S. 5th Fleet
Visit images Page
U.S. Naval Forces Central Command / U.S. 5th Fleet
Visit images Page
U.S. Naval Forces Central Command / U.S. 5th Fleet
Visit images Page
U.S. Naval Forces Central Command / U.S. 5th Fleet
Visit images Page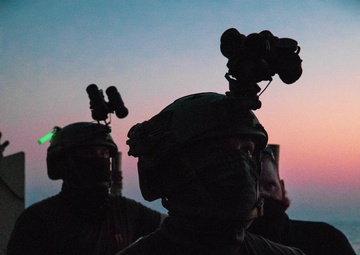
U.S. Naval Forces Central Command / U.S. 5th Fleet
Visit images Page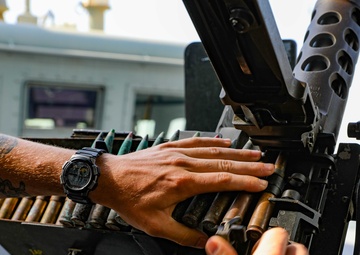
U.S. Naval Forces Central Command / U.S. 5th Fleet
Visit images Page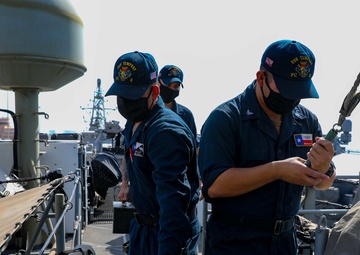
U.S. Naval Forces Central Command / U.S. 5th Fleet
Visit images Page
U.S. Naval Forces Central Command / U.S. 5th Fleet
Visit images Page
U.S. Naval Forces Central Command / U.S. 5th Fleet
Visit images Page
U.S. Naval Forces Central Command / U.S. 5th Fleet
Visit images Page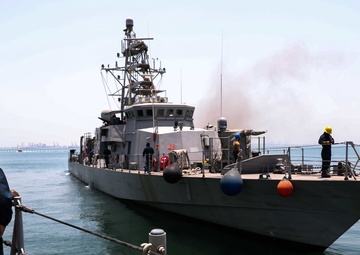
U.S. Naval Forces Central Command / U.S. 5th Fleet
Visit images Page
U.S. Naval Forces Central Command / U.S. 5th Fleet
Visit images Page
U.S. Naval Forces Central Command / U.S. 5th Fleet
Visit images Page
U.S. Naval Forces Central Command / U.S. 5th Fleet
Visit images Page
U.S. Naval Forces Central Command / U.S. 5th Fleet
Visit images Page
U.S. Naval Forces Central Command / U.S. 5th Fleet
Visit images Page
U.S. Naval Forces Central Command / U.S. 5th Fleet
Visit images Page
U.S. Naval Forces Central Command / U.S. 5th Fleet
Visit images Page
U.S. Naval Forces Central Command / U.S. 5th Fleet
Visit images Page
U.S. Naval Forces Central Command / U.S. 5th Fleet
Visit images Page
U.S. Naval Forces Central Command / U.S. 5th Fleet
Visit images Page
U.S. Naval Forces Central Command / U.S. 5th Fleet
Visit images Page
U.S. Naval Forces Central Command / U.S. 5th Fleet
Visit images Page
USS John C. Stennis (CVN 74)
Visit images Page
USS John C. Stennis (CVN 74)
Visit images Page
USS John C. Stennis (CVN 74)
Visit images Page
USS John C. Stennis (CVN 74)
Visit images Page
USS John C. Stennis (CVN 74)
Visit images Page
USS John C. Stennis (CVN 74)
Visit images Page