(e.g. yourname@email.com)

Forgot Password?

    Digital Visual Information Distribution System Logo
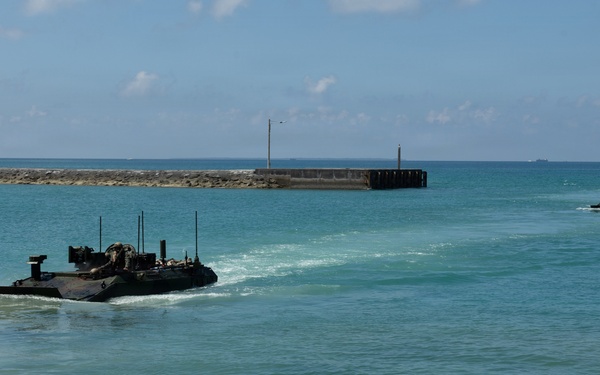
    USS Rushmore ports and off-loads equipment

    USS Rushmore ports and off-loads equipment

    Photo by Lance Cpl. Kindsey Calvert

    III Marine Expeditionary Force

    Visit images Page
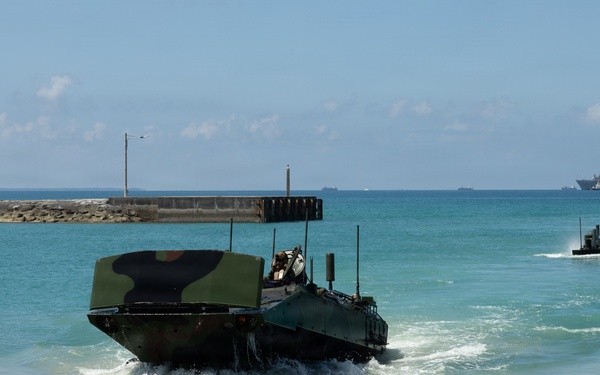
    USS Rushmore ports and off-loads equipment

    USS Rushmore ports and off-loads equipment

    Photo by Lance Cpl. Kindsey Calvert

    III Marine Expeditionary Force

    Visit images Page
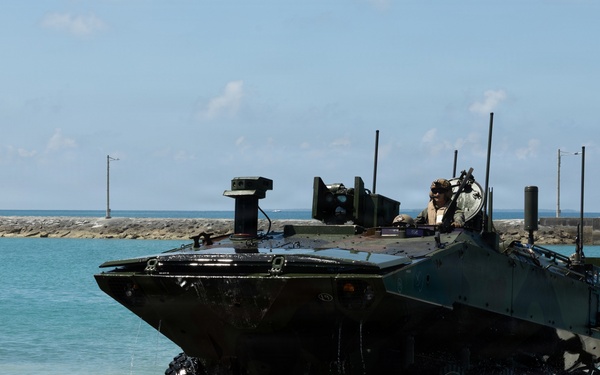
    USS Rushmore ports and off-loads equipment

    USS Rushmore ports and off-loads equipment

    Photo by Lance Cpl. Kindsey Calvert

    III Marine Expeditionary Force

    Visit images Page
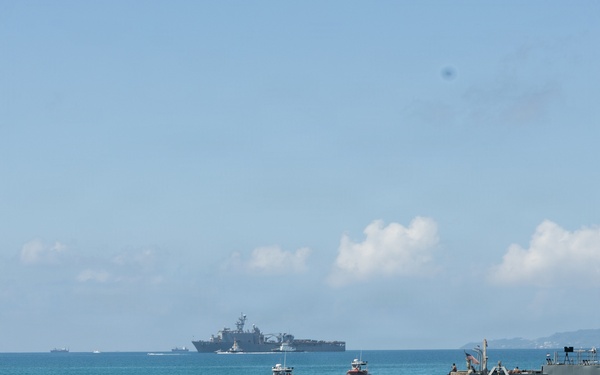
    USS Rushmore ports and off-loads equipment

    USS Rushmore ports and off-loads equipment

    Photo by Lance Cpl. Kindsey Calvert

    III Marine Expeditionary Force

    Visit images Page
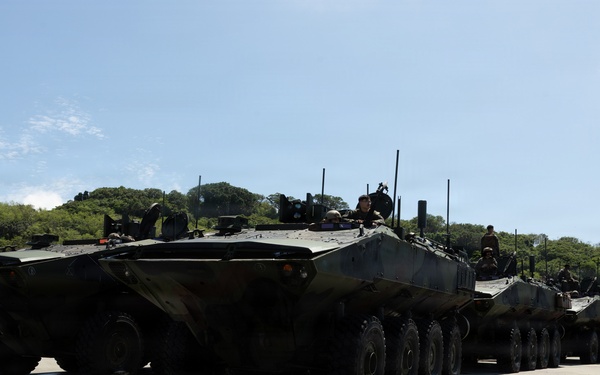
    USS Rushmore ports and off-loads equipment

    USS Rushmore ports and off-loads equipment

    Photo by Lance Cpl. Kindsey Calvert

    III Marine Expeditionary Force

    Visit images Page
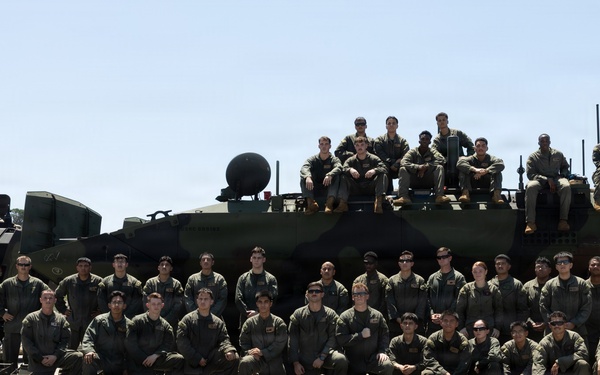
    USS Rushmore ports and off-loads equipment

    USS Rushmore ports and off-loads equipment

    Photo by Lance Cpl. Kindsey Calvert

    III Marine Expeditionary Force

    Visit images Page
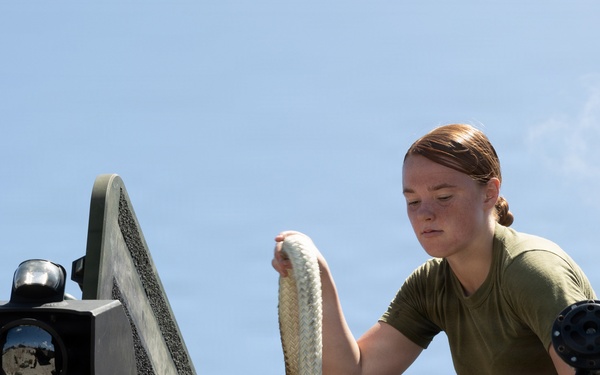
    USS Rushmore ports and off-loads equipment

    USS Rushmore ports and off-loads equipment

    Photo by Lance Cpl. Kindsey Calvert

    III Marine Expeditionary Force

    Visit images Page
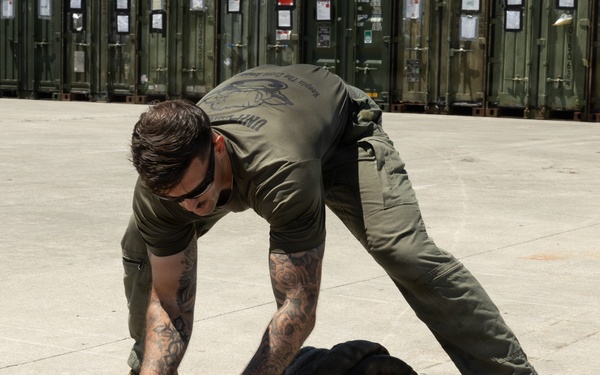
    USS Rushmore ports and off-loads equipment

    USS Rushmore ports and off-loads equipment

    Photo by Lance Cpl. Kindsey Calvert

    III Marine Expeditionary Force

    Visit images Page
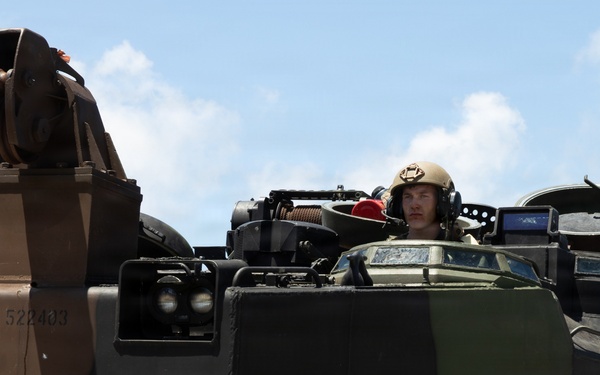
    USS Rushmore ports and off-loads equipment

    USS Rushmore ports and off-loads equipment

    Photo by Lance Cpl. Kindsey Calvert

    III Marine Expeditionary Force

    Visit images Page
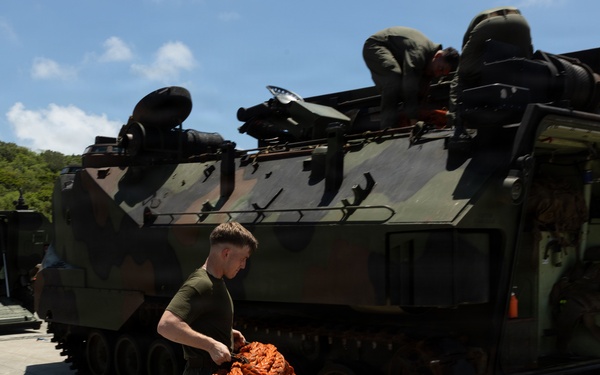
    USS Rushmore ports and off-loads equipment

    USS Rushmore ports and off-loads equipment

    Photo by Lance Cpl. Kindsey Calvert

    III Marine Expeditionary Force

    Visit images Page
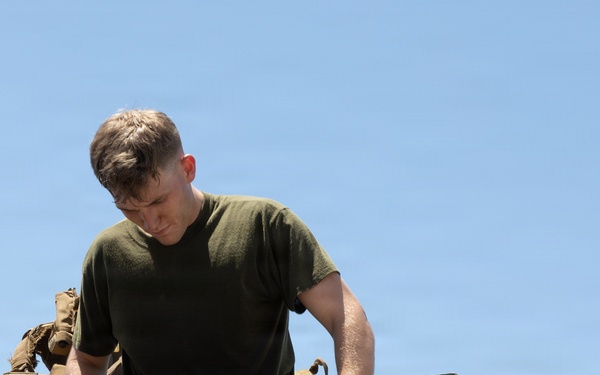
    USS Rushmore ports and off-loads equipment

    USS Rushmore ports and off-loads equipment

    Photo by Lance Cpl. Kindsey Calvert

    III Marine Expeditionary Force

    Visit images Page
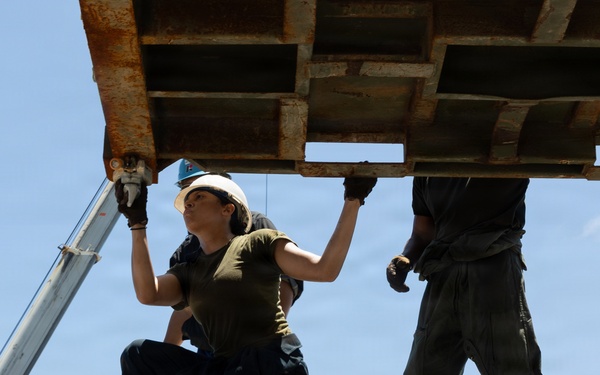
    USS Rushmore ports and off-loads equipment

    USS Rushmore ports and off-loads equipment

    Photo by Lance Cpl. Kindsey Calvert

    III Marine Expeditionary Force

    Visit images Page
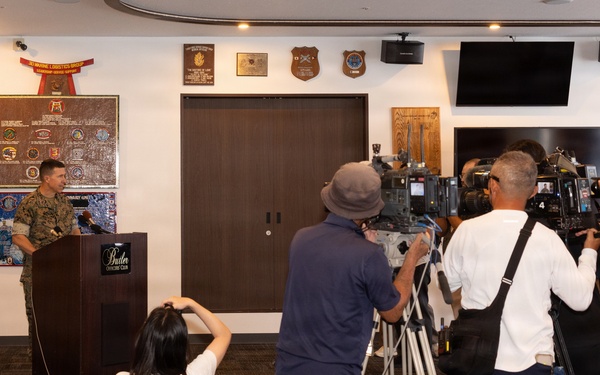
    Lt. Gen. Watson Holds a Press Conference after Assuming Command of III Marine Expeditionary Force

    Lt. Gen. Watson Holds a Press Conference after Assuming Command of III Marine Expeditionary Force

    Photo by Lance Cpl. Kindsey Calvert

    III Marine Expeditionary Force

    Visit images Page
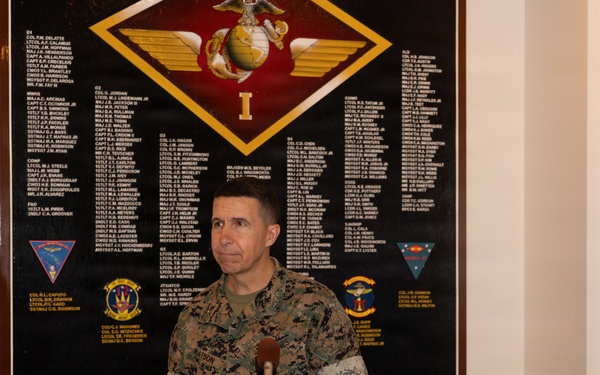
    Lt. Gen. Watson Holds a Press Conference after Assuming Command of III Marine Expeditionary Force

    Lt. Gen. Watson Holds a Press Conference after Assuming Command of III Marine Expeditionary Force

    Photo by Lance Cpl. Kindsey Calvert

    III Marine Expeditionary Force

    Visit images Page
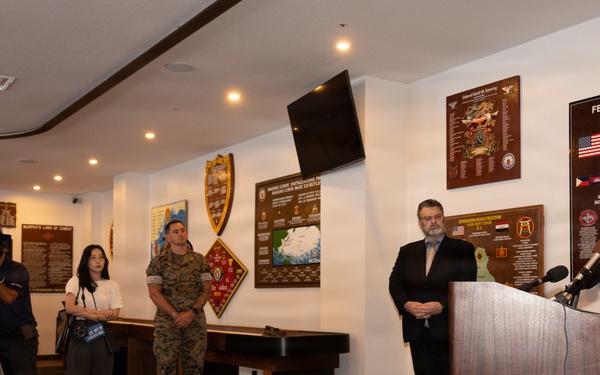
    Lt. Gen. Watson Holds a Press Conference after Assuming Command of III Marine Expeditionary Force

    Lt. Gen. Watson Holds a Press Conference after Assuming Command of III Marine Expeditionary Force

    Photo by Lance Cpl. Kindsey Calvert

    III Marine Expeditionary Force

    Visit images Page
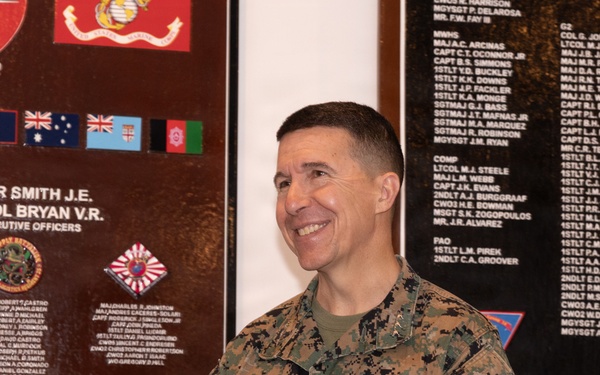
    Lt. Gen. Watson Holds a Press Conference after Assuming Command of III Marine Expeditionary Force

    Lt. Gen. Watson Holds a Press Conference after Assuming Command of III Marine Expeditionary Force

    Photo by Lance Cpl. Kindsey Calvert

    III Marine Expeditionary Force

    Visit images Page
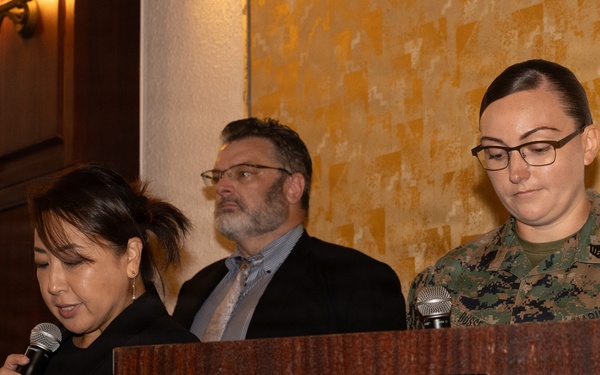
    Lt. Gen. Turner relinquishes command of III Marine Expeditionary Force to Lt. Gen. Watson

    Lt. Gen. Turner relinquishes command of III Marine Expeditionary Force to Lt. Gen. Watson

    Photo by Lance Cpl. Kindsey Calvert

    III Marine Expeditionary Force

    Visit images Page
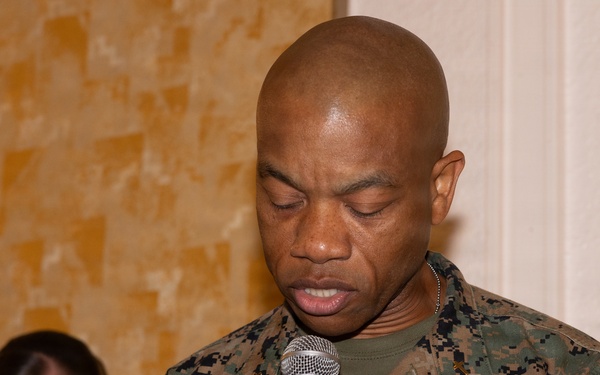
    Lt. Gen. Turner relinquishes command of III Marine Expeditionary Force to Lt. Gen. Watson

    Lt. Gen. Turner relinquishes command of III Marine Expeditionary Force to Lt. Gen. Watson

    Photo by Lance Cpl. Kindsey Calvert

    III Marine Expeditionary Force

    Visit images Page
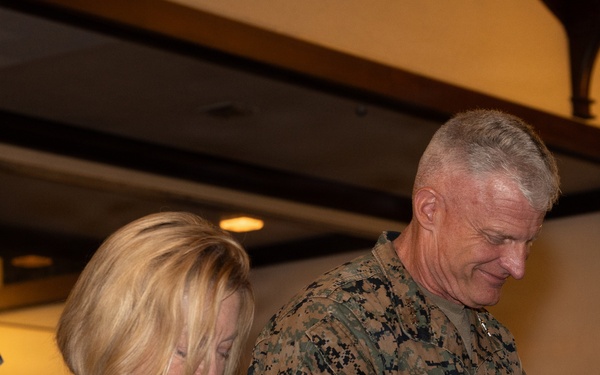
    Lt. Gen. Turner relinquishes command of III Marine Expeditionary Force to Lt. Gen. Watson

    Lt. Gen. Turner relinquishes command of III Marine Expeditionary Force to Lt. Gen. Watson

    Photo by Lance Cpl. Kindsey Calvert

    III Marine Expeditionary Force

    Visit images Page
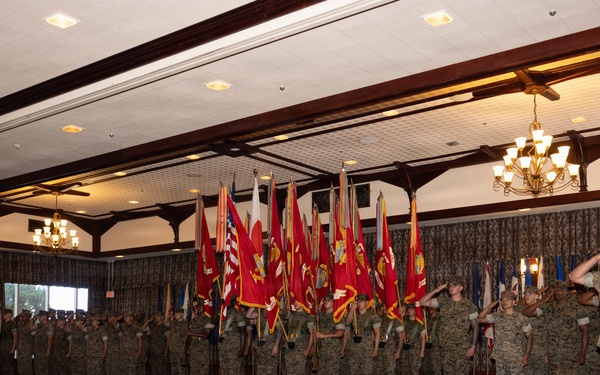
    Lt. Gen. Turner relinquishes command of III Marine Expeditionary Force to Lt. Gen. Watson

    Lt. Gen. Turner relinquishes command of III Marine Expeditionary Force to Lt. Gen. Watson

    Photo by Lance Cpl. Kindsey Calvert

    III Marine Expeditionary Force

    Visit images Page
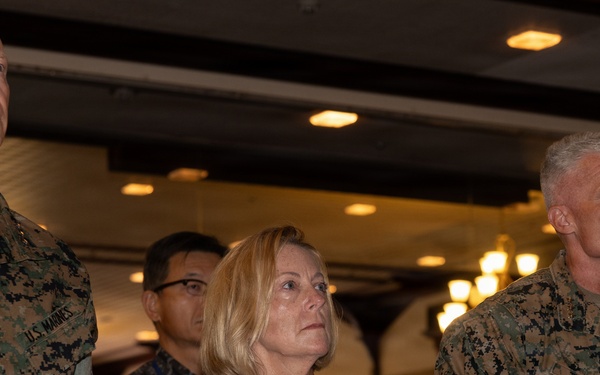
    Lt. Gen. Turner relinquishes command of III Marine Expeditionary Force to Lt. Gen. Watson

    Lt. Gen. Turner relinquishes command of III Marine Expeditionary Force to Lt. Gen. Watson

    Photo by Lance Cpl. Kindsey Calvert

    III Marine Expeditionary Force

    Visit images Page
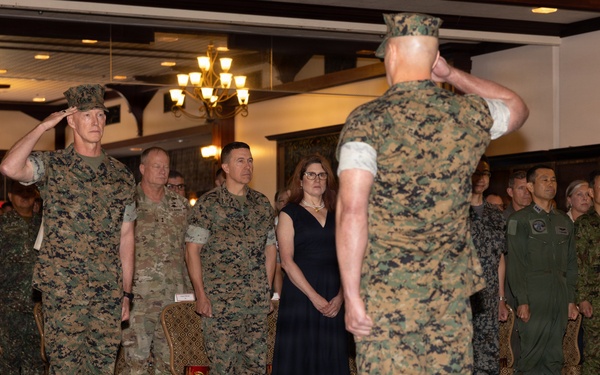
    Lt. Gen. Turner relinquishes command of III Marine Expeditionary Force to Lt. Gen. Watson

    Lt. Gen. Turner relinquishes command of III Marine Expeditionary Force to Lt. Gen. Watson

    Photo by Lance Cpl. Kindsey Calvert

    III Marine Expeditionary Force

    Visit images Page
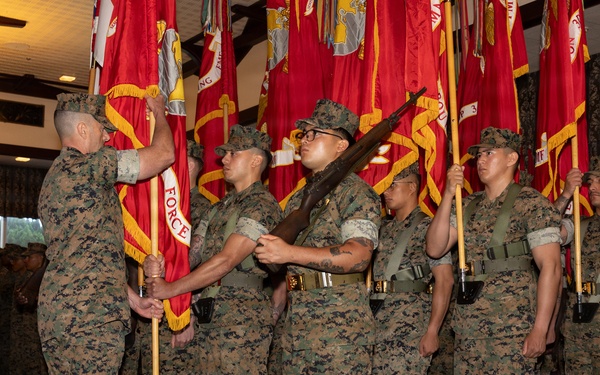
    Lt. Gen. Turner relinquishes command of III Marine Expeditionary Force to Lt. Gen. Watson

    Lt. Gen. Turner relinquishes command of III Marine Expeditionary Force to Lt. Gen. Watson

    Photo by Lance Cpl. Kindsey Calvert

    III Marine Expeditionary Force

    Visit images Page
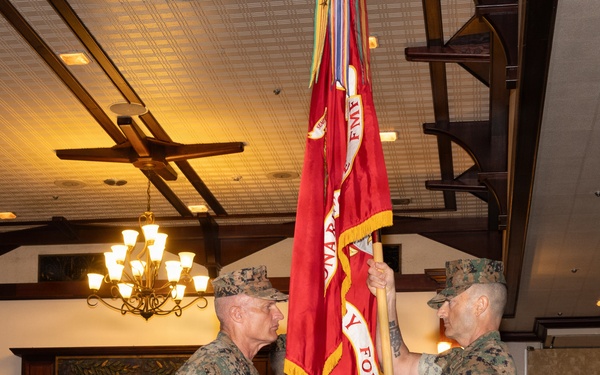
    Lt. Gen. Turner relinquishes command of III Marine Expeditionary Force to Lt. Gen. Watson

    Lt. Gen. Turner relinquishes command of III Marine Expeditionary Force to Lt. Gen. Watson

    Photo by Lance Cpl. Kindsey Calvert

    III Marine Expeditionary Force

    Visit images Page
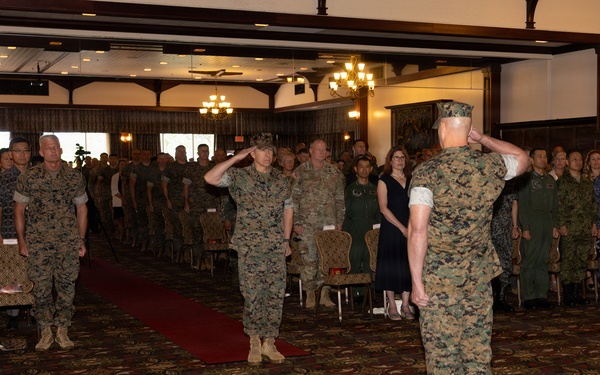
    Lt. Gen. Turner relinquishes command of III Marine Expeditionary Force to Lt. Gen. Watson

    Lt. Gen. Turner relinquishes command of III Marine Expeditionary Force to Lt. Gen. Watson

    Photo by Lance Cpl. Kindsey Calvert

    III Marine Expeditionary Force

    Visit images Page
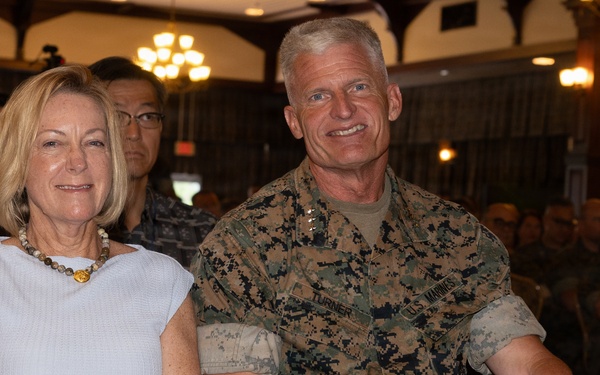
    Lt. Gen. Turner relinquishes command of III Marine Expeditionary Force to Lt. Gen. Watson

    Lt. Gen. Turner relinquishes command of III Marine Expeditionary Force to Lt. Gen. Watson

    Photo by Lance Cpl. Kindsey Calvert

    III Marine Expeditionary Force

    Visit images Page
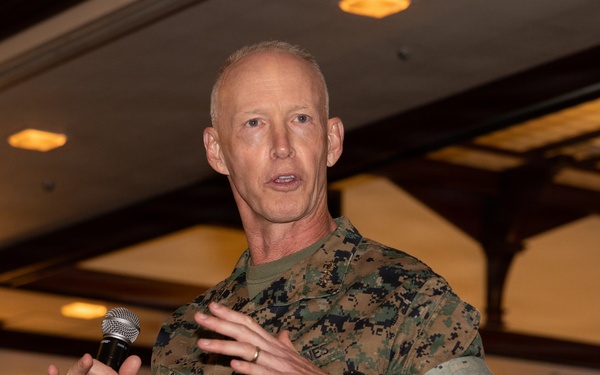
    Lt. Gen. Turner relinquishes command of III Marine Expeditionary Force to Lt. Gen. Watson

    Lt. Gen. Turner relinquishes command of III Marine Expeditionary Force to Lt. Gen. Watson

    Photo by Lance Cpl. Kindsey Calvert

    III Marine Expeditionary Force

    Visit images Page
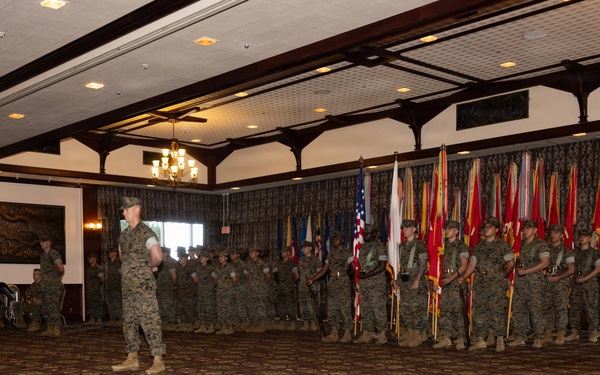
    Lt. Gen. Turner relinquishes command of III Marine Expeditionary Force to Lt. Gen. Watson

    Lt. Gen. Turner relinquishes command of III Marine Expeditionary Force to Lt. Gen. Watson

    Photo by Lance Cpl. Kindsey Calvert

    III Marine Expeditionary Force

    Visit images Page
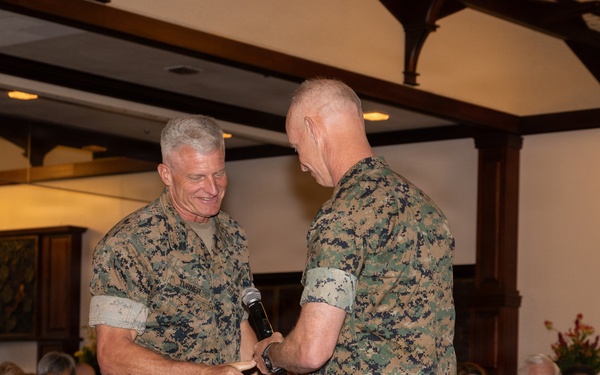
    Lt. Gen. Turner relinquishes command of III Marine Expeditionary Force to Lt. Gen. Watson

    Lt. Gen. Turner relinquishes command of III Marine Expeditionary Force to Lt. Gen. Watson

    Photo by Lance Cpl. Kindsey Calvert

    III Marine Expeditionary Force

    Visit images Page
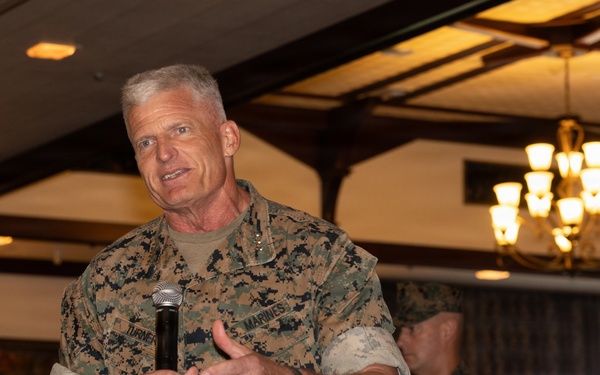
    Lt. Gen. Turner relinquishes command of III Marine Expeditionary Force to Lt. Gen. Watson

    Lt. Gen. Turner relinquishes command of III Marine Expeditionary Force to Lt. Gen. Watson

    Photo by Lance Cpl. Kindsey Calvert

    III Marine Expeditionary Force

    Visit images Page