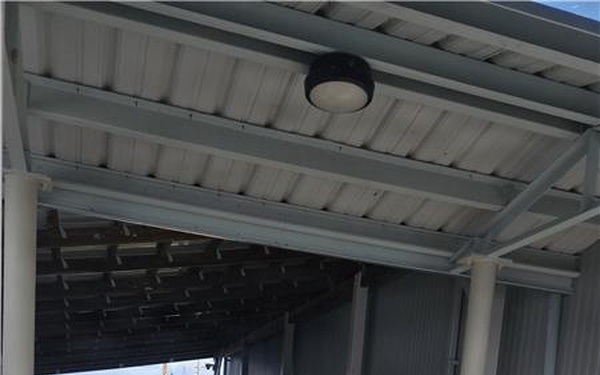
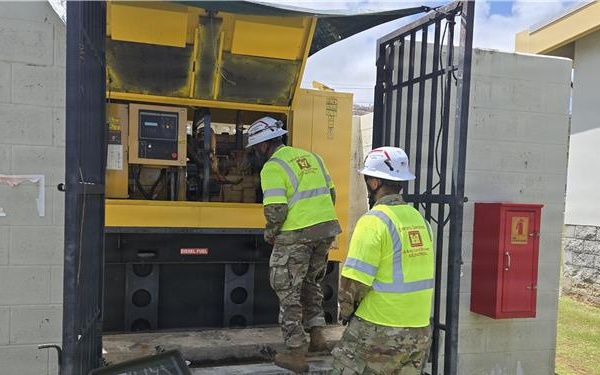
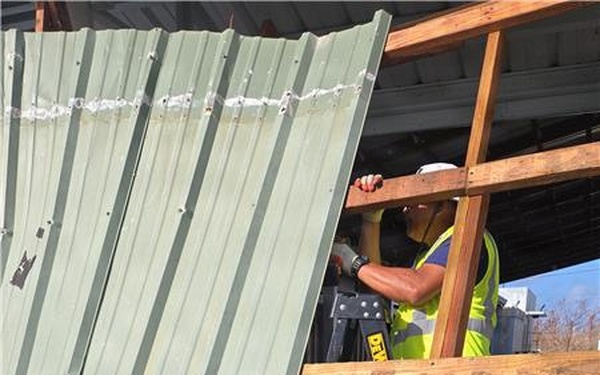
Army Reserve restores power to Saipan facility after tropical storm damage
9th Mission Support Command
Visit images Page
Army Reserve restores power to Saipan facility after tropical storm damage
9th Mission Support Command
Visit images Page
Army Reserve restores power to Saipan facility after tropical storm damage
9th Mission Support Command
Visit images Page
Army Reserve restores power to Saipan facility after tropical storm damage
9th Mission Support Command
Visit images Page
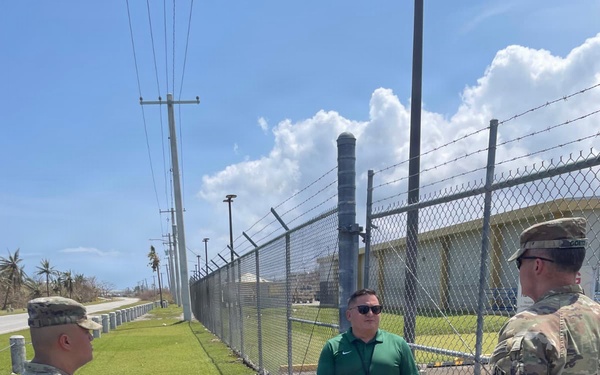
Army leaders assess Saipan site for typhoon response hub
9th Mission Support Command
Visit images Page
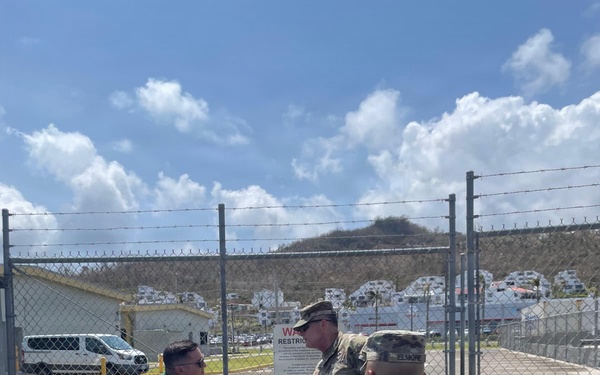
Army leaders assess Saipan site for typhoon response hub
9th Mission Support Command
Visit images Page
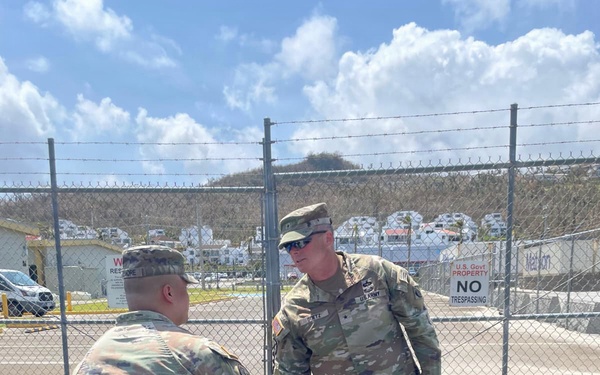
Army leaders assess Saipan site for typhoon response hub
9th Mission Support Command
Visit images Page
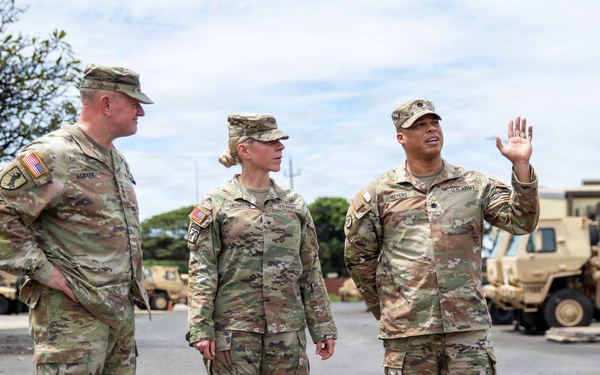
Chief of the Army Reserve Visits 9th Mission Support Command
9th Mission Support Command
Visit news Page
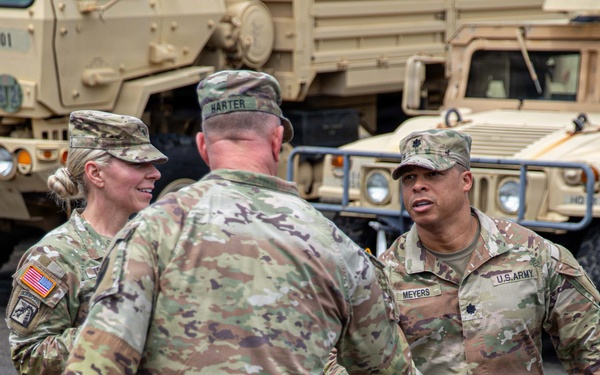
Chief of the Army Reserve Visits 9th Mission Support Command
9th Mission Support Command
Visit images Page
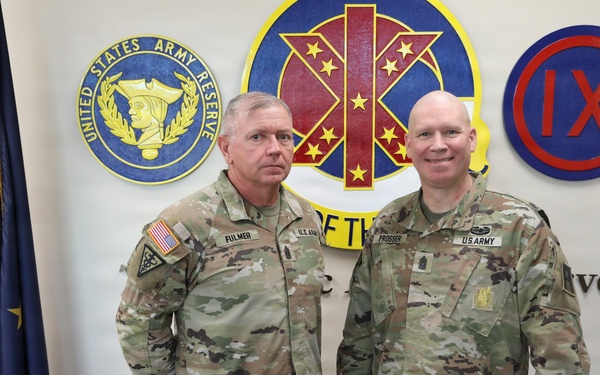
First Army CSM Meets with 9th MSC CSM to Strengthen Readiness and Support Efforts
9th Mission Support Command
Visit images Page

General Douglas MacArthur Leadership Award - Hung Nguyen
9th Mission Support Command
Visit images Page
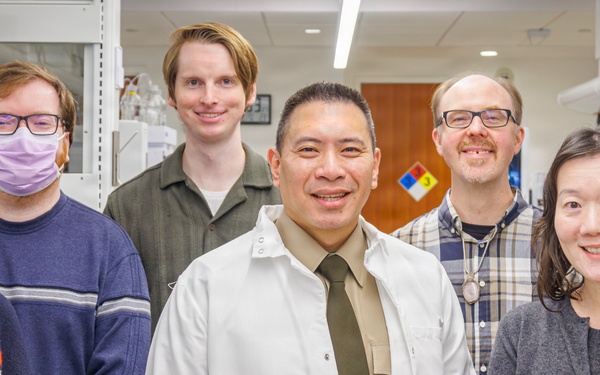
General Douglas MacArthur Leadership Award - Hung Nguyen
9th Mission Support Command
Visit images Page
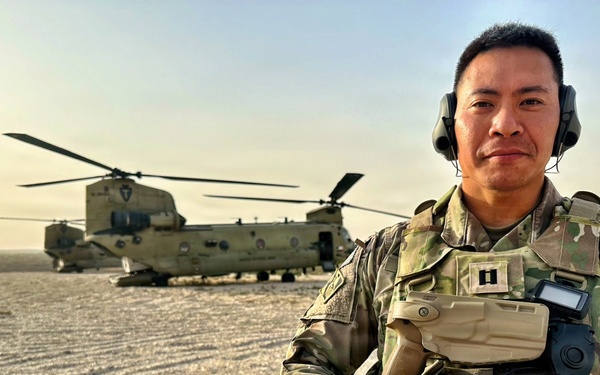
Service Beyond the Uniform: Maj. Hung Nguyen, General Douglas MacArthur Leadership Award Recipient
9th Mission Support Command
Visit images Page
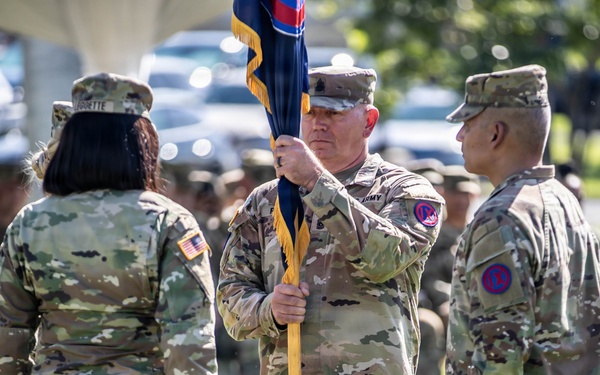
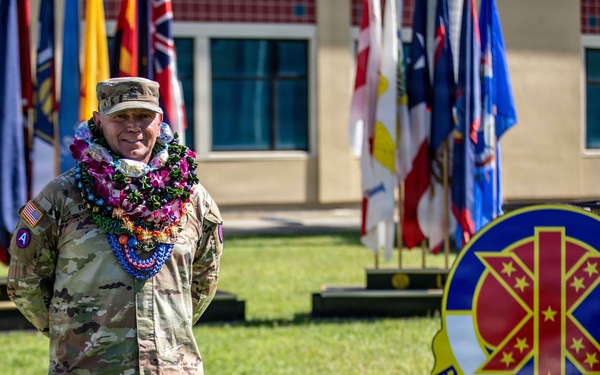
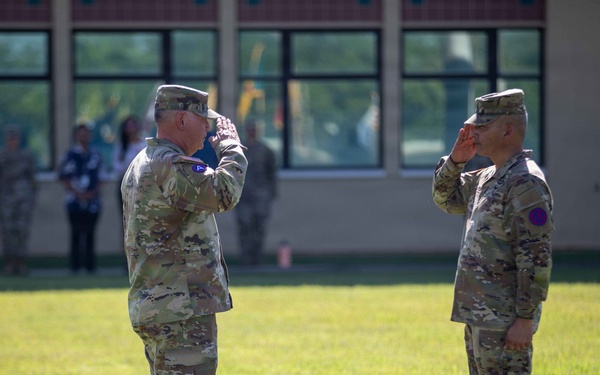
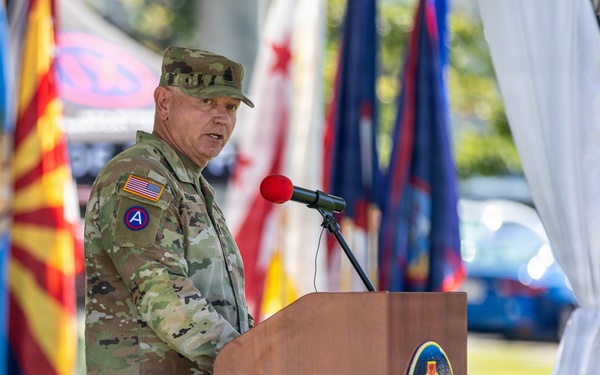
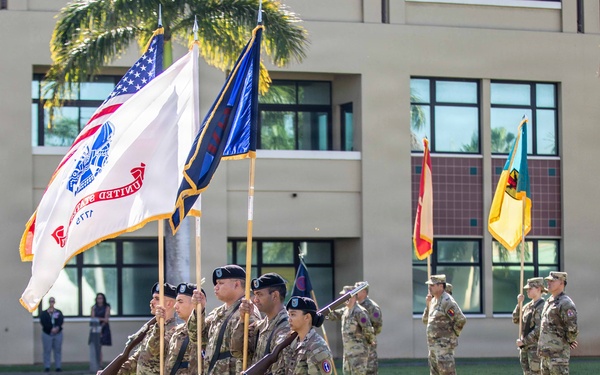
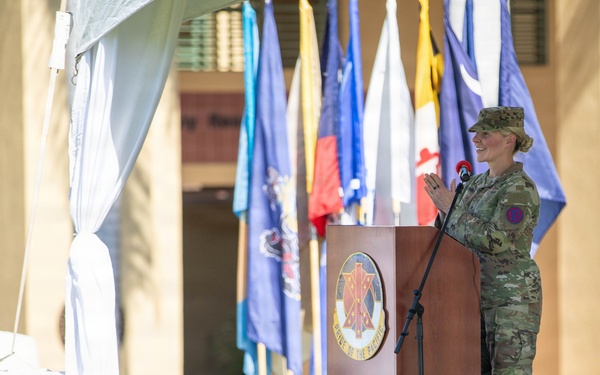
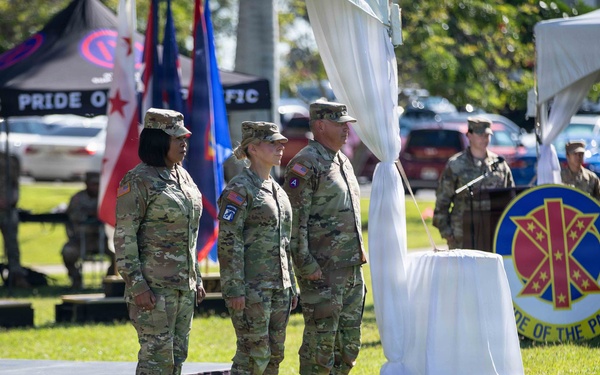
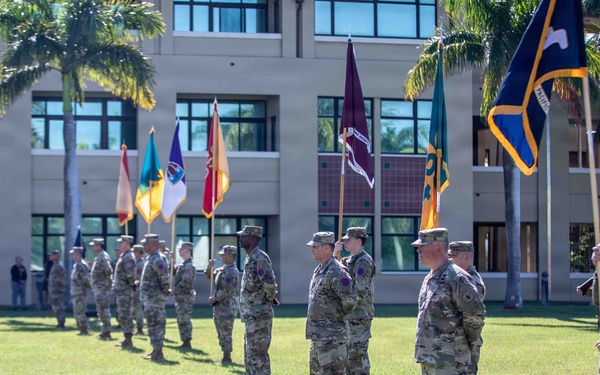
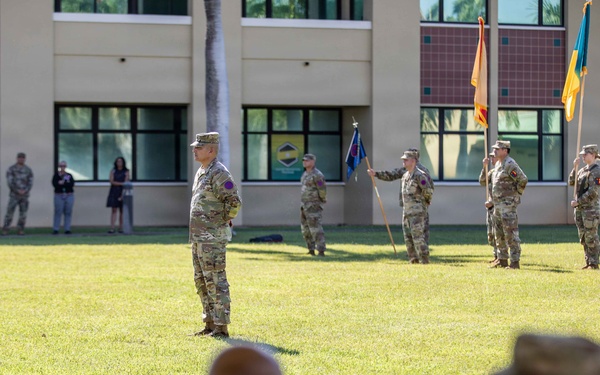
9th Mission Support Command Holds Assumption of Responsibility Ceremony
9th Mission Support Command
Visit news Page
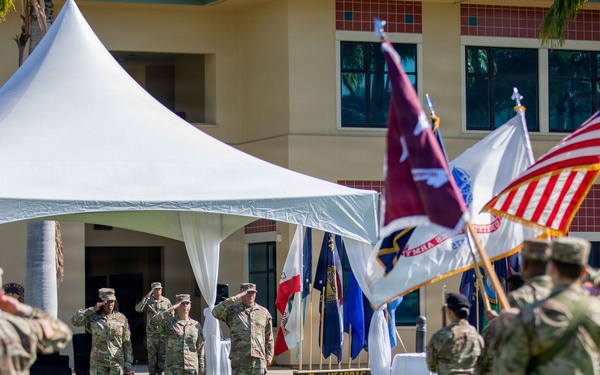
9th MSC Holds Assumption of Responsibility Ceremony
9th Mission Support Command
Visit images Page
9th MSC Holds Assumption of Responsibility Ceremony
9th Mission Support Command
Visit images Page
9th MSC Holds Assumption of Responsibility Ceremony
9th Mission Support Command
Visit images Page
9th MSC Holds Assumption of Responsibility Ceremony
9th Mission Support Command
Visit images Page
9th MSC Holds Assumption of Responsibility Ceremony
9th Mission Support Command
Visit images Page
9th Mission Support Command Holds Assumption of Responsibility Ceremony
9th Mission Support Command
Visit images Page

9th Mission Support Command Holds Assumption of Responsibility Ceremony
9th Mission Support Command
Visit images Page
9th MSC Holds Assumption of Responsibility Ceremony
9th Mission Support Command
Visit images Page
9th MSC Holds Assumption of Responsibility Ceremony
9th Mission Support Command
Visit images Page
9th MSC Holds Assumption of Responsibility Ceremony
9th Mission Support Command
Visit images Page
9th MSC Holds Assumption of Responsibility Ceremony
9th Mission Support Command
Visit images Page
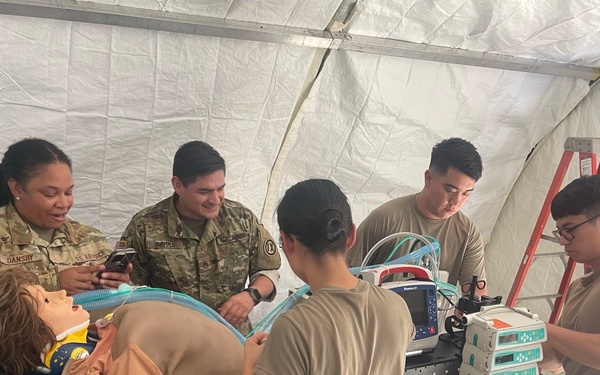
1984th USAH Supports Joint Medical Operations During Operation Tabula Rasa
9th Mission Support Command
Visit news Page
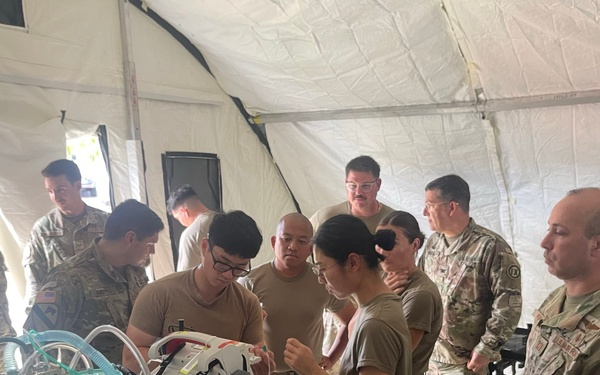
1984th USAH Supports Joint Medical Operations During Operation Tabula Rasa
9th Mission Support Command
Visit images Page
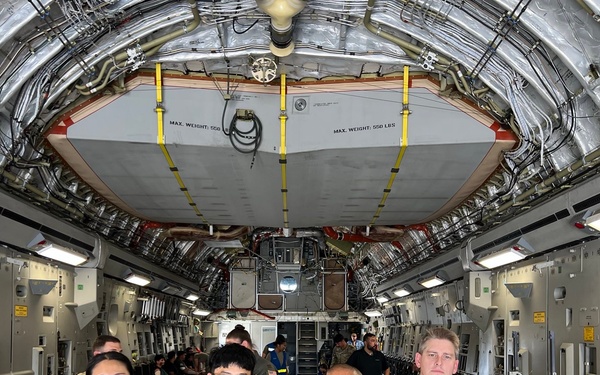
1984th USAH Supports Joint Medical Operations During Operation Tabula Rasa
9th Mission Support Command
Visit images Page
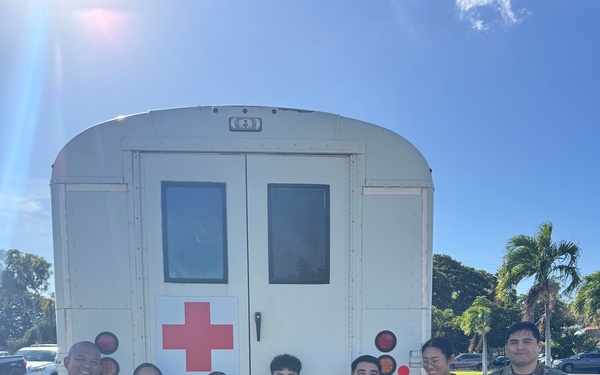
1984th USAH Supports Joint Medical Operations During Operation Tabula Rasa
9th Mission Support Command
Visit images Page
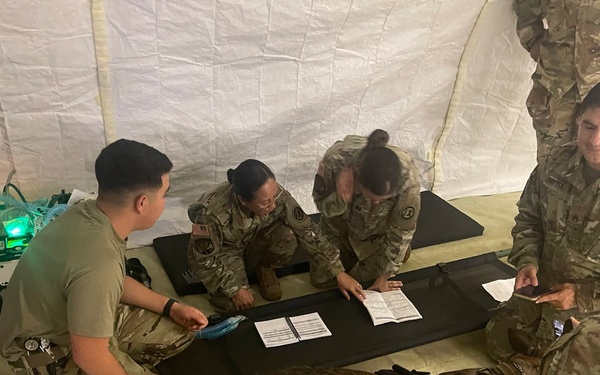
1984th USAH Supports Joint Medical Operations During Operation Tabula Rasa
9th Mission Support Command
Visit images Page