



(e.g. yourname@email.com)

Forgot Password?

    Digital Visual Information Distribution System Logo
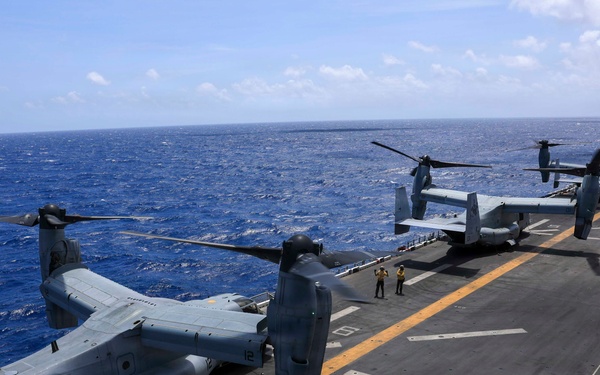
    USS Iwo Jima Conducts Flight Operations

    USS Iwo Jima Conducts Flight Operations

    Photo by Petty Officer 1st Class Kris Lindstrom

    USS Iwo Jima (LHD 7)

    Visit images Page

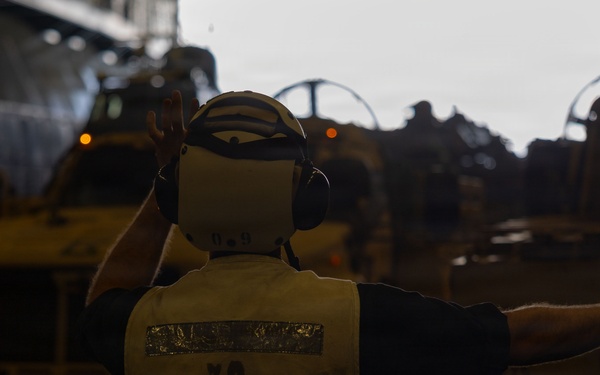
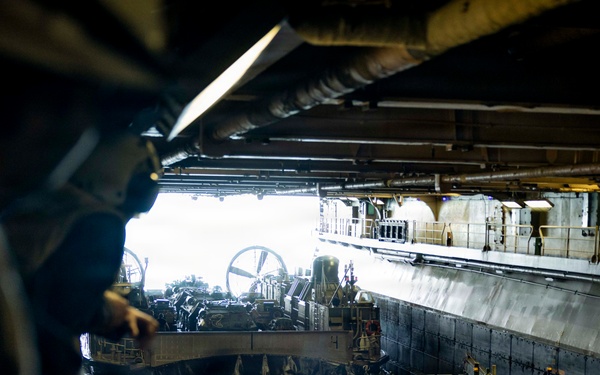
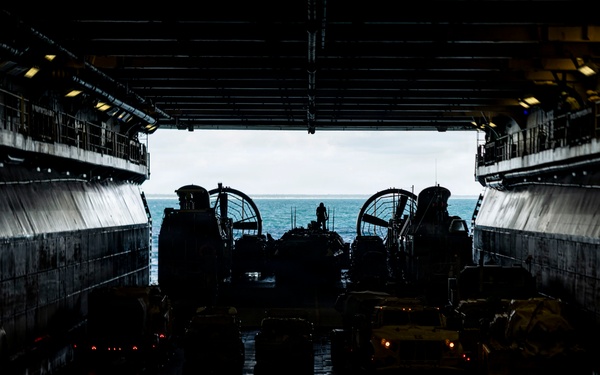
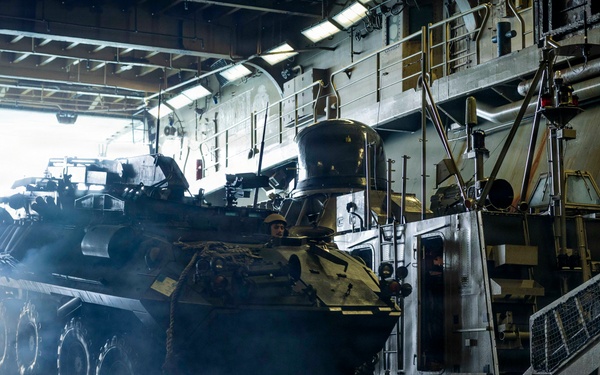
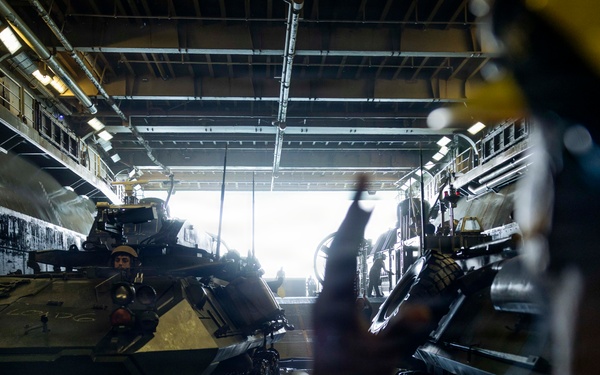
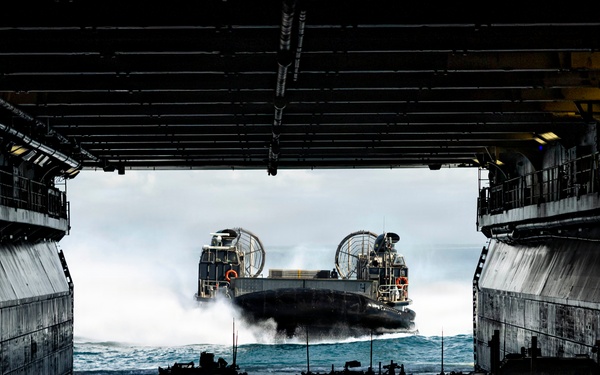
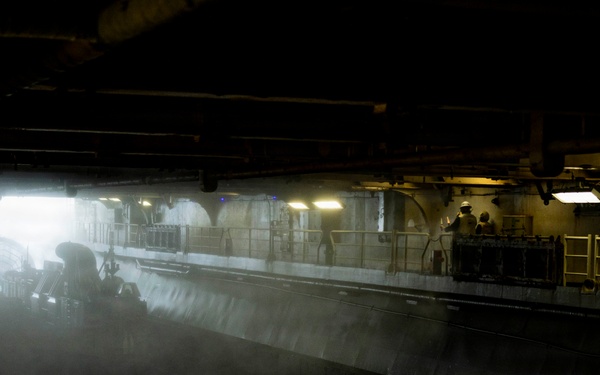
    USS Iwo Jima LCAC operations

    USS Iwo Jima LCAC operations

    Photo by Seaman Apprentice Jonathan Coleman

    USS Iwo Jima (LHD 7)

    Visit images Page
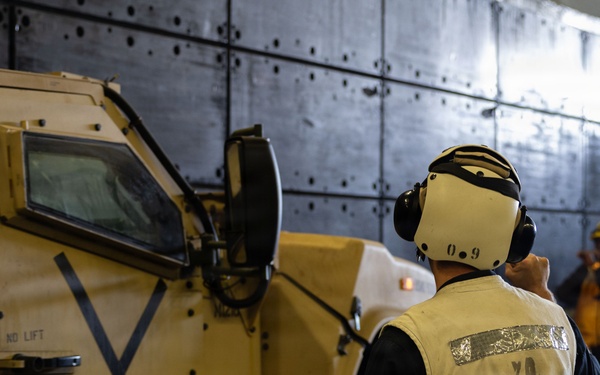
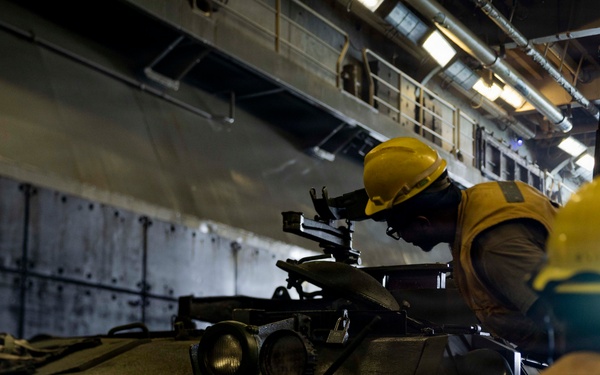
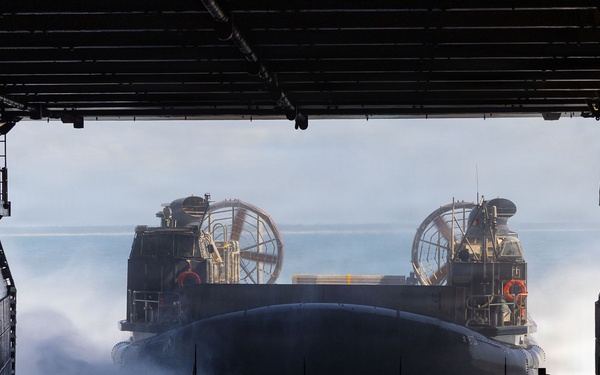
    USS Iwo Jima LCAC operations

    USS Iwo Jima LCAC operations

    Photo by Seaman Apprentice Jonathan Coleman

    USS Iwo Jima (LHD 7)

    Visit images Page
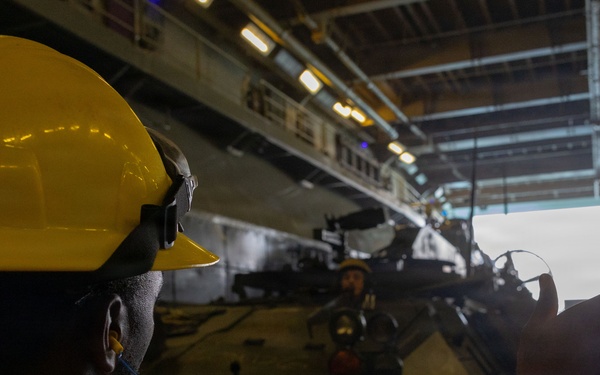
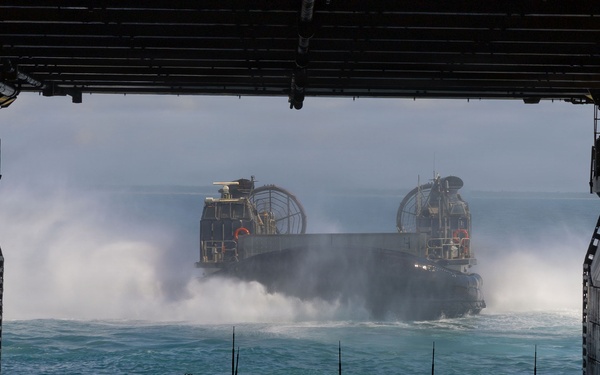
    USS Iwo Jima LCAC operations

    USS Iwo Jima LCAC operations

    Photo by Seaman Apprentice Jonathan Coleman

    USS Iwo Jima (LHD 7)

    Visit images Page
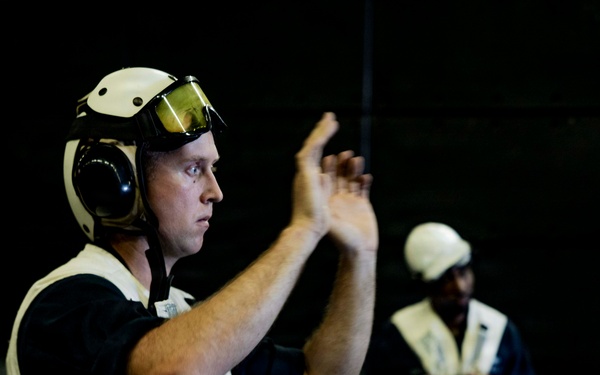
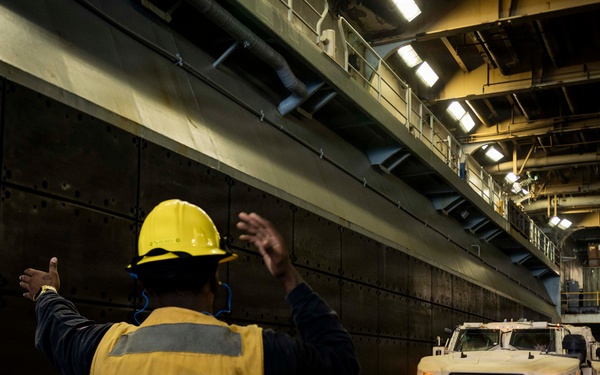
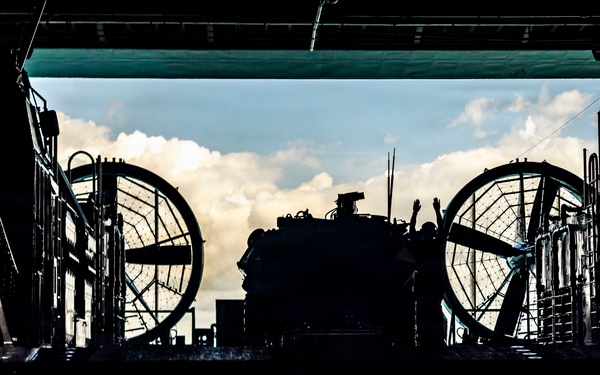
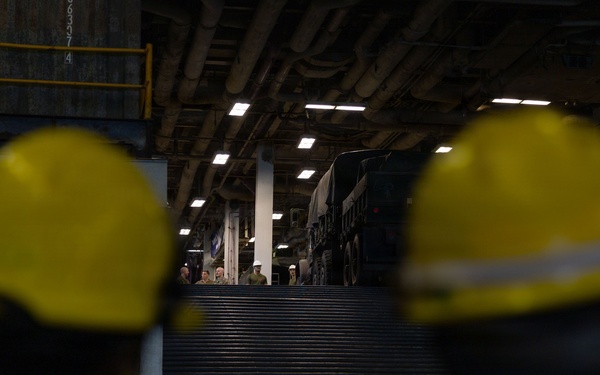
    USS Iwo Jima Conducts a LCAC OPS

    USS Iwo Jima Conducts a LCAC OPS

    Photo by Petty Officer 3rd Class Nathan Huang

    USS Iwo Jima (LHD 7)

    Visit images Page
    USS Iwo Jima Conducts a LCAC OPS

    USS Iwo Jima Conducts a LCAC OPS

    Photo by Petty Officer 3rd Class Nathan Huang

    USS Iwo Jima (LHD 7)

    Visit images Page
    USS Iwo Jima Conducts a LCAC OPS

    USS Iwo Jima Conducts a LCAC OPS

    Photo by Petty Officer 3rd Class Nathan Huang

    USS Iwo Jima (LHD 7)

    Visit images Page
    USS Iwo Jima Conducts a LCAC OPS

    USS Iwo Jima Conducts a LCAC OPS

    Photo by Petty Officer 3rd Class Nathan Huang

    USS Iwo Jima (LHD 7)

    Visit images Page
    USS Iwo Jima Conducts a LCAC OPS

    USS Iwo Jima Conducts a LCAC OPS

    Photo by Petty Officer 3rd Class Nathan Huang

    USS Iwo Jima (LHD 7)

    Visit images Page
    USS Iwo Jima Conducts a LCAC OPS

    USS Iwo Jima Conducts a LCAC OPS

    Photo by Petty Officer 3rd Class Nathan Huang

    USS Iwo Jima (LHD 7)

    Visit images Page
    USS Iwo Jima Conducts a LCAC OPS

    USS Iwo Jima Conducts a LCAC OPS

    Photo by Petty Officer 3rd Class Nathan Huang

    USS Iwo Jima (LHD 7)

    Visit images Page
    USS Iwo Jima Conducts a LCAC OPS

    USS Iwo Jima Conducts a LCAC OPS

    Photo by Petty Officer 3rd Class Nathan Huang

    USS Iwo Jima (LHD 7)

    Visit images Page
    USS Iwo Jima Conducts a LCAC OPS

    USS Iwo Jima Conducts a LCAC OPS

    Photo by Seaman Apprentice Jonathan Coleman

    USS Iwo Jima (LHD 7)

    Visit images Page
    USS Iwo Jima LCAC operations

    USS Iwo Jima LCAC operations

    Photo by Seaman Apprentice Jonathan Coleman

    USS Iwo Jima (LHD 7)

    Visit images Page
    USS Iwo Jima LCAC operations

    USS Iwo Jima LCAC operations

    Photo by Seaman Apprentice Jonathan Coleman

    USS Iwo Jima (LHD 7)

    Visit images Page
    USS Iwo Jima LCAC operations

    USS Iwo Jima LCAC operations

    Photo by Seaman Apprentice Jonathan Coleman

    USS Iwo Jima (LHD 7)

    Visit images Page
    USS Iwo Jima Conducts a LCAC OPS

    USS Iwo Jima Conducts a LCAC OPS

    Photo by Petty Officer 3rd Class Nathan Huang

    USS Iwo Jima (LHD 7)

    Visit images Page
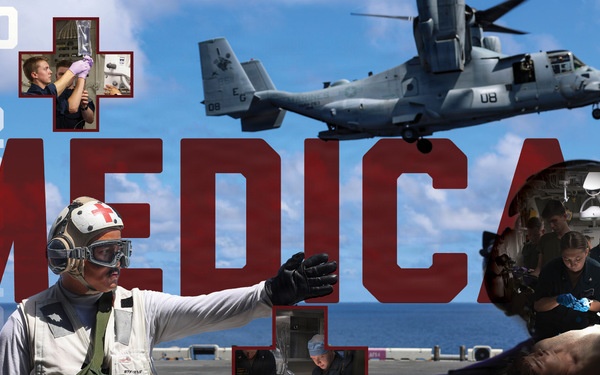
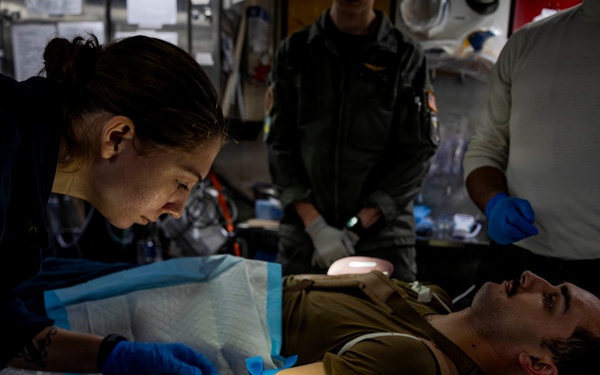
    Casualty Care: Iwo Jima’s Role II Mission

    Casualty Care: Iwo Jima’s Role II Mission

    Story by Petty Officer 3rd Class Andrew Eggert

    USS Iwo Jima (LHD 7)

    Visit news Page
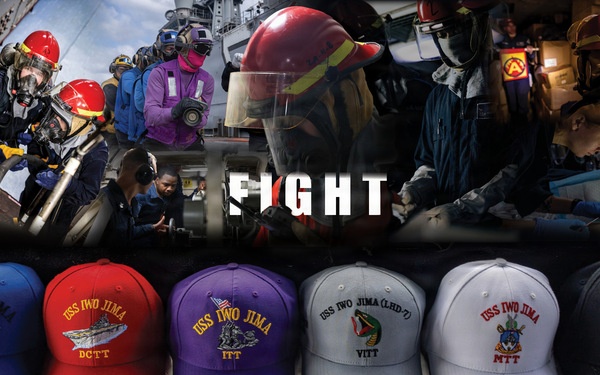
    From the Foundry to the Fight: USS Iwo Jima’s Integrated Training Team

    From the Foundry to the Fight: USS Iwo Jima’s Integrated Training Team

    Story by Petty Officer 3rd Class Logan Goins

    USS Iwo Jima (LHD 7)

    Visit news Page
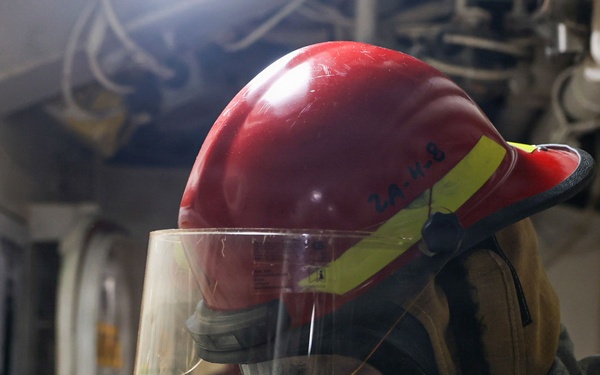
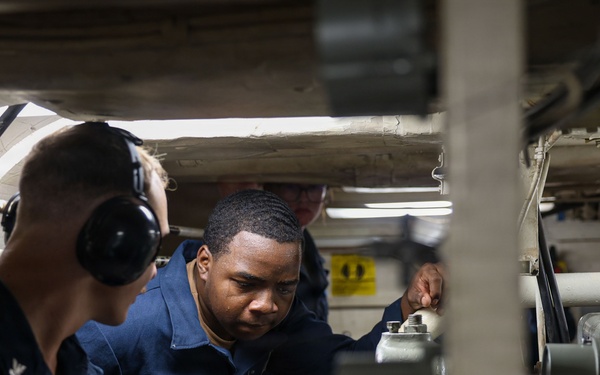
    From the Foundry to the Fight: USS Iwo Jima’s Integrated Training Team

    From the Foundry to the Fight: USS Iwo Jima’s Integrated Training Team

    Photo by Petty Officer 3rd Class Logan Goins

    USS Iwo Jima (LHD 7)

    Visit images Page
    From the Foundry to the Fight: USS Iwo Jima’s Integrated Training Team

    From the Foundry to the Fight: USS Iwo Jima’s Integrated Training Team

    Photo by Petty Officer 3rd Class Andrew Eggert

    USS Iwo Jima (LHD 7)

    Visit images Page
    From the Foundry to the Fight: USS Iwo Jima’s Integrated Training Team

    From the Foundry to the Fight: USS Iwo Jima’s Integrated Training Team

    Photo by Petty Officer 3rd Class Nathan Huang

    USS Iwo Jima (LHD 7)

    Visit images Page
    From the Foundry to the Fight: USS Iwo Jima’s Integrated Training Team

    From the Foundry to the Fight: USS Iwo Jima’s Integrated Training Team

    Photo by Petty Officer 3rd Class Logan Goins

    USS Iwo Jima (LHD 7)

    Visit images Page
    From the Foundry to the Fight: USS Iwo Jima’s Integrated Training Team

    From the Foundry to the Fight: USS Iwo Jima’s Integrated Training Team

    Photo by Petty Officer 3rd Class Logan Goins

    USS Iwo Jima (LHD 7)

    Visit images Page
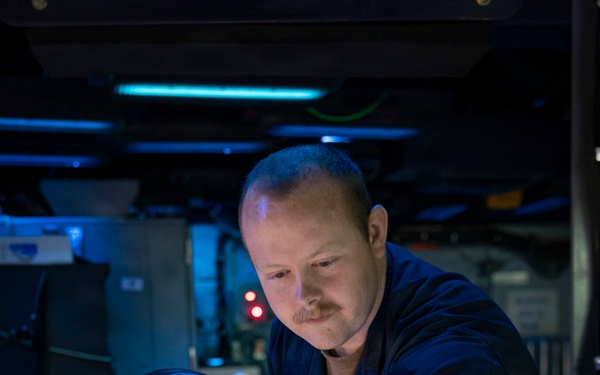
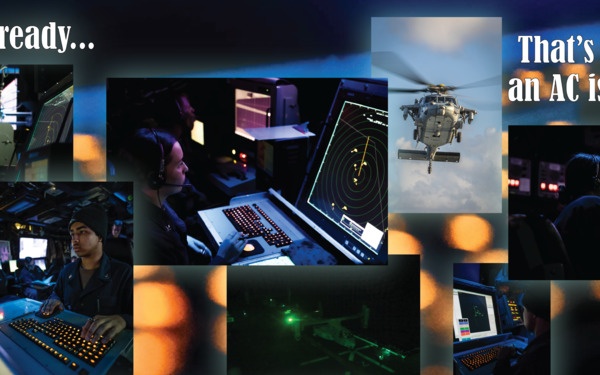
    The Invisible Conductors: Amphibious Air Traffic Controllers

    The Invisible Conductors: Amphibious Air Traffic Controllers

    Story by Petty Officer 3rd Class Andrew Eggert

    USS Iwo Jima (LHD 7)

    Visit news Page
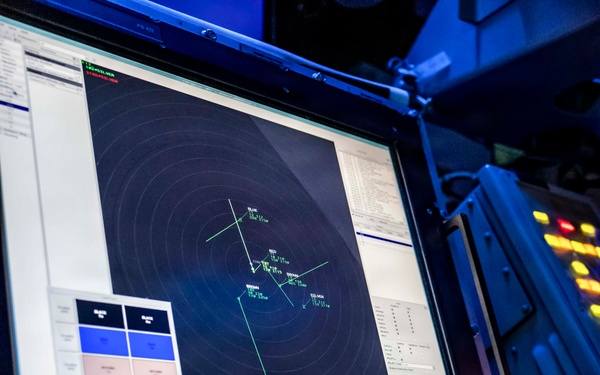
    The Invisible Conductors: Amphibious Air Traffic Controllers

    The Invisible Conductors: Amphibious Air Traffic Controllers

    Photo by Petty Officer 3rd Class Andrew Eggert

    USS Iwo Jima (LHD 7)

    Visit images Page
    USS Iwo Jima Conducts Flight Operations

    USS Iwo Jima Conducts Flight Operations

    Photo by Petty Officer 3rd Class Andrew Eggert

    USS Iwo Jima (LHD 7)

    Visit images Page
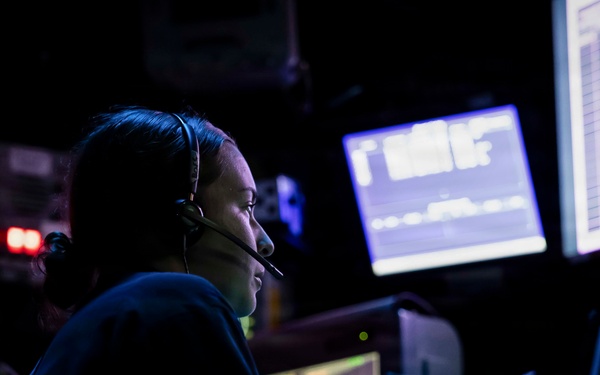
    The Invisible Conductors: Amphibious Air Traffic Controllers

    The Invisible Conductors: Amphibious Air Traffic Controllers

    Photo by Petty Officer 3rd Class Andrew Eggert

    USS Iwo Jima (LHD 7)

    Visit images Page
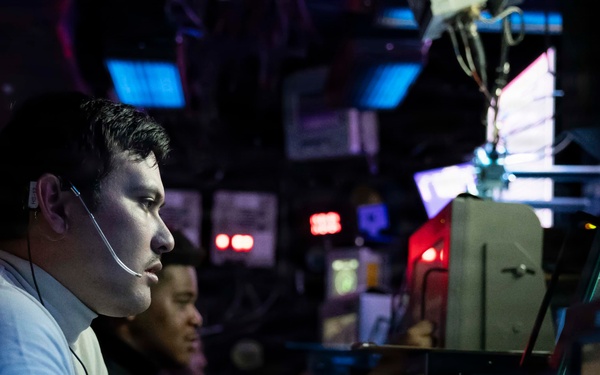
    The Invisible Conductors: Amphibious Air Traffic Controllers

    The Invisible Conductors: Amphibious Air Traffic Controllers

    Photo by Petty Officer 3rd Class Andrew Eggert

    USS Iwo Jima (LHD 7)

    Visit images Page
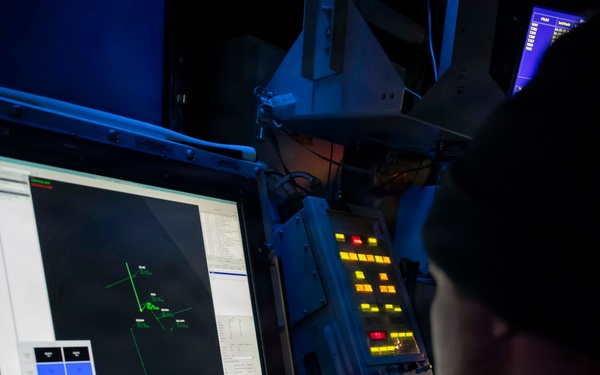
    The Invisible Conductors: Amphibious Air Traffic Controllers

    The Invisible Conductors: Amphibious Air Traffic Controllers

    Photo by Petty Officer 3rd Class Andrew Eggert

    USS Iwo Jima (LHD 7)

    Visit images Page
