I.G. Brown Training and Education Center
Visit images Page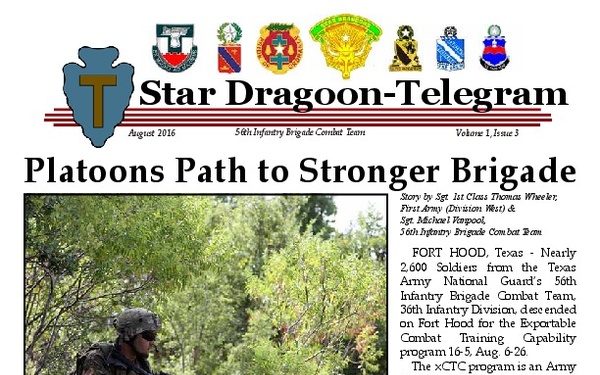
56th Infantry Brigade Combat Team (36th ID, TXARNG)
Visit publication Page
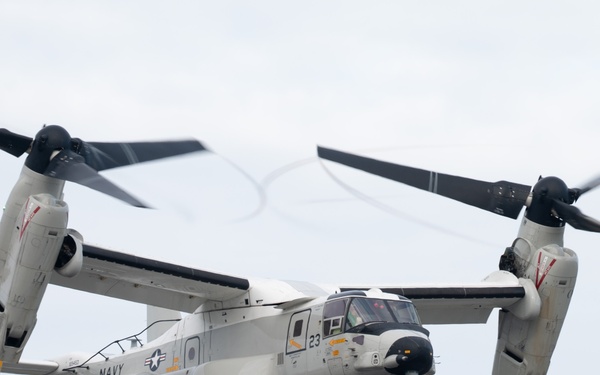
Commander, Naval Air Forces
Visit images Page
Commander, U.S. Fleet Forces Command
Visit images Page
Commander, U.S. Fleet Forces Command
Visit images Page
Commander, U.S. Fleet Forces Command
Visit images Page
Commander, U.S. Fleet Forces Command
Visit images Page
Commander, U.S. Fleet Forces Command
Visit images Page
Commander, Naval Air Forces
Visit images Page
Commander, Naval Air Forces
Visit images Page
Commander, Naval Air Forces
Visit images Page
Commander, Naval Air Forces
Visit images Page
Commander, Naval Air Forces
Visit images Page
Commander, Naval Air Forces
Visit images Page
Commander, Naval Air Forces
Visit images Page
Commander, Naval Air Forces
Visit images Page
Commander, Naval Air Forces
Visit images Page
Commander, Naval Air Forces
Visit images Page
Commander, Naval Air Forces
Visit images Page
Commander, Naval Air Forces
Visit images Page
Commander, Naval Air Forces
Visit images Page
Commander, Naval Air Force Atlantic
Visit images Page
Commander, Naval Air Force Atlantic
Visit images Page
Commander, Naval Air Force Atlantic
Visit images Page
Commander, Naval Air Force Atlantic
Visit images Page
Commander, Naval Air Force Atlantic
Visit images Page
Commander, Naval Air Force Atlantic
Visit images Page
Commander, Naval Air Force Atlantic
Visit images Page