(e.g. yourname@email.com)
Remember me
Forgot Password?
苹果TF签(购买联系电报wangcaicm).abm
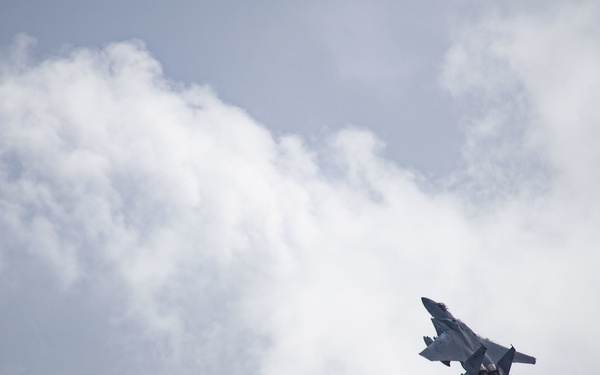
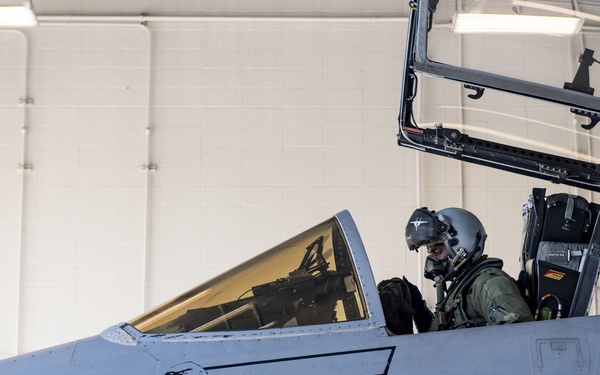
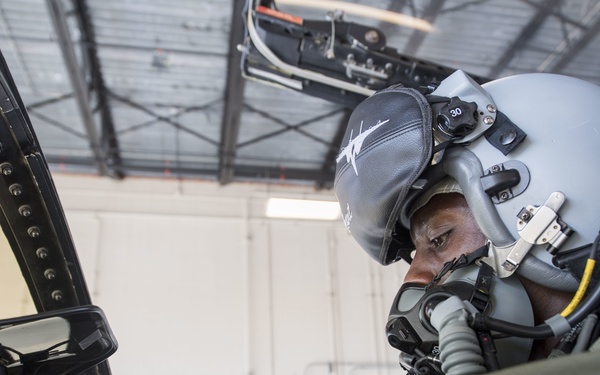
1st Combat Camera Squadron
33rd Fighter Wing
2D Audiovisual Squadron