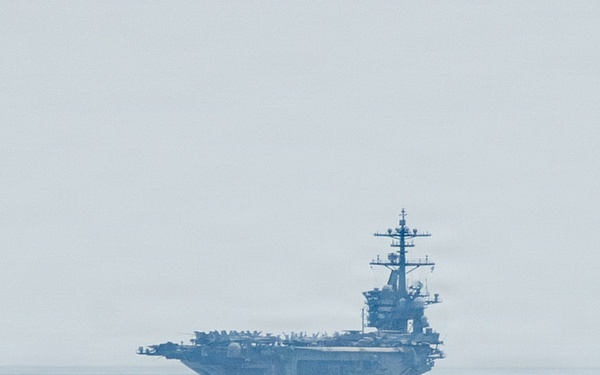
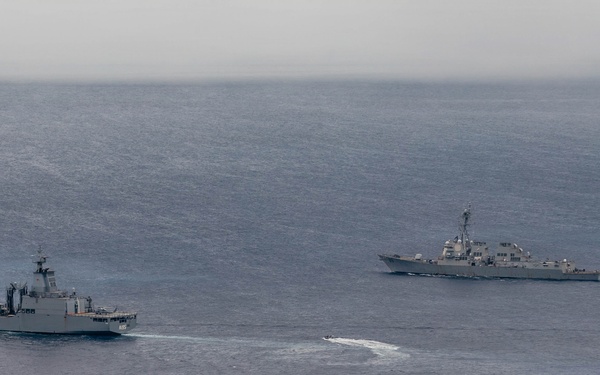
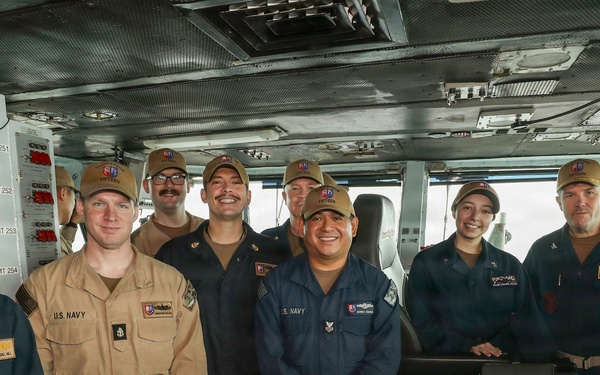
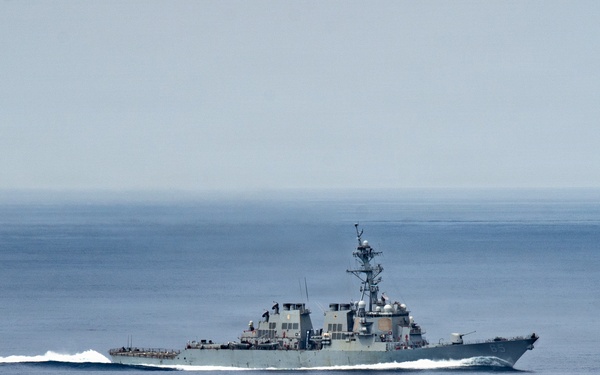
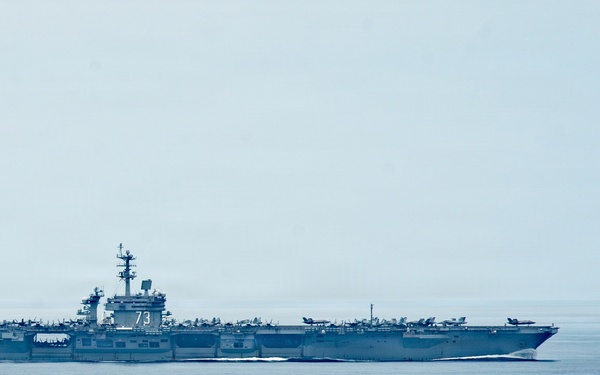
George Washington Carrier Strike Group Conducts Routine Operations While Underway in the South China Sea
USS GEORGE WASHINGTON (CVN 73)
Visit images Page
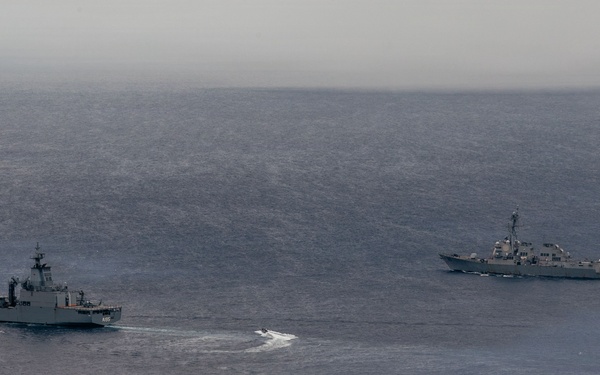
George Washington Carrier Strike Group Conducts Routine Operations While Underway in the South China Sea
USS GEORGE WASHINGTON (CVN 73)
Visit images Page
George Washington Conducts Replenishment-at-Sea
USS GEORGE WASHINGTON (CVN 73)
Visit images Page
George Washington Conducts Replenishment-at-Sea
USS GEORGE WASHINGTON (CVN 73)
Visit images Page

George Washington Conducts Replenishment-at-Sea
USS GEORGE WASHINGTON (CVN 73)
Visit images Page
George Washington Conducts Replenishment-at-Sea
USS GEORGE WASHINGTON (CVN 73)
Visit images Page
George Washington Conducts Replenishment-at-Sea
USS GEORGE WASHINGTON (CVN 73)
Visit images Page
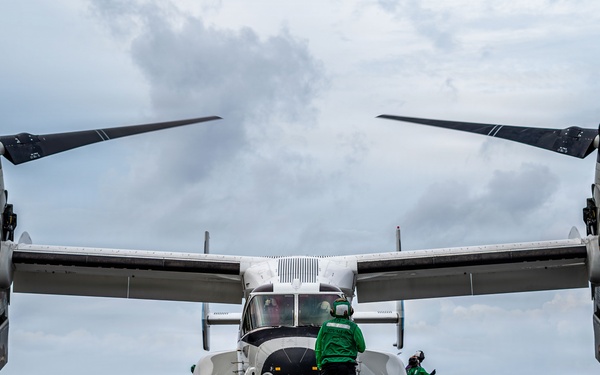
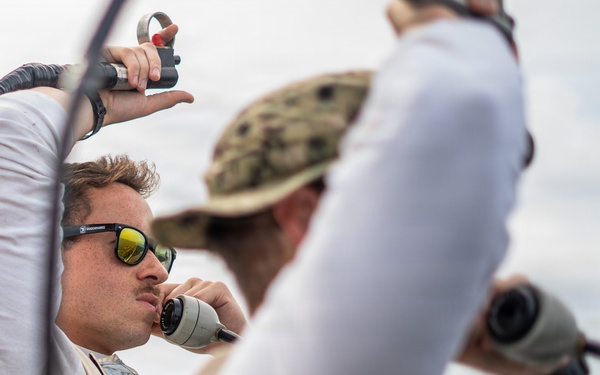
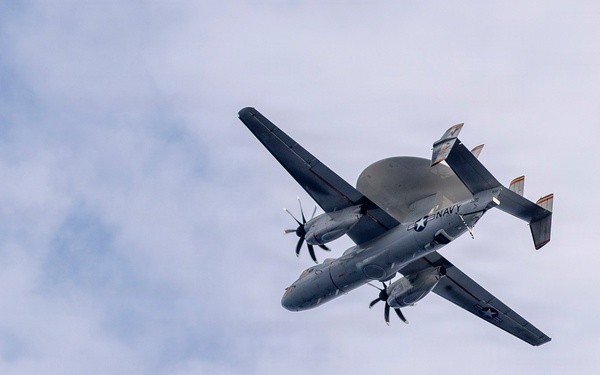
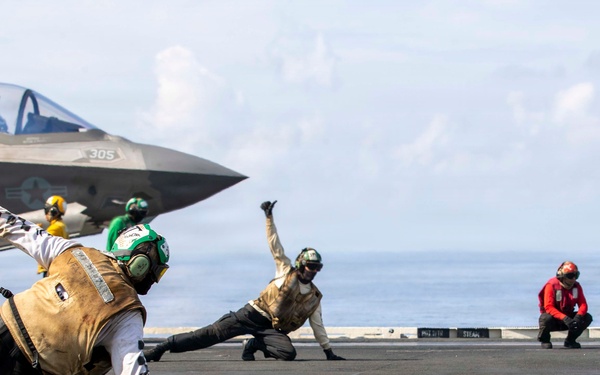
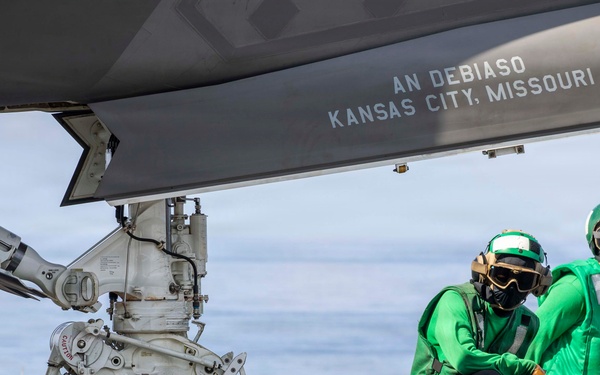
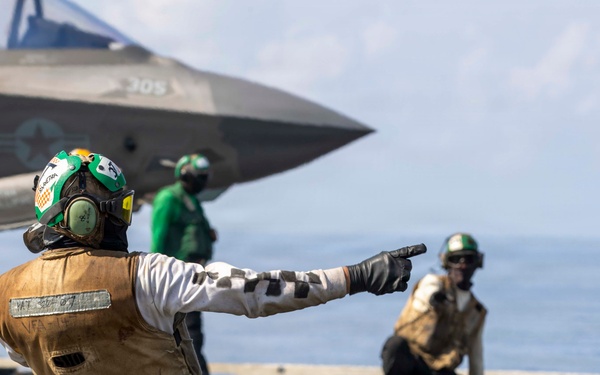
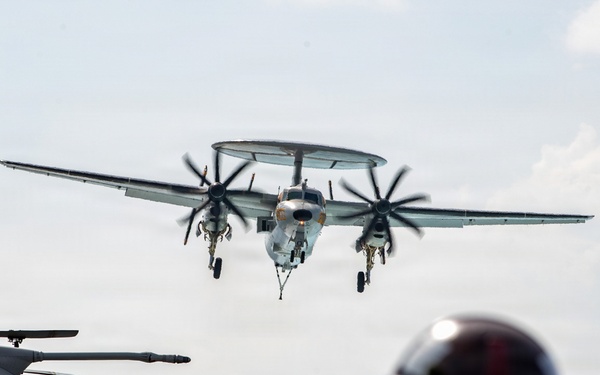
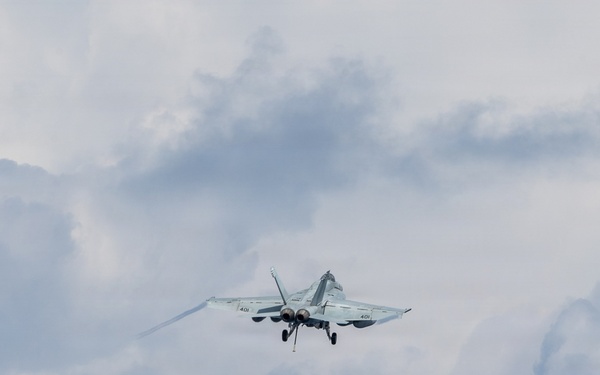
George Washington Conducts Flight Operations
USS GEORGE WASHINGTON (CVN 73)
Visit images Page
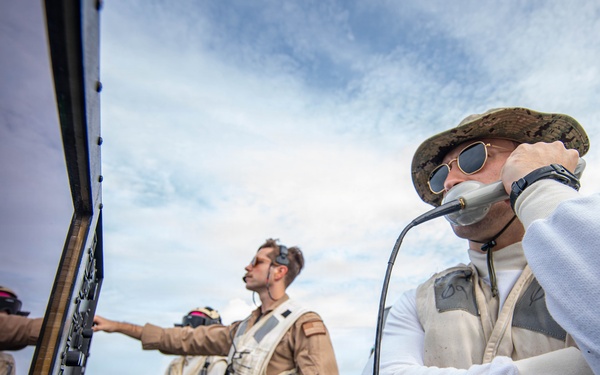
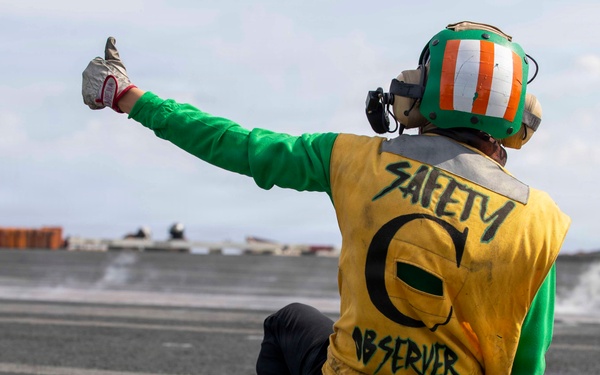
George Washington Conducts Flight Operations
USS GEORGE WASHINGTON (CVN 73)
Visit images Page
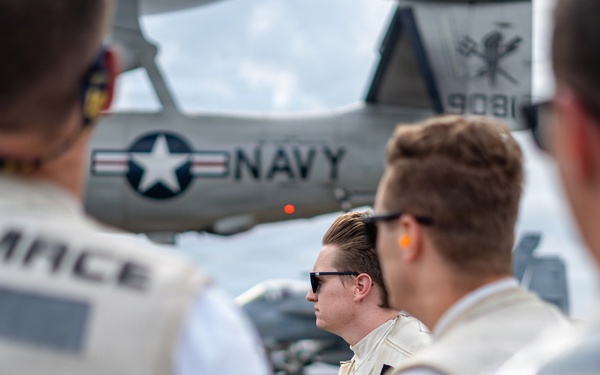
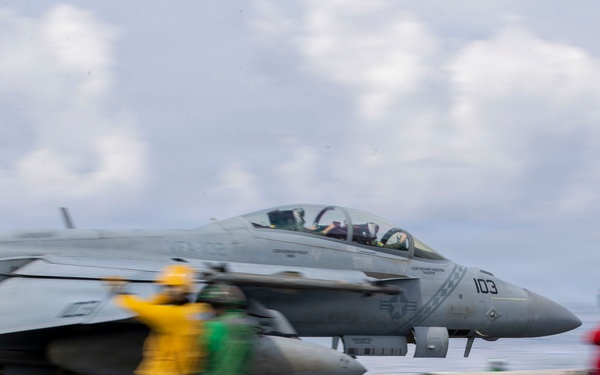
George Washington Conducts Flight Operations
USS GEORGE WASHINGTON (CVN 73)
Visit images Page
George Washington Conducts Flight Operations
USS GEORGE WASHINGTON (CVN 73)
Visit images Page
George Washington Conducts Flight Operations
USS GEORGE WASHINGTON (CVN 73)
Visit images Page
George Washington Sailors Aircraft Tire Maintenance
USS GEORGE WASHINGTON (CVN 73)
Visit images Page
George Washington Awards Warfighter of the Week
USS GEORGE WASHINGTON (CVN 73)
Visit images Page
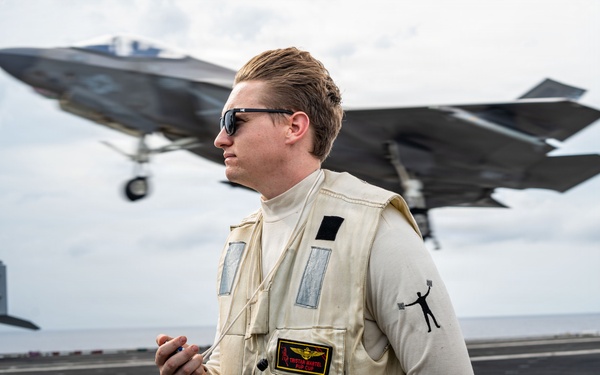
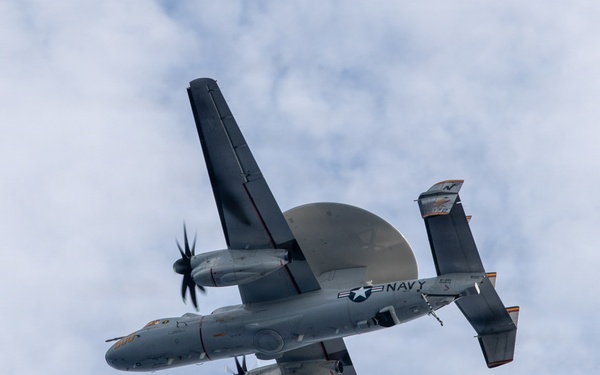
George Washington Conducts Flight Operations
USS GEORGE WASHINGTON (CVN 73)
Visit images Page
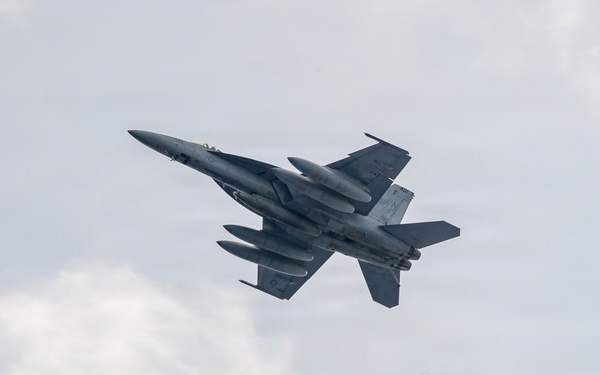
George Washington Conducts Flight Operations
USS GEORGE WASHINGTON (CVN 73)
Visit images Page
George Washington Conducts Flight Operations
USS GEORGE WASHINGTON (CVN 73)
Visit images Page
George Washington Conducts Flight Operations
USS GEORGE WASHINGTON (CVN 73)
Visit images Page
George Washington Conducts Flight Operations
USS GEORGE WASHINGTON (CVN 73)
Visit images Page
George Washington Conducts Flight Operations
USS GEORGE WASHINGTON (CVN 73)
Visit images Page

George Washington Conducts Flight Operations
USS GEORGE WASHINGTON (CVN 73)
Visit images Page
George Washington Conducts Flight Operations
USS GEORGE WASHINGTON (CVN 73)
Visit images Page
George Washington Conducts Flight Operations
USS GEORGE WASHINGTON (CVN 73)
Visit images Page
George Washington Conducts Flight Operations
USS GEORGE WASHINGTON (CVN 73)
Visit images Page
George Washington Conducts Flight Operations
USS GEORGE WASHINGTON (CVN 73)
Visit images Page
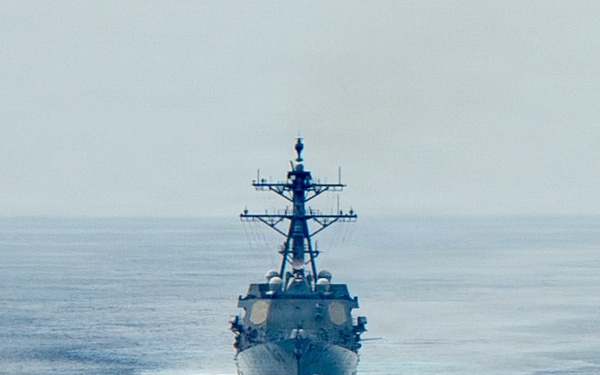
George Washington Carrier Strike Group Conducts Routine Operations While Underway in the South China Sea
USS GEORGE WASHINGTON (CVN 73)
Visit images Page
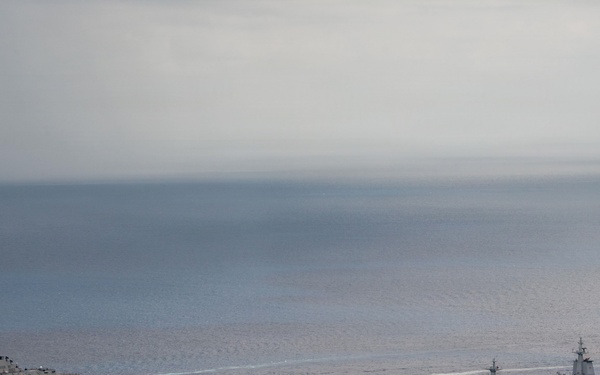
George Washington Carrier Strike Group Conducts Routine Operations While Underway in the South China Sea
USS GEORGE WASHINGTON (CVN 73)
Visit images Page
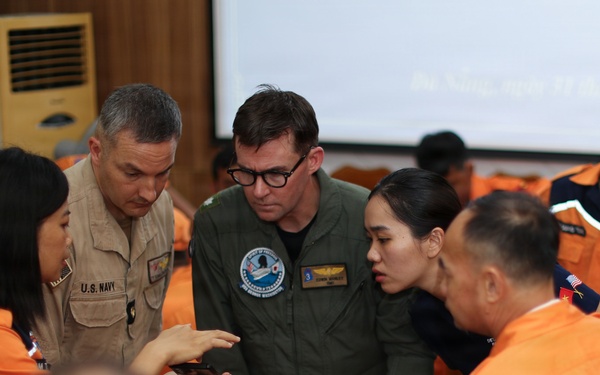
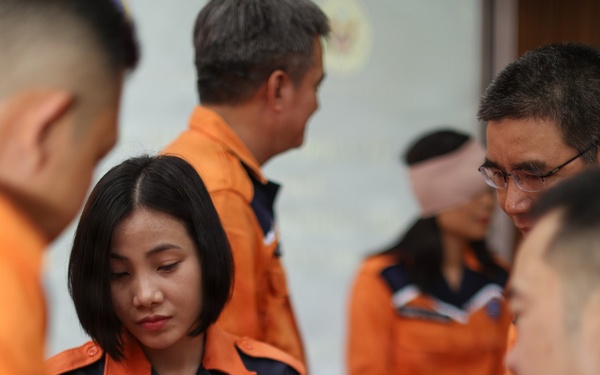
Sailors Give Medical Training to Vietnam Maritime Rescue Coordination Center
USS GEORGE WASHINGTON (CVN 73)
Visit images Page

Sailors Give Medical Training to Vietnam Maritime Rescue Coordination Center
USS GEORGE WASHINGTON (CVN 73)
Visit images Page
Sailors Give Medical Training to Vietnam Maritime Rescue Coordination Center
USS GEORGE WASHINGTON (CVN 73)
Visit images Page