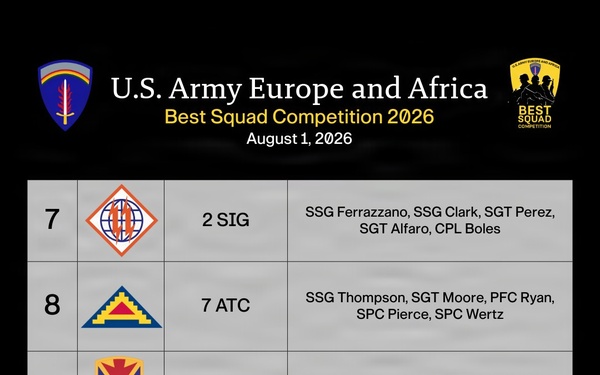
Day Three Standings: USAREUR-AF Best Squad Competition Leaderboard 7-12
U.S. Army Europe and Africa
Visit images Page
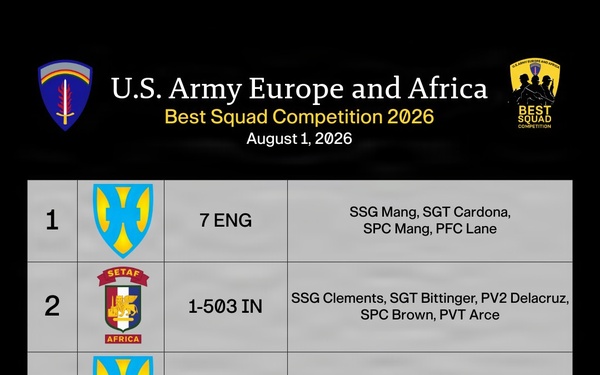
Day Three Standings: USAREUR-AF Best Squad Competition Leaderboard 1-6
U.S. Army Europe and Africa
Visit images Page
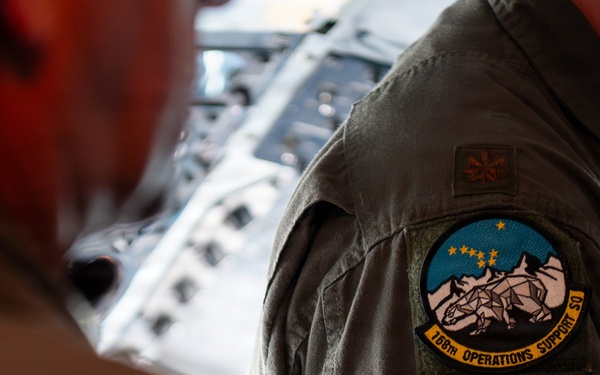
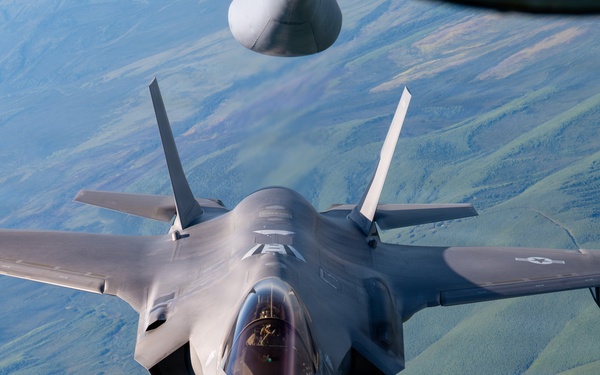
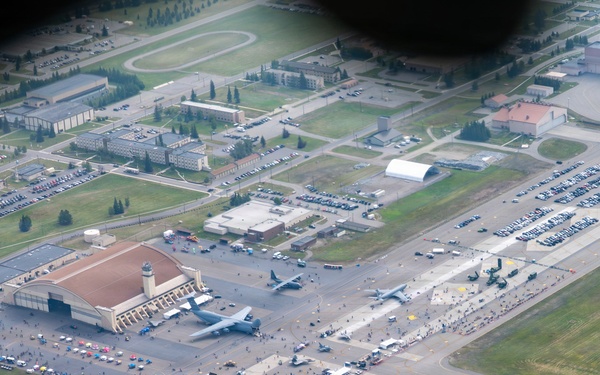
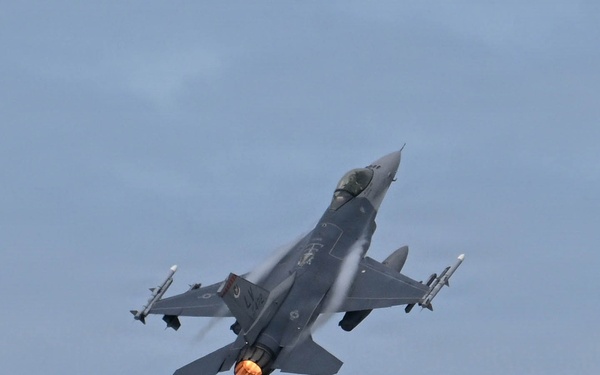
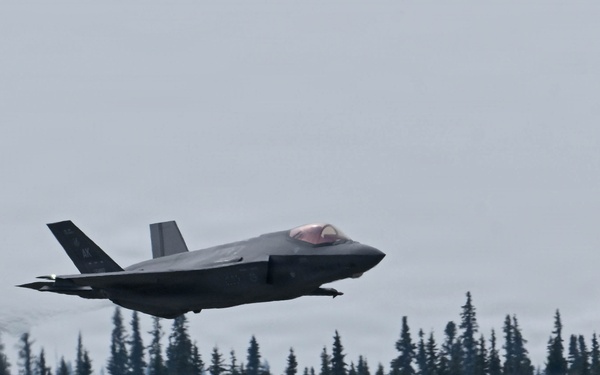
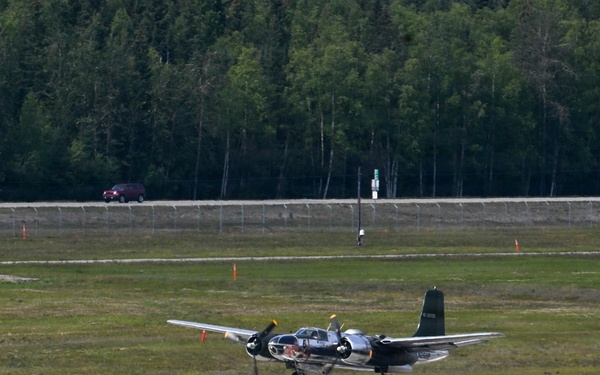
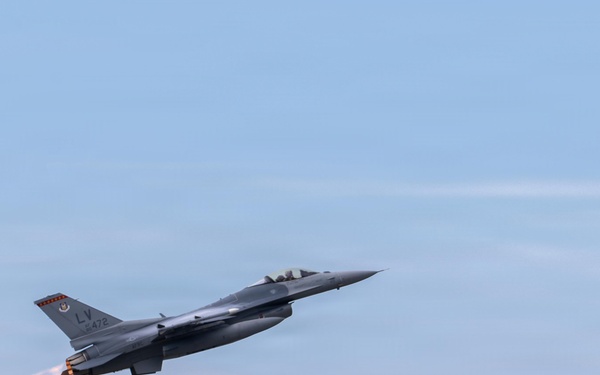
2026 Arctic Lightning Air Show Military Appreciation Day
354th Fighter Wing
Visit images Page
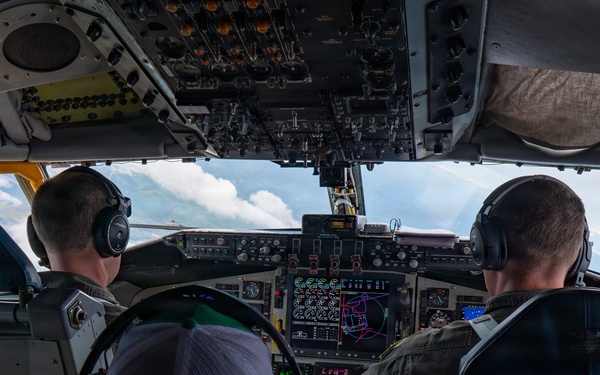
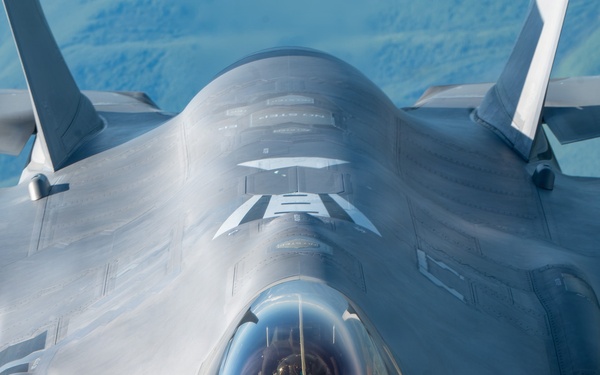
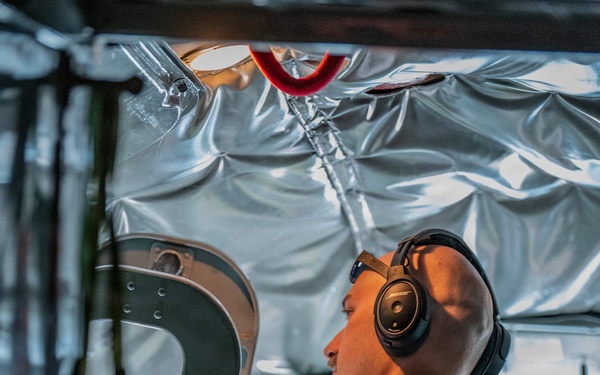
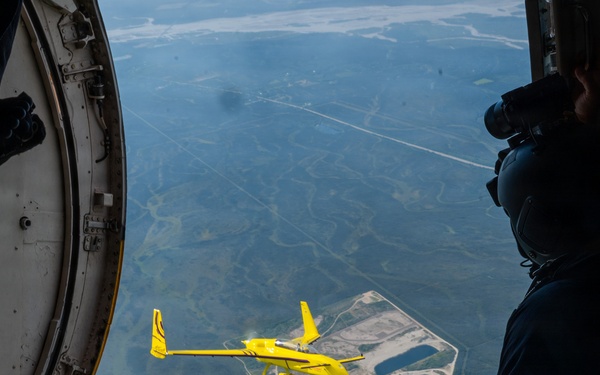
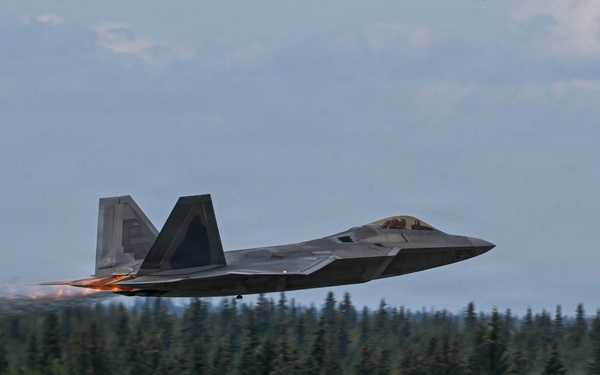
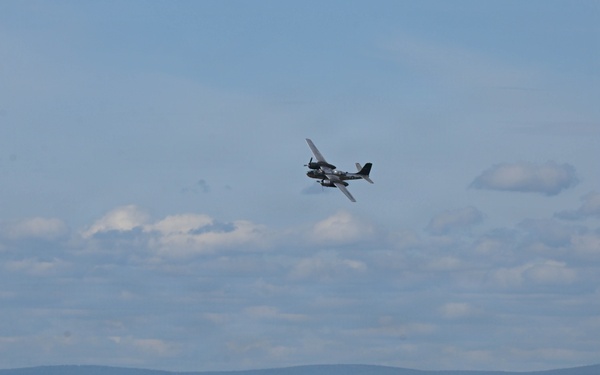
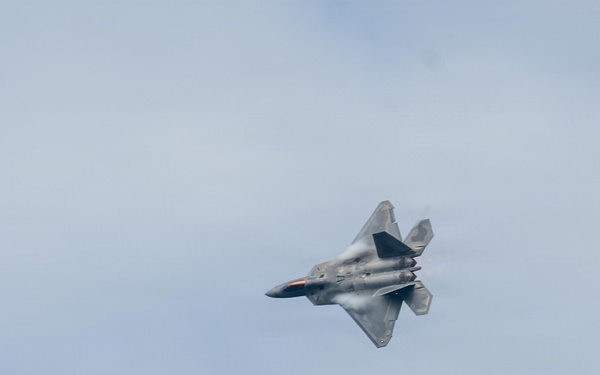
2026 Arctic Lightning Air Show Military Appreciation Day
354th Fighter Wing
Visit images Page
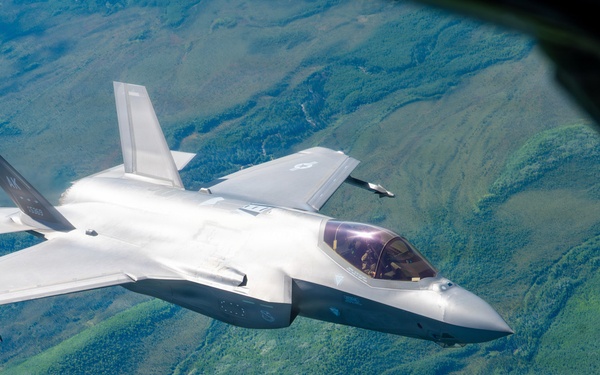
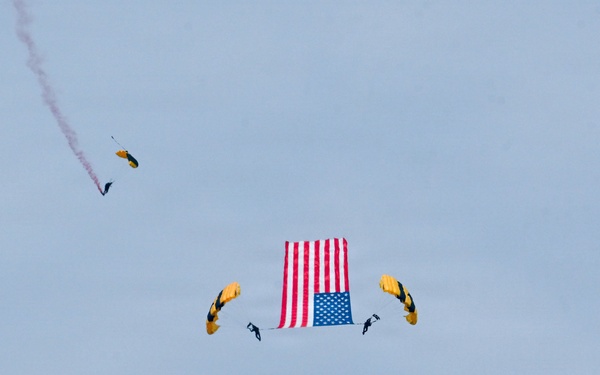
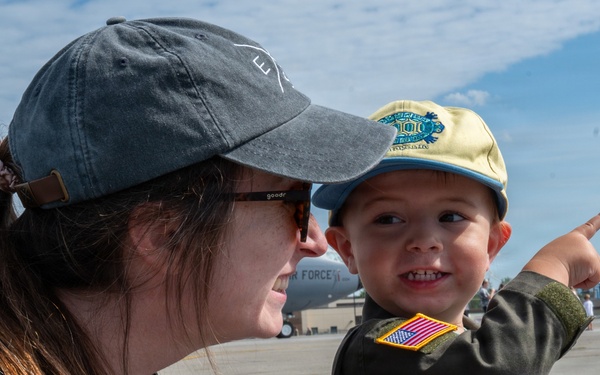
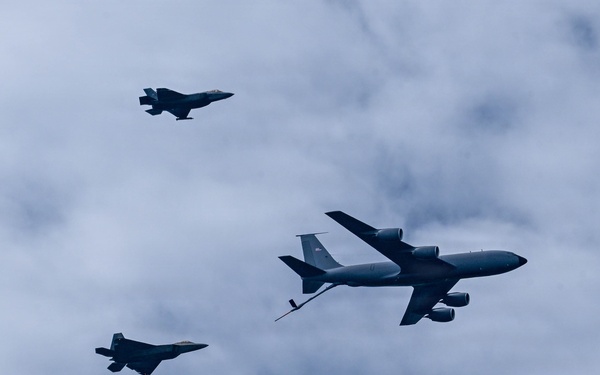
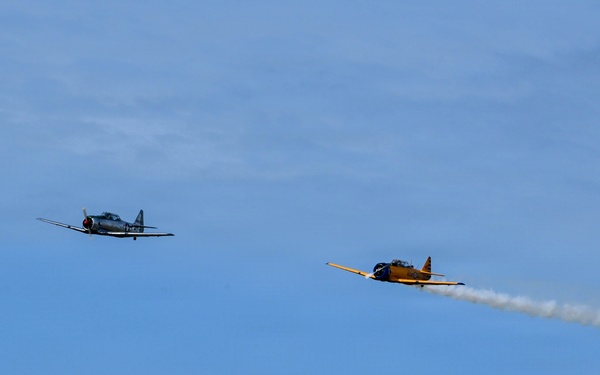
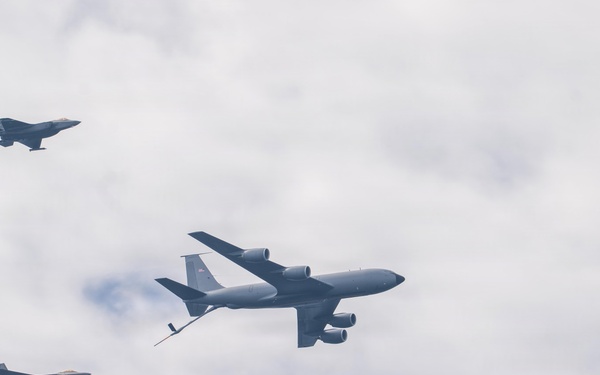
2026 Arctic Lightning Air Show Military Appreciation Day
354th Fighter Wing
Visit images Page
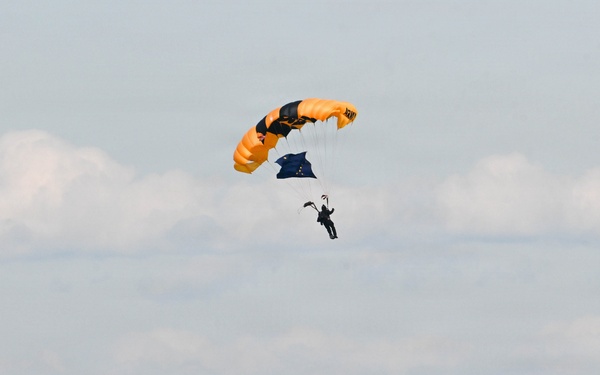
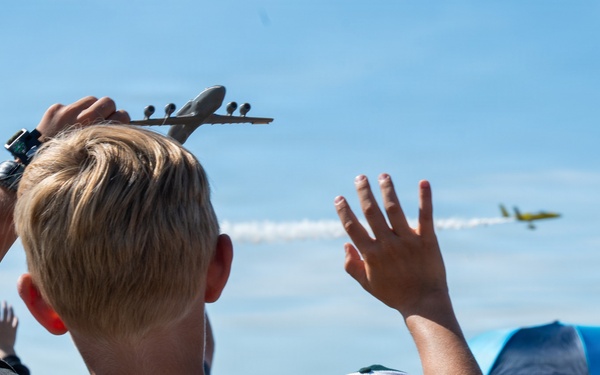
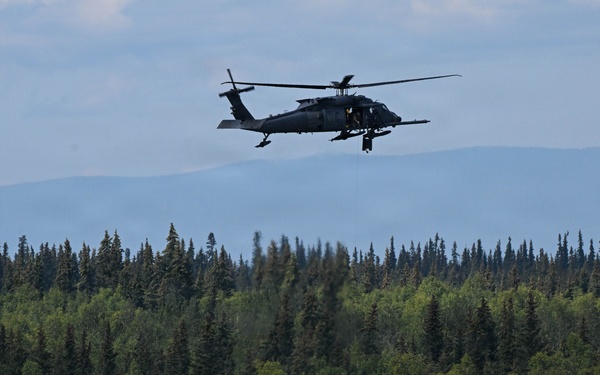
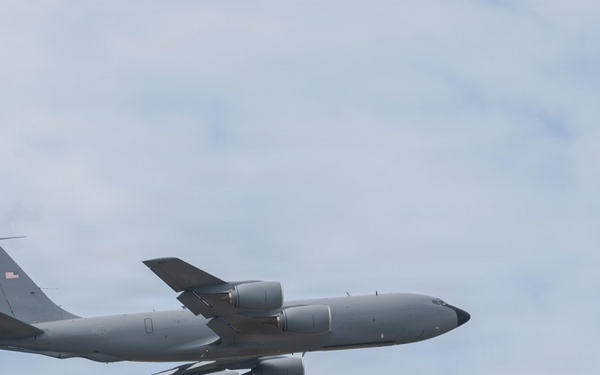
2026 Arctic Lightning Air Show Military Appreciation Day
354th Fighter Wing
Visit images Page
2026 Arctic Lightning Air Show Military Appreciation Day
354th Fighter Wing
Visit images Page
2026 Arctic Lightning Air Show Military Appreciation Day
354th Fighter Wing
Visit images Page
2026 Arctic Lightning Air Show Military Appreciation Day
354th Fighter Wing
Visit images Page
2026 Arctic Lightning Air Show Military Appreciation Day
354th Fighter Wing
Visit images Page
2026 Arctic Lightning Airshow Military Appreciation Day
354th Fighter Wing
Visit images Page
2026 Arctic Lightning Airshow Military Appreciation Day
354th Fighter Wing
Visit images Page
2026 Arctic Lightning Airshow Military Appreciation Day
354th Fighter Wing
Visit images Page
2026 Arctic Lightning Airshow Military Appreciation Day
354th Fighter Wing
Visit images Page
2026 Arctic Lightning Airshow Military Appreciation Day
354th Fighter Wing
Visit images Page

2026 Arctic Lightning Airshow Military Appreciation Day
354th Fighter Wing
Visit images Page
2026 Arctic Lightning Airshow Military Appreciation Day
354th Fighter Wing
Visit images Page
2026 Arctic Lightning Airshow Military Appreciation Day
354th Fighter Wing
Visit images Page
2026 Arctic Lightning Airshow Military Appreciation Day
354th Fighter Wing
Visit images Page
2026 Arctic Lightning Airshow Military Appreciation Day
354th Fighter Wing
Visit images Page
2026 Arctic Lightning Airshow Military Appreciation Day
354th Fighter Wing
Visit images Page
2026 Arctic Lightning Airshow Military Appreciation Day
354th Fighter Wing
Visit images Page
2026 Arctic Lightning Airshow Military Appreciation Day
354th Fighter Wing
Visit images Page
2026 Arctic Lightning Airshow Military Appreciation Day
354th Fighter Wing
Visit images Page

2026 Arctic Lightning Airshow Military Appreciation Day
354th Fighter Wing
Visit images Page

2026 Arctic Lightning Airshow Military Appreciation Day
354th Fighter Wing
Visit images Page
2026 Arctic Lightning Airshow Military Appreciation Day
354th Fighter Wing
Visit images Page
2026 Arctic Lightning Airshow Military Appreciation Day
354th Fighter Wing
Visit images Page
2026 Arctic Lightning Airshow Military Appreciation Day
354th Fighter Wing
Visit images Page
2026 Arctic Lightning Airshow Military Appreciation Day
354th Fighter Wing
Visit images Page