(e.g. yourname@email.com)

Forgot Password?

    Defense Visual Information Distribution Service Logo
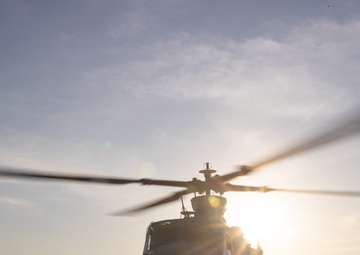
    Super Garuda Shield 2024 | 31st MEU conducts Joint-Strike Rehearsal

    Super Garuda Shield 2024 | 31st MEU conducts Joint-Strike Rehearsal

    Photo by Lance Cpl. Peter Eilen

    31st Marine Expeditionary Unit

    Visit images Page
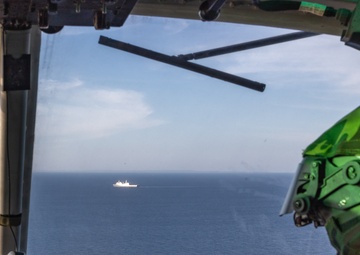
    Super Garuda Shield 2024 | 31st MEU conducts Joint-Strike Rehearsal

    Super Garuda Shield 2024 | 31st MEU conducts Joint-Strike Rehearsal

    Photo by Lance Cpl. Peter Eilen

    31st Marine Expeditionary Unit

    Visit images Page
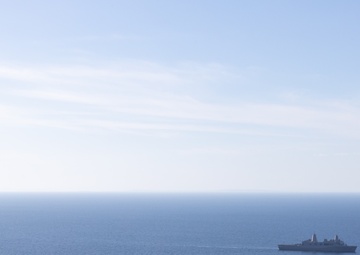
    Super Garuda Shield 2024 | 31st MEU conducts Joint-Strike Rehearsal

    Super Garuda Shield 2024 | 31st MEU conducts Joint-Strike Rehearsal

    Photo by Lance Cpl. Peter Eilen

    31st Marine Expeditionary Unit

    Visit images Page
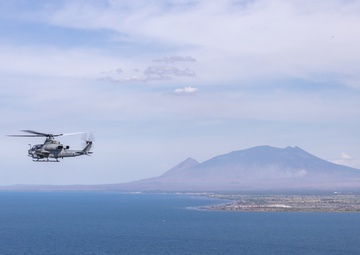
    Super Garuda Shield 2024 | 31st MEU conducts Joint-Strike Rehearsal

    Super Garuda Shield 2024 | 31st MEU conducts Joint-Strike Rehearsal

    Photo by Lance Cpl. Peter Eilen

    31st Marine Expeditionary Unit

    Visit images Page
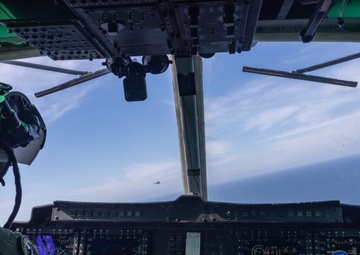
    Super Garuda Shield 2024 | 31st MEU conducts Joint-Strike Rehearsal

    Super Garuda Shield 2024 | 31st MEU conducts Joint-Strike Rehearsal

    Photo by Lance Cpl. Peter Eilen

    31st Marine Expeditionary Unit

    Visit images Page
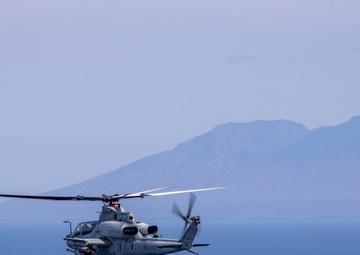
    Super Garuda Shield 2024 | 31st MEU conducts Joint-Strike Rehearsal

    Super Garuda Shield 2024 | 31st MEU conducts Joint-Strike Rehearsal

    Photo by Lance Cpl. Peter Eilen

    31st Marine Expeditionary Unit

    Visit images Page
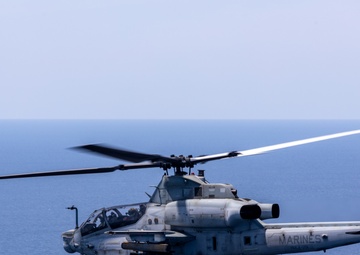
    Super Garuda Shield 2024 | 31st MEU conducts Joint-Strike Rehearsal

    Super Garuda Shield 2024 | 31st MEU conducts Joint-Strike Rehearsal

    Photo by Lance Cpl. Peter Eilen

    31st Marine Expeditionary Unit

    Visit images Page
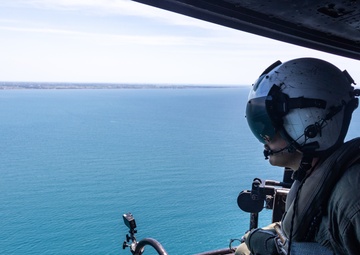
    Super Garuda Shield 2024 | 31st MEU conducts Joint-Strike Rehearsal

    Super Garuda Shield 2024 | 31st MEU conducts Joint-Strike Rehearsal

    Photo by Lance Cpl. Peter Eilen

    31st Marine Expeditionary Unit

    Visit images Page
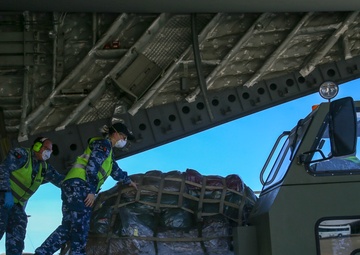
    DLQ

    DLQ

    Photo by Cpl. Zane Ortega

    U.S. Marine Corps Forces, Europe and Africa

    Visit images Page
    DLQ

    DLQ

    Photo by Cpl. Zane Ortega

    U.S. Marine Corps Forces, Europe and Africa

    Visit images Page
    DLQ

    DLQ

    Photo by Cpl. Zane Ortega

    U.S. Marine Corps Forces, Europe and Africa

    Visit images Page
    DLQ

    DLQ

    Photo by Cpl. Zane Ortega

    U.S. Marine Corps Forces, Europe and Africa

    Visit images Page
    MRF-D’s ACE touches down at RAAF Darwin

    MRF-D’s ACE touches down at RAAF Darwin

    Photo by Cpl. Harrison Rakhshani

    Marine Rotational Force - Darwin

    Visit images Page
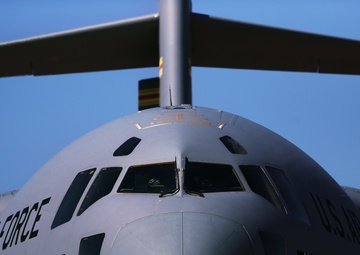
    MRF-D’s ACE touches down at RAAF Darwin

    MRF-D’s ACE touches down at RAAF Darwin

    Photo by Cpl. Harrison Rakhshani

    Marine Rotational Force - Darwin

    Visit images Page
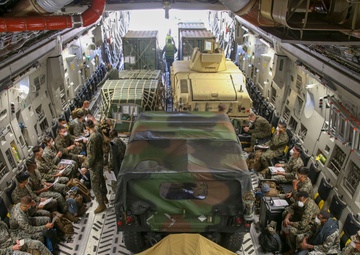
    MRF-D’s ACE touches down at RAAF Darwin

    MRF-D’s ACE touches down at RAAF Darwin

    Photo by Cpl. Harrison Rakhshani

    Marine Rotational Force - Darwin

    Visit images Page
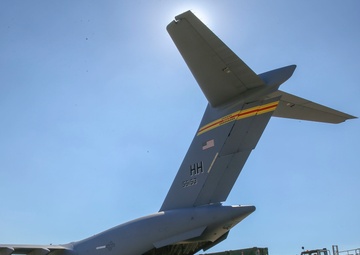
    MRF-D’s ACE touches down at RAAF Darwin

    MRF-D’s ACE touches down at RAAF Darwin

    Photo by Cpl. Harrison Rakhshani

    Marine Rotational Force - Darwin

    Visit images Page
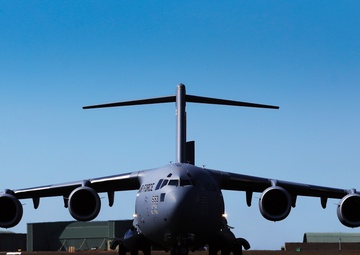
    MRF-D’s ACE touches down at RAAF Darwin

    MRF-D’s ACE touches down at RAAF Darwin

    Photo by Cpl. Harrison Rakhshani

    Marine Rotational Force - Darwin

    Visit images Page
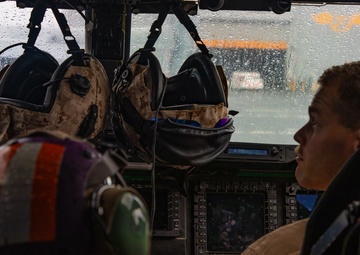
    SPMAGTF-CR-CC 19.2: ACE School Circle

    SPMAGTF-CR-CC 19.2: ACE School Circle

    Photo by Sgt. Kyle Talbot

    U.S. Marine Corps Forces Central Command

    Visit images Page
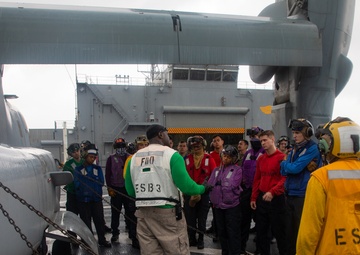
    SPMAGTF-CR-CC 19.2: ACE School Circle

    SPMAGTF-CR-CC 19.2: ACE School Circle

    Photo by Sgt. Kyle Talbot

    U.S. Marine Corps Forces Central Command

    Visit images Page
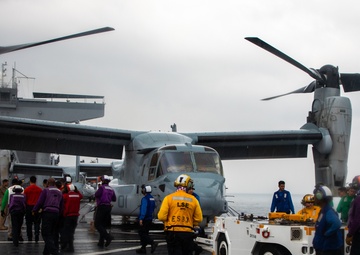
    SPMAGTF-CR-CC 19.2: ACE School Circle

    SPMAGTF-CR-CC 19.2: ACE School Circle

    Photo by Sgt. Kyle Talbot

    U.S. Marine Corps Forces Central Command

    Visit images Page
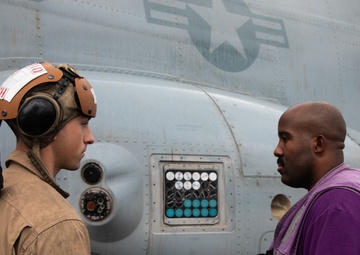
    SPMAGTF-CR-CC 19.2: ACE School Circle

    SPMAGTF-CR-CC 19.2: ACE School Circle

    Photo by Sgt. Kyle Talbot

    U.S. Marine Corps Forces Central Command

    Visit images Page
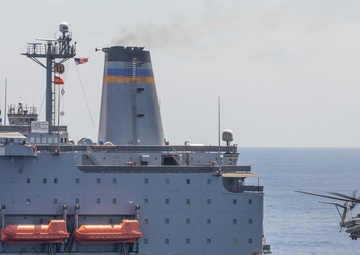
    Responding to Crisis

    Responding to Crisis

    Photo by Sgt. Robert Gavaldon

    U.S. Marine Corps Forces Central Command

    Visit images Page
    Responding to Crisis

    Responding to Crisis

    Photo by Sgt. Kyle Talbot

    U.S. Marine Corps Forces Central Command

    Visit images Page
    Responding to Crisis

    Responding to Crisis

    Photo by Sgt. Kyle Talbot

    U.S. Marine Corps Forces Central Command

    Visit images Page
    USS Boxer CH-53E Super Stallion Vertical Replenishment-At-Sea

    USS Boxer CH-53E Super Stallion Vertical Replenishment-At-Sea

    Photo by Cpl. Dalton Swanbeck

    11th Marine Expeditionary Unit

    Visit images Page
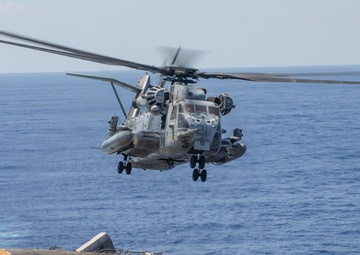
    USS Boxer CH-53E Super Stallion Vertical Replenishment-At-Sea

    USS Boxer CH-53E Super Stallion Vertical Replenishment-At-Sea

    Photo by Cpl. Dalton Swanbeck

    11th Marine Expeditionary Unit

    Visit images Page
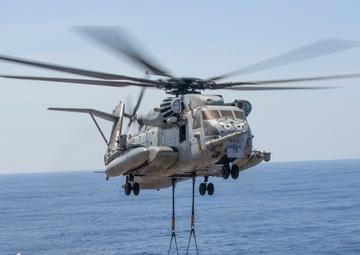
    USS Boxer CH-53E Super Stallion Vertical Replenishment-At-Sea

    USS Boxer CH-53E Super Stallion Vertical Replenishment-At-Sea

    Photo by Cpl. Dalton Swanbeck

    11th Marine Expeditionary Unit

    Visit images Page
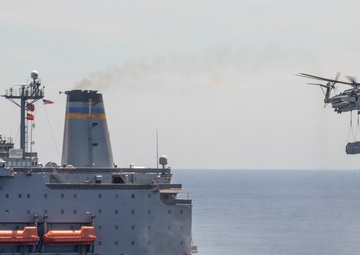
    USS Boxer CH-53E Super Stallion Vertical Replenishment-At-Sea

    USS Boxer CH-53E Super Stallion Vertical Replenishment-At-Sea

    Photo by Cpl. Dalton Swanbeck

    11th Marine Expeditionary Unit

    Visit images Page
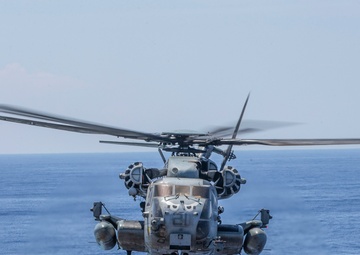
    USS Boxer CH-53E Super Stallion Vertical Replenishment-At-Sea

    USS Boxer CH-53E Super Stallion Vertical Replenishment-At-Sea

    Photo by Cpl. Dalton Swanbeck

    11th Marine Expeditionary Unit

    Visit images Page
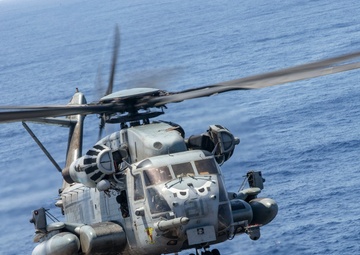
    USS Boxer CH-53E Super Stallion Vertical Replenishment-At-Sea

    USS Boxer CH-53E Super Stallion Vertical Replenishment-At-Sea

    Photo by Cpl. Dalton Swanbeck

    11th Marine Expeditionary Unit

    Visit images Page