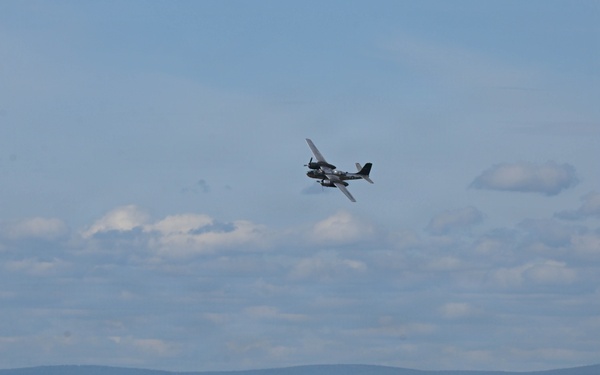
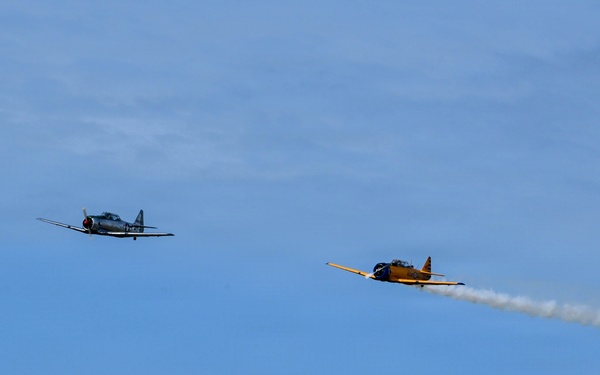
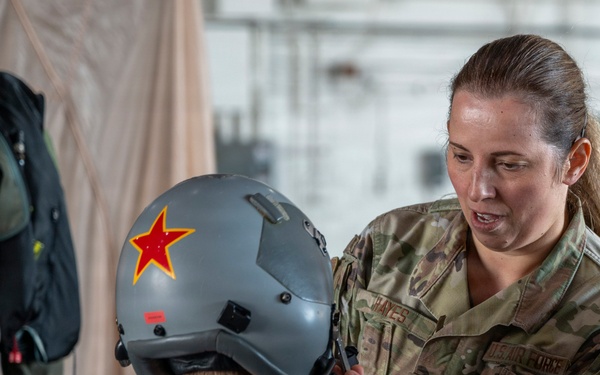
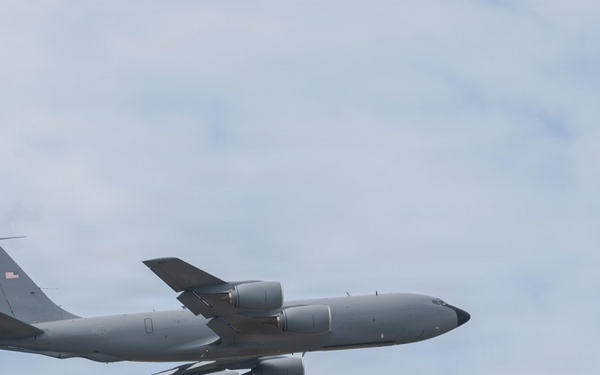
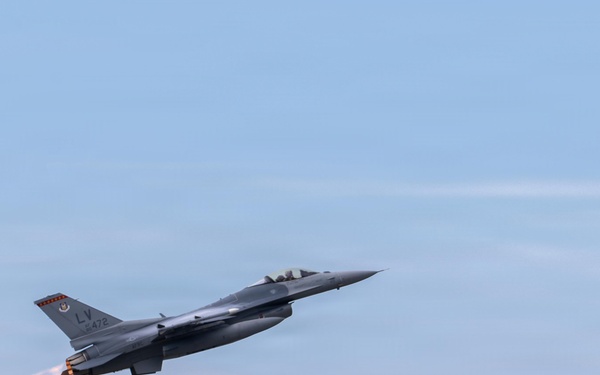
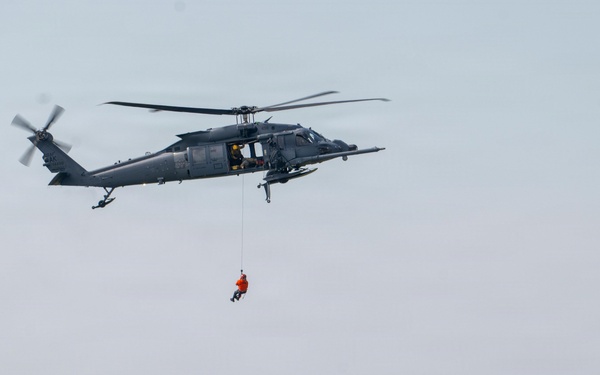
2026 Arctic Lightning Airshow Military Appreciation Day
354th Fighter Wing
Visit images Page
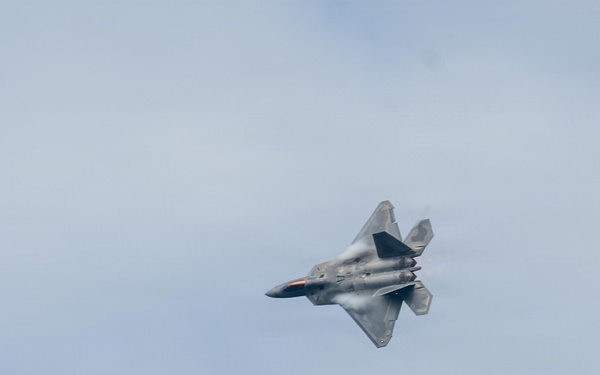
2026 Arctic Lightning Airshow Military Appreciation Day
354th Fighter Wing
Visit images Page
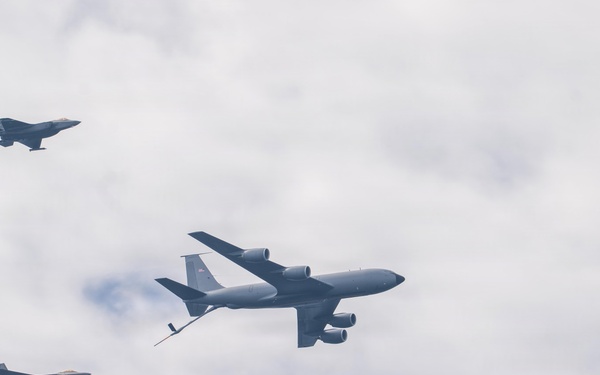
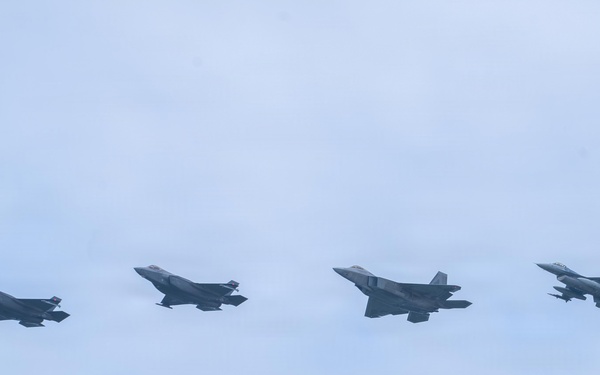
2026 Arctic Lightning Airshow Military Appreciation Day
354th Fighter Wing
Visit images Page

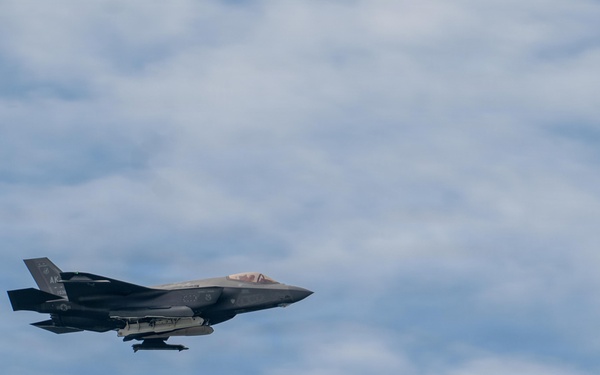
2026 Arctic Lightning Airshow Military Appreciation Day
354th Fighter Wing
Visit images Page
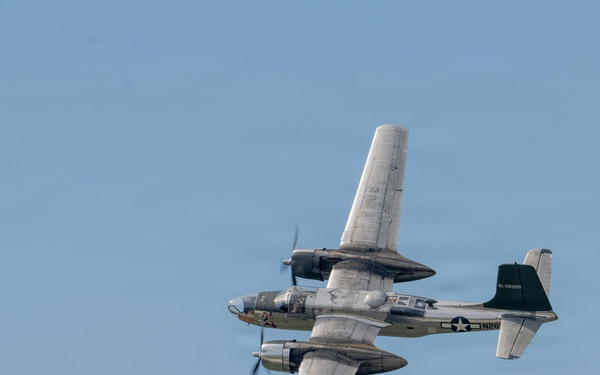
2026 Arctic Lightning Airshow Military Appreciation Day
354th Fighter Wing
Visit images Page
2026 Arctic Lightning Airshow Military Appreciation Day
354th Fighter Wing
Visit images Page
2026 Arctic Lightning Airshow Military Appreciation Day
354th Fighter Wing
Visit images Page
2026 Arctic Lightning Airshow Military Appreciation Day
354th Fighter Wing
Visit images Page
2026 Arctic Lightning Airshow Military Appreciation Day
354th Fighter Wing
Visit images Page
2026 Arctic Lightning Airshow Military Appreciation Day
354th Fighter Wing
Visit images Page
2026 Arctic Lightning Airshow Military Appreciation Day
354th Fighter Wing
Visit images Page
2026 Arctic Lightning Airshow Military Appreciation Day
354th Fighter Wing
Visit images Page
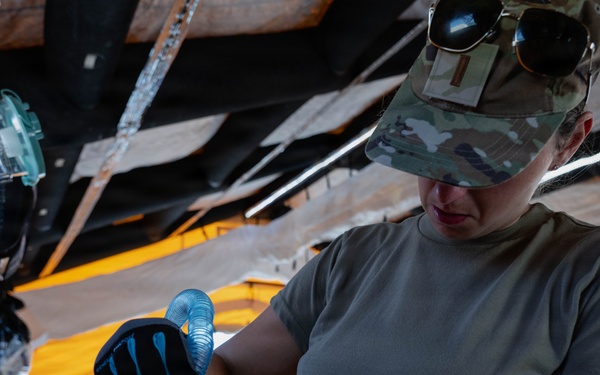
105th Medics complete triennial training requirement
105th Airlift Wing
Visit images Page
105th Medics complete triennial training requirement
105th Airlift Wing
Visit images Page

105th Medics complete triennial training requirement
105th Airlift Wing
Visit images Page
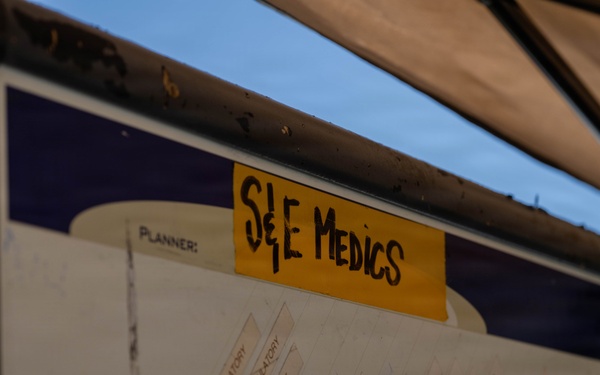
SLTE 4-26: Regimental Shoutout: Cpl. Jennifer Carmona
2nd Marine Division
Visit images Page

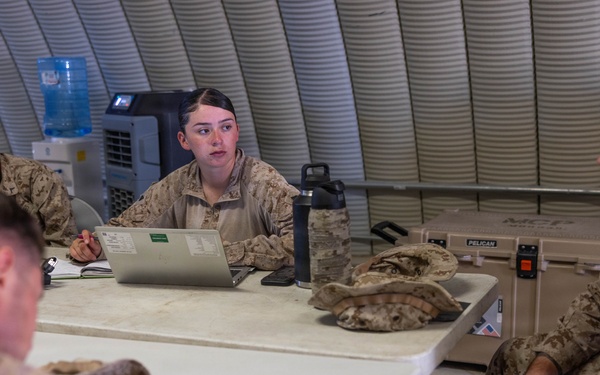
SLTE 4-26: Regimental Shoutout: Cpl. Jennifer Carmona
2nd Marine Division
Visit images Page
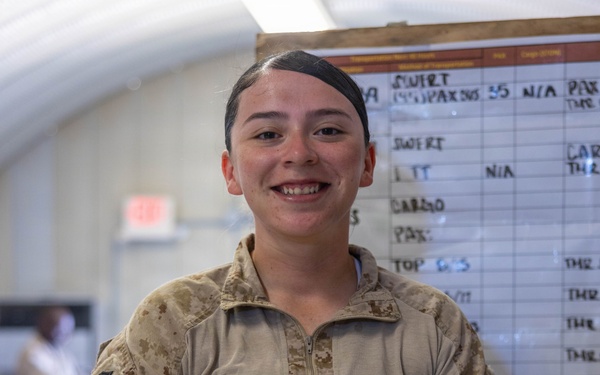
SLTE 4-26: Regimental Shoutout: Cpl. Jennifer Carmona
2nd Marine Division
Visit images Page
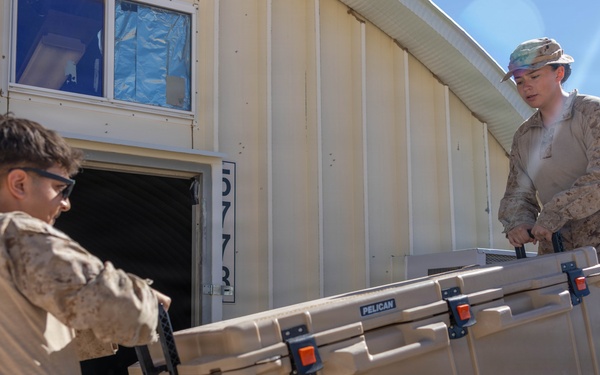
SLTE 4-26: Regimental Shoutout: Cpl. Jennifer Carmona
2nd Marine Division
Visit images Page