H5免簽價格【電報Signleiting】蘋果快捷圖標多少錢可靠.ode
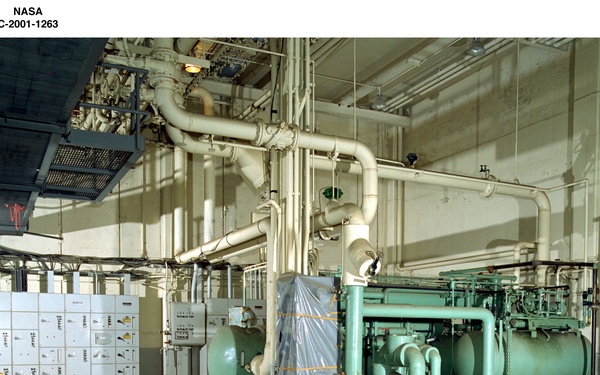
PLUM BROOK REACTOR FACILITY / DIESEL GENERATOR / 00103 / H5 - L3
Courtesy Photo
NASA
Visit images Page
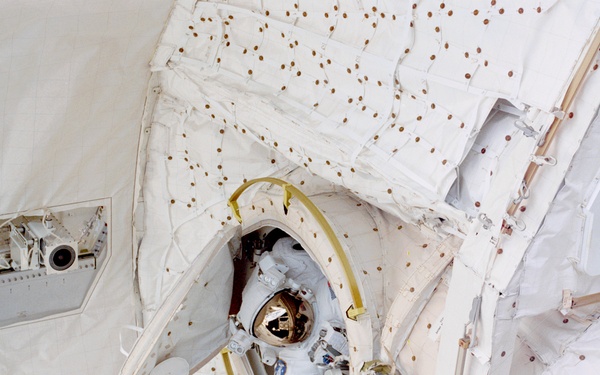
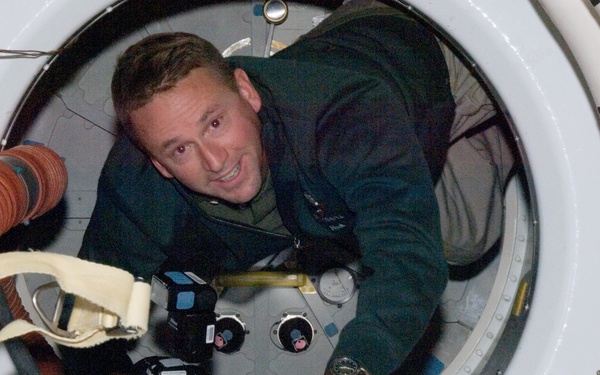
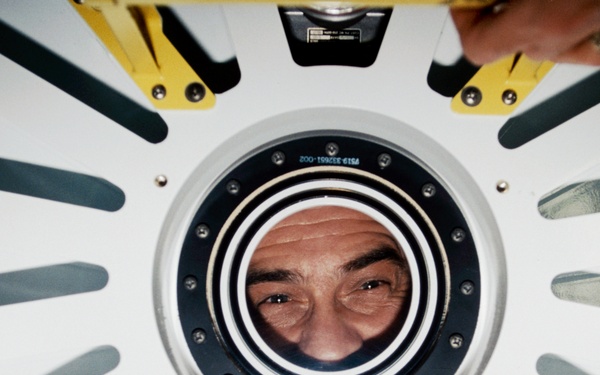
Wisoff moves into ODS airlock hatch at end of EVA
Courtesy Photo
NASA
Visit images Page

Wisoff moves into ODS airlock hatch at end of EVA
Courtesy Photo
NASA
Visit images Page

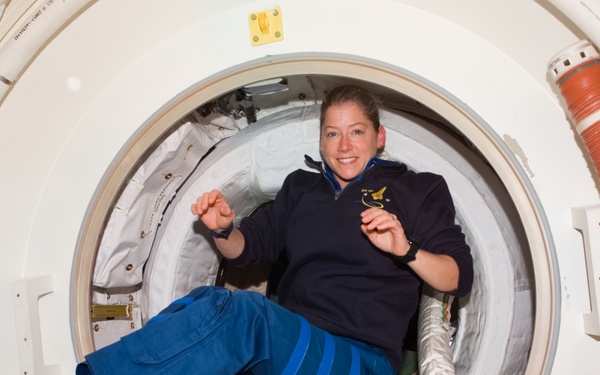
Ross drifts through the ODS hatch to the ISS during STS-110
Courtesy Photo
NASA
Visit images Page

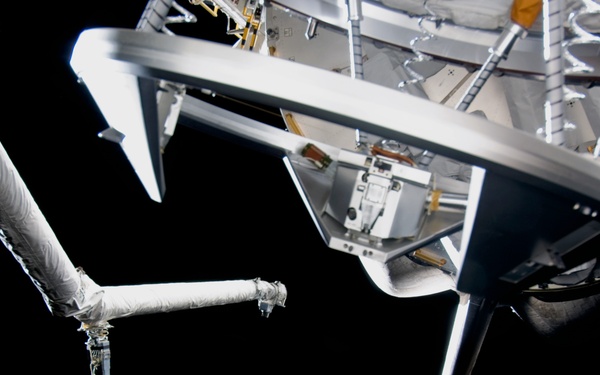
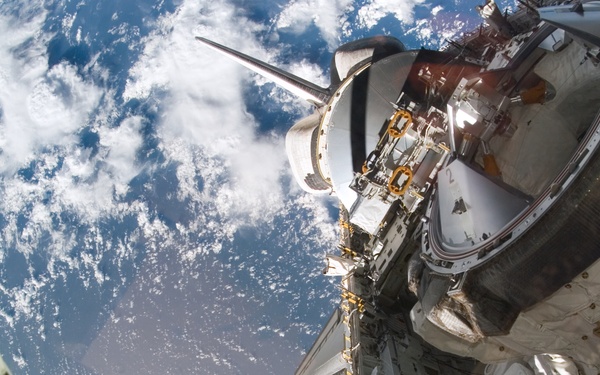
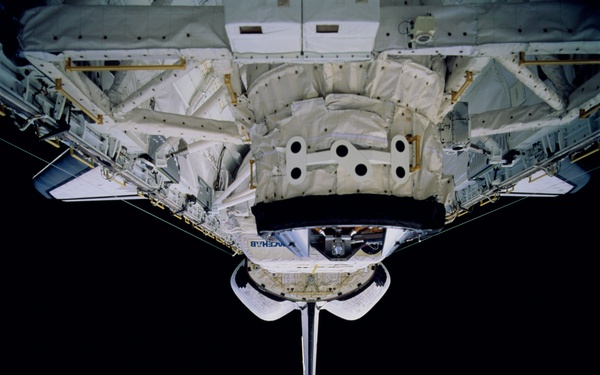
View of the ODS in Atlantis' payload bay taken during STS-110
Courtesy Photo
NASA
Visit images Page
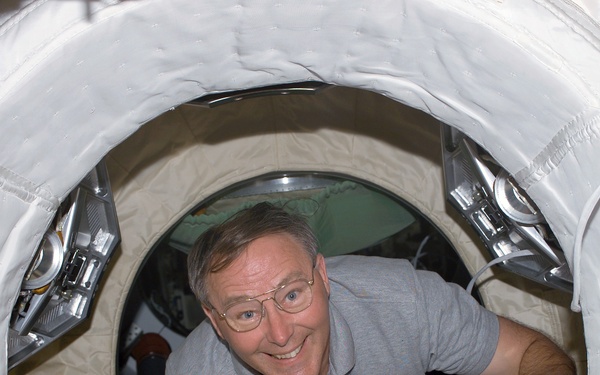
Ross drifts through the ODS hatch to the ISS during STS-110
Courtesy Photo
NASA
Visit images Page
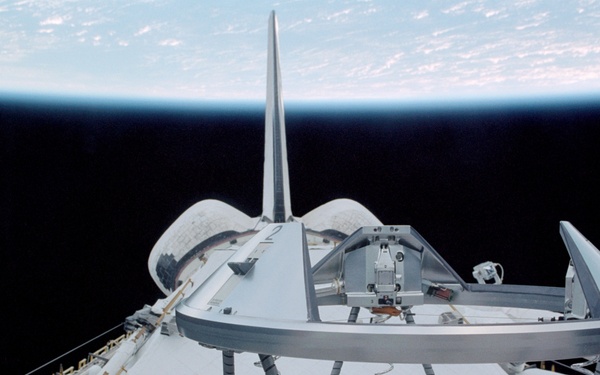
View of the ODS in Atlantis' payload bay taken during STS-110
Courtesy Photo
NASA
Visit images Page

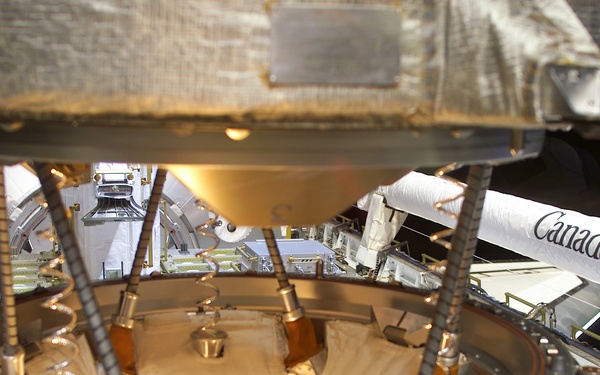
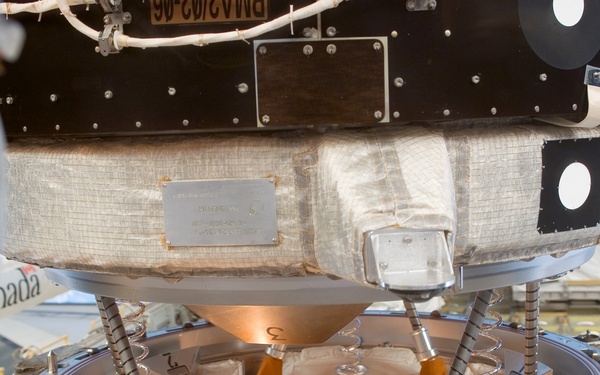
View of PMA 2 and ODS as the orbiter docks with the ISS during STS-121
Courtesy Photo
NASA
Visit images Page
View of PMA 2 and ODS as the orbiter docks with the ISS during STS-121
Courtesy Photo
NASA
Visit images Page
View of PMA 2 and ODS as the orbiter docks with the ISS during STS-121
Courtesy Photo
NASA
Visit images Page

View of PMA 2 and ODS as the orbiter docks with the ISS during STS-121
Courtesy Photo
NASA
Visit images Page
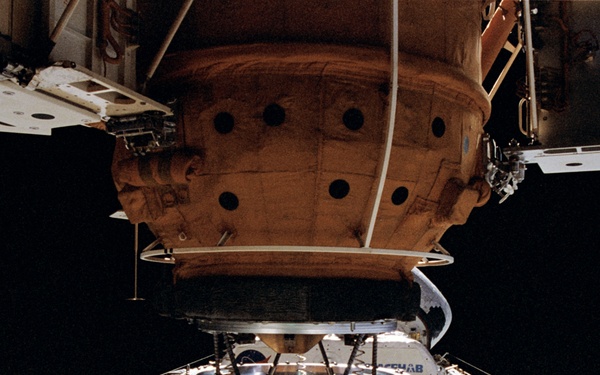
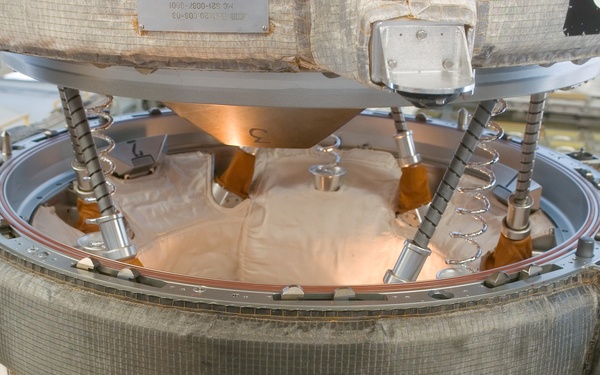
View of APAS during docking with Mir Space Station
Courtesy Photo
NASA
Visit images Page

View of APAS during docking with Mir Space Station
Courtesy Photo
NASA
Visit images Page
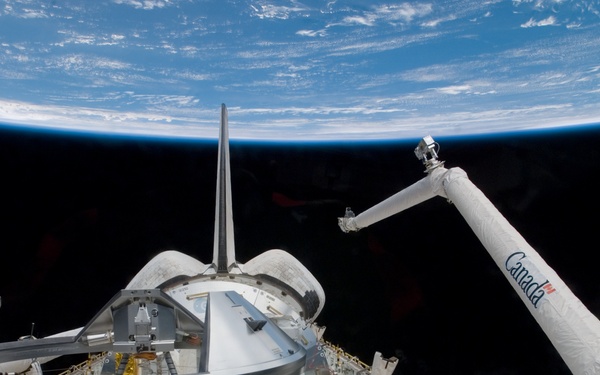
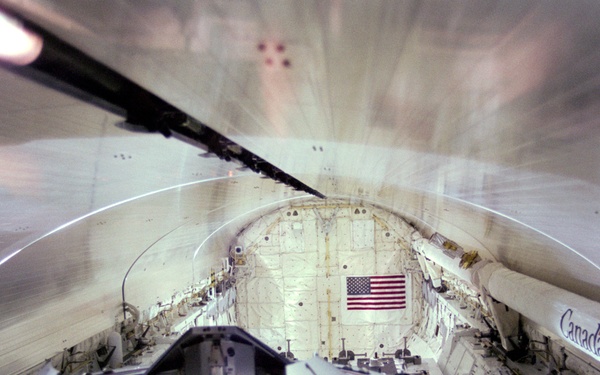
Payload Bay of Atlantis during the STS-122 Mission
Courtesy Photo
NASA
Visit images Page

Payload Bay of Atlantis during the STS-122 Mission
Courtesy Photo
NASA
Visit images Page
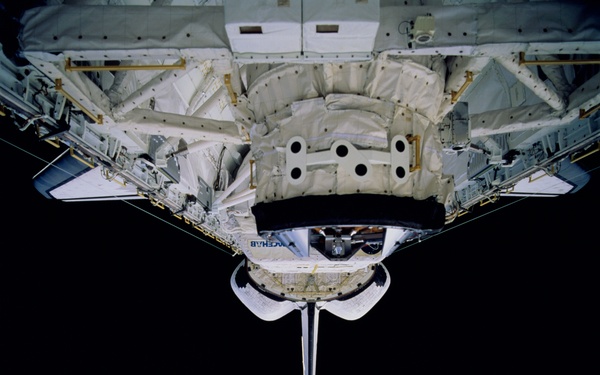
View of the Atlantis's payload bay after undocking
Courtesy Photo
NASA
Visit images Page
View of the Atlantis's payload bay after undocking
Courtesy Photo
NASA
Visit images Page