Maintenance window scheduled to begin at February 14th 2200 est. until 0400 est. February 15th
line账号购买2元【网址vip040.com】/联系方式puxi

U-2 Pilots Skim 'Terminator Line'
Courtesy Video
Department of War
Visit video Page

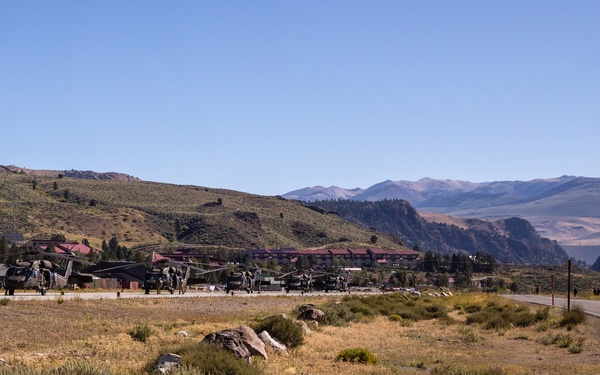
2-3 Infantry Soldiers patrol containment line
Courtesy Photo
DoD Support to National Interagency Fire Center
Visit images Page

Thin Blue Line, Part 2: Defenders secure flight line, ensure mobility mission
60th Air Mobility Wing
Visit news Page
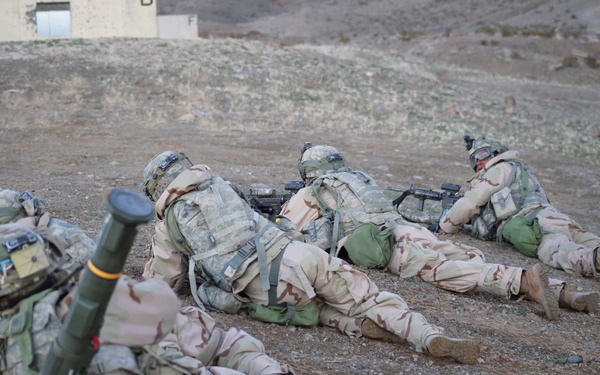
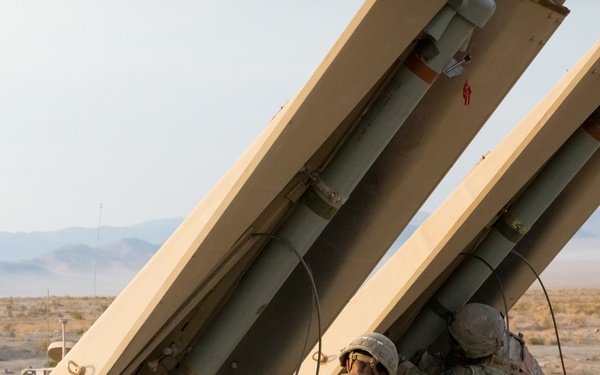
9th Com Bn., simulates MEB deployment operations
I Marine Expeditionary Force
Visit images Page
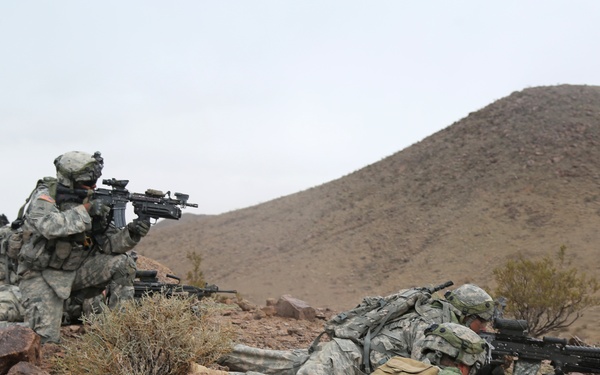
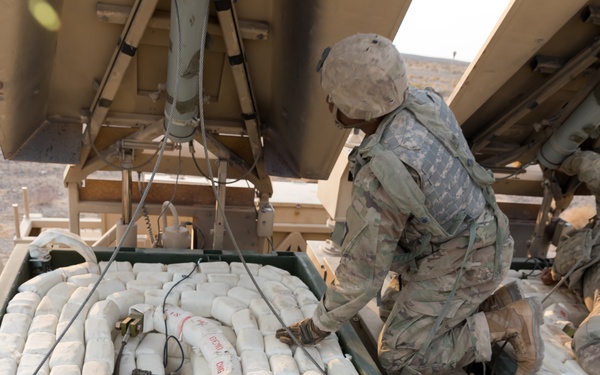
9th Com Bn., simulates MEB deployment operations
I Marine Expeditionary Force
Visit images Page
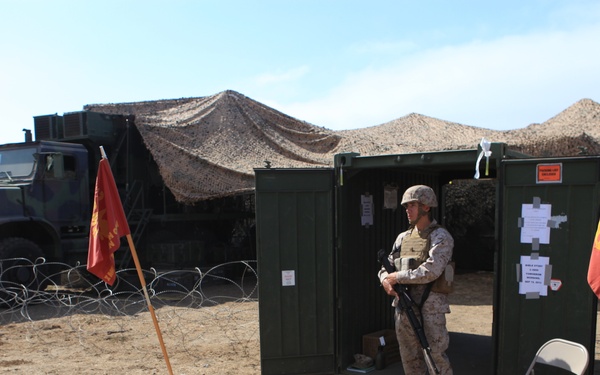
9th Com Bn., simulates MEB deployment operations
I Marine Expeditionary Force
Visit news Page

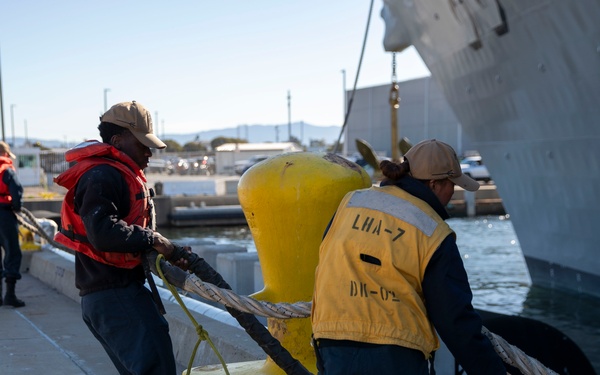
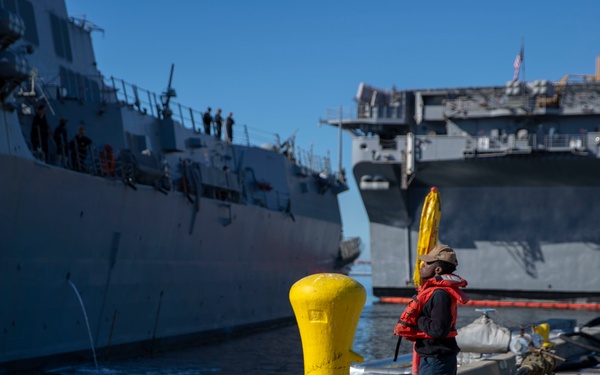
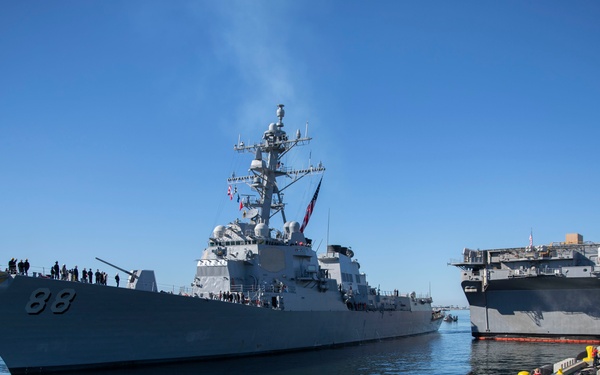
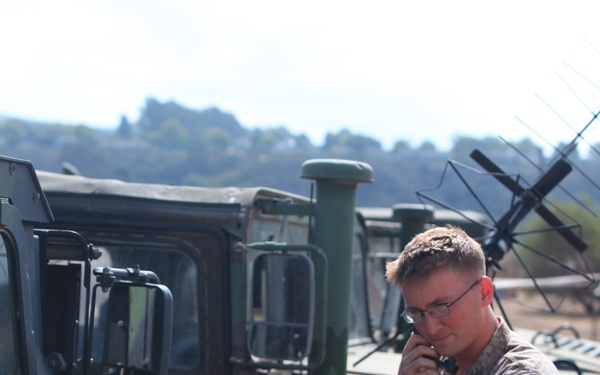
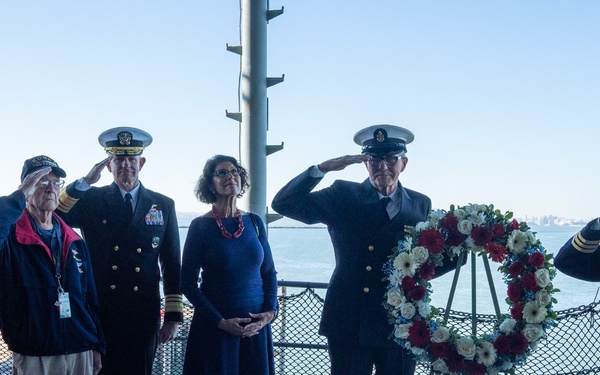
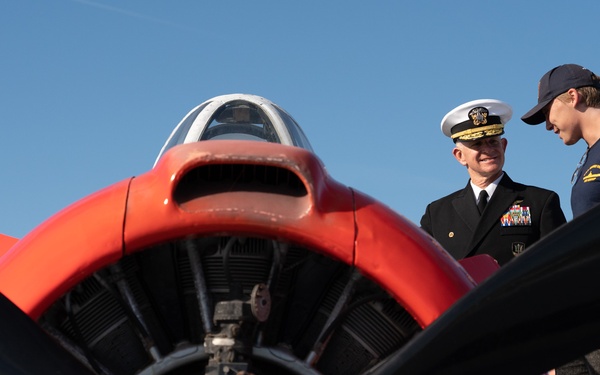
C2F COM Visits Alameda, USS Hornet Sea, Air, and Space Museum
Commander, U.S. 2nd Fleet
Visit images Page
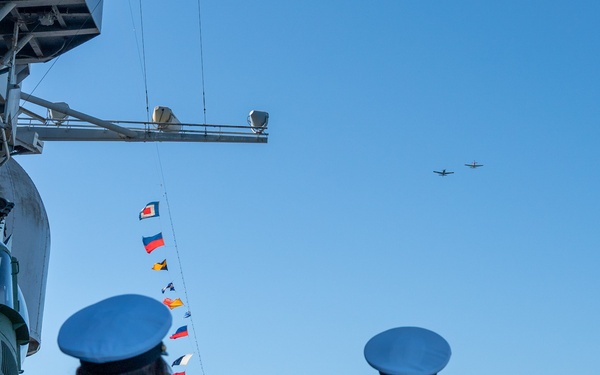
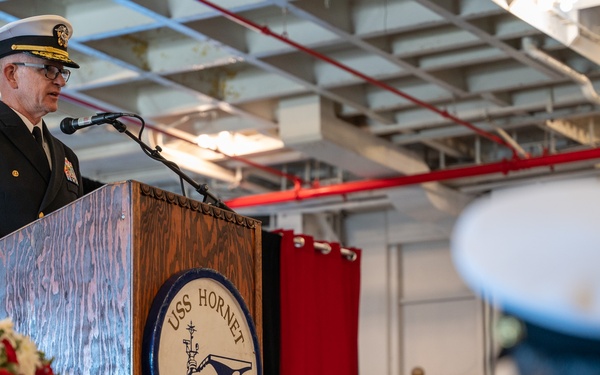
C2F COM Visits Alameda, USS Hornet Sea, Air, and Space Museum
Commander, U.S. 2nd Fleet
Visit images Page
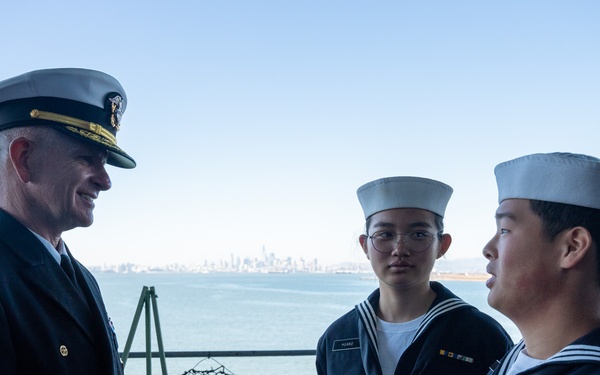
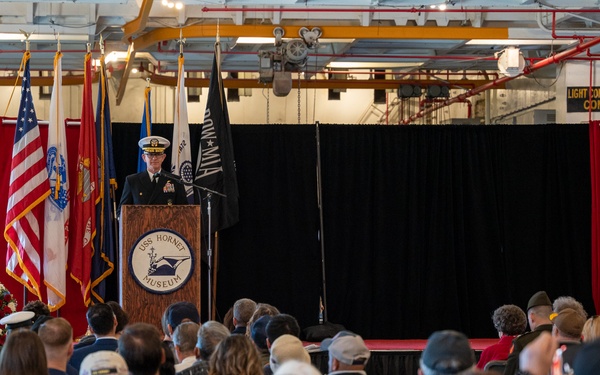
C2F COM Visits Alameda, USS Hornet Sea, Air, and Space Museum
Commander, U.S. 2nd Fleet
Visit images Page
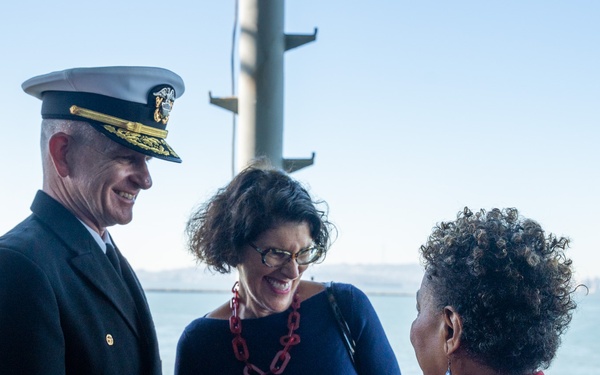
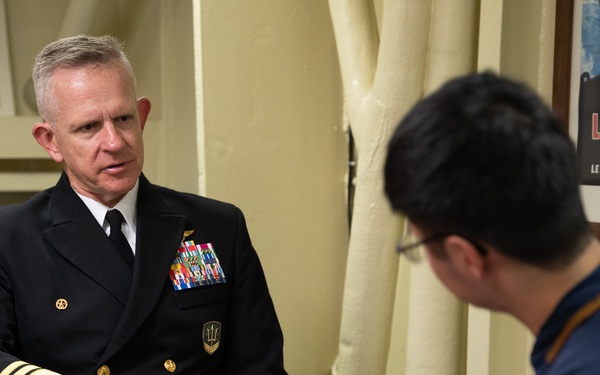
C2F COM Visits Alameda, USS Hornet Sea, Air, and Space Museum
Commander, U.S. 2nd Fleet
Visit images Page
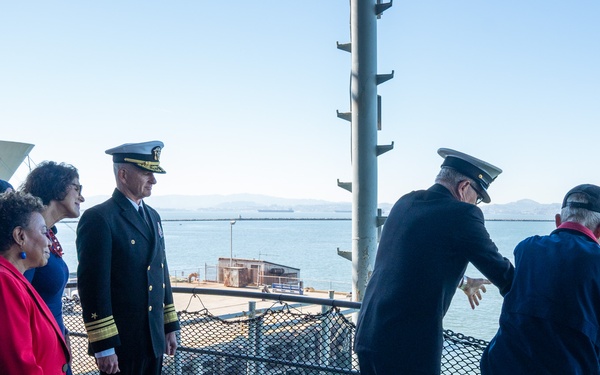
C2F COM Visits Alameda, USS Hornet Sea, Air, and Space Museum
Commander, U.S. 2nd Fleet
Visit images Page
C2F COM Visits Alameda, USS Hornet Sea, Air, and Space Museum
Commander, U.S. 2nd Fleet
Visit images Page
C2F COM Visits Alameda, USS Hornet Sea, Air, and Space Museum
Commander, U.S. 2nd Fleet
Visit images Page
C2F COM Visits Alameda, USS Hornet Sea, Air, and Space Museum
Commander, U.S. 2nd Fleet
Visit images Page
C2F COM Visits Alameda, USS Hornet Sea, Air, and Space Museum
Commander, U.S. 2nd Fleet
Visit images Page
C2F COM Visits Alameda, USS Hornet Sea, Air, and Space Museum
Commander, U.S. 2nd Fleet
Visit images Page