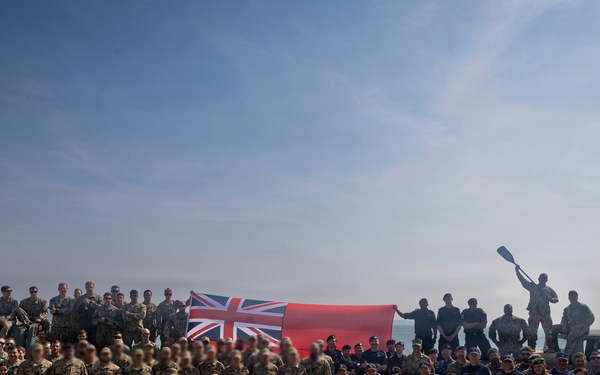
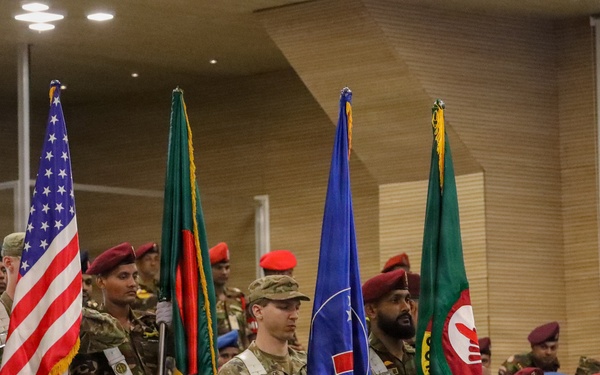
Allied and partner nations display their nations flags after completing Sea Breeze 26-2
U.S. Naval Forces Europe-Africa/U.S. Sixth Fleet
Visit images Page
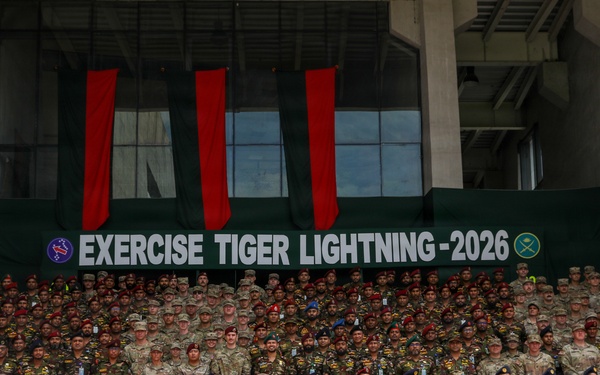
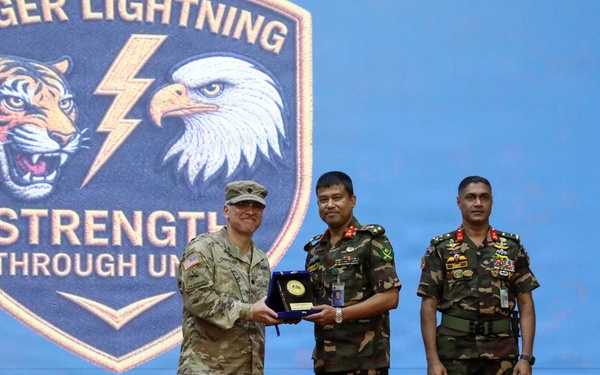
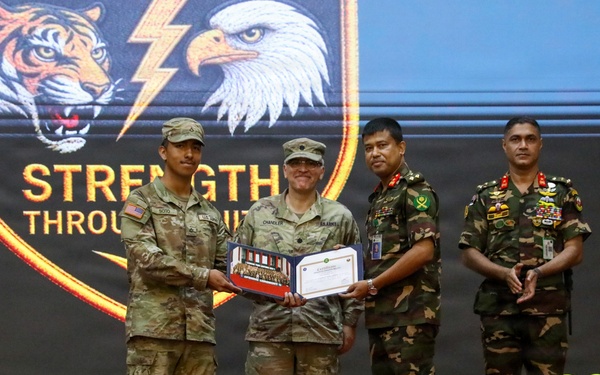
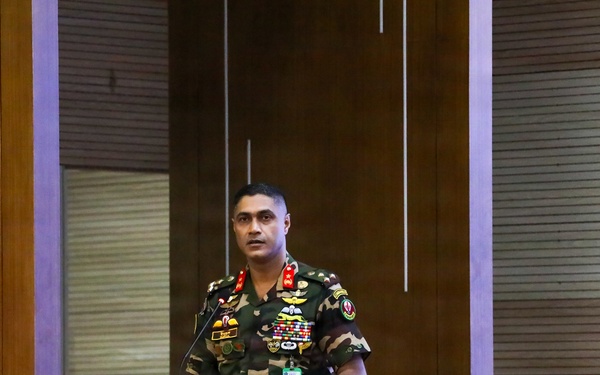
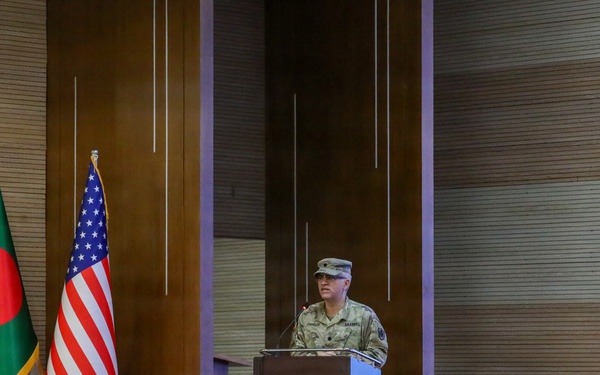
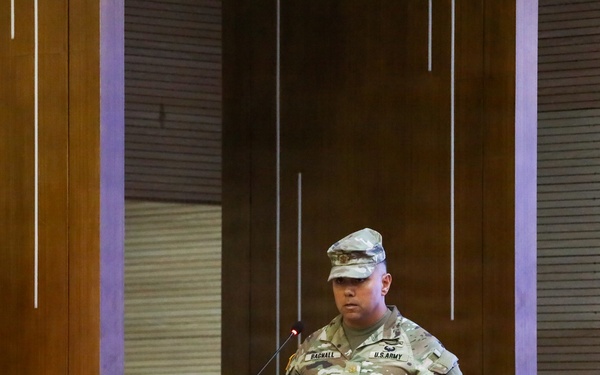
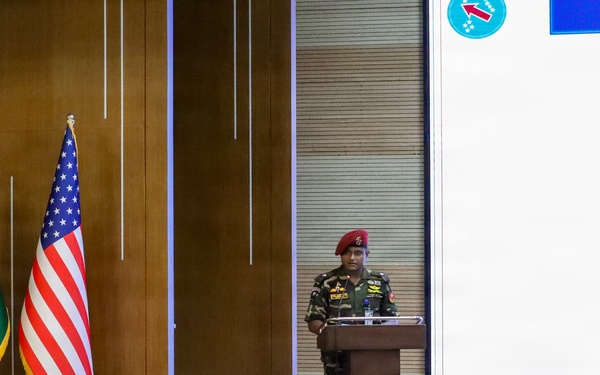
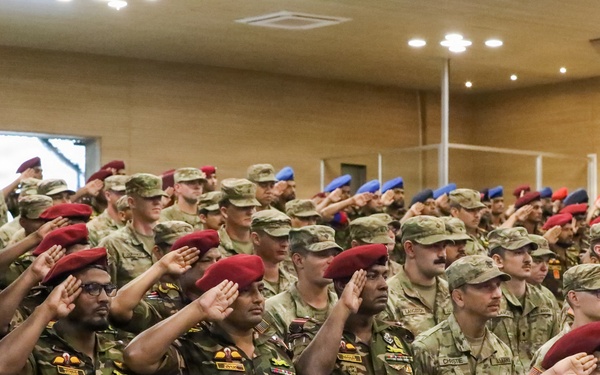
Exercise Tiger Lightning 2026 Closing Ceremony
340th Public Affairs Detachment
Visit images Page
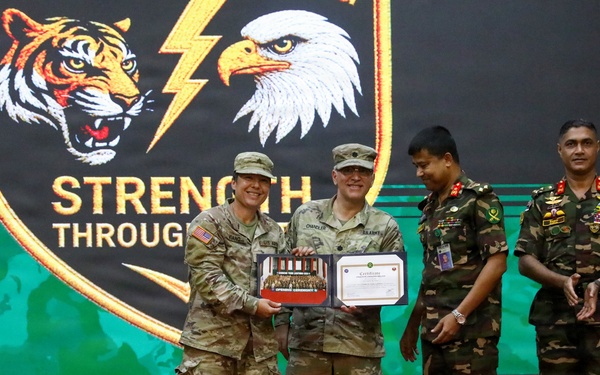
Exercise Tiger Lightning 2026 Closing Ceremony
340th Public Affairs Detachment
Visit images Page
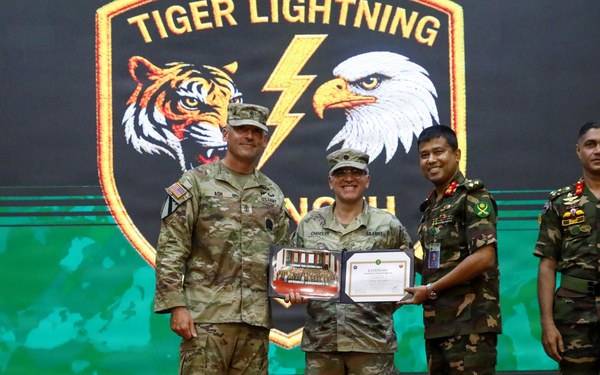
Exercise Tiger Lightning 2026 Closing Ceremony
340th Public Affairs Detachment
Visit images Page
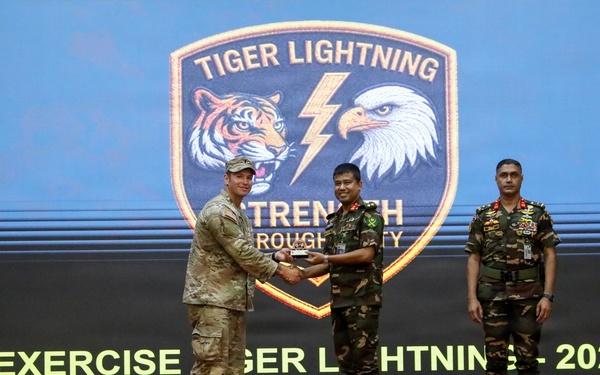
Exercise Tiger Lightning 2026 Closing Ceremony
340th Public Affairs Detachment
Visit images Page
Exercise Tiger Lightning 2026 Closing Ceremony
340th Public Affairs Detachment
Visit images Page
Exercise Tiger Lightning 2026 Closing Ceremony
340th Public Affairs Detachment
Visit images Page
Exercise Tiger Lightning 2026 Closing Ceremony
340th Public Affairs Detachment
Visit images Page
Exercise Tiger Lightning 2026 Closing Ceremony
340th Public Affairs Detachment
Visit images Page
Exercise Tiger Lightning 2026 Closing Ceremony
340th Public Affairs Detachment
Visit images Page
Exercise Tiger Lightning 2026 Closing Ceremony
340th Public Affairs Detachment
Visit images Page
Exercise Tiger Lightning 2026 Closing Ceremony
340th Public Affairs Detachment
Visit images Page
Exercise Tiger Lightning 2026 Closing Ceremony
340th Public Affairs Detachment
Visit images Page
Exercise Tiger Lightning 2026 Closing Ceremony
340th Public Affairs Detachment
Visit images Page
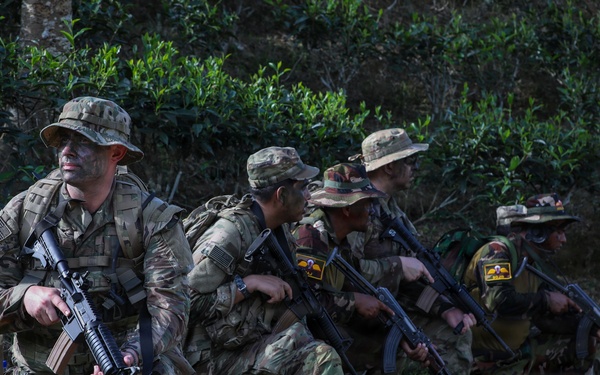
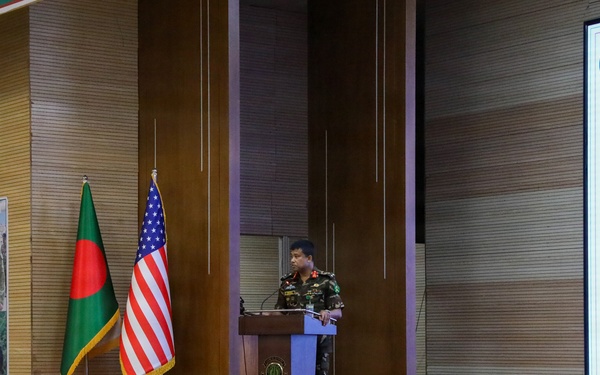
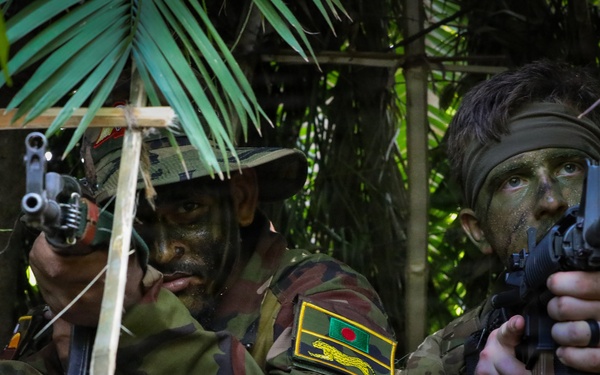
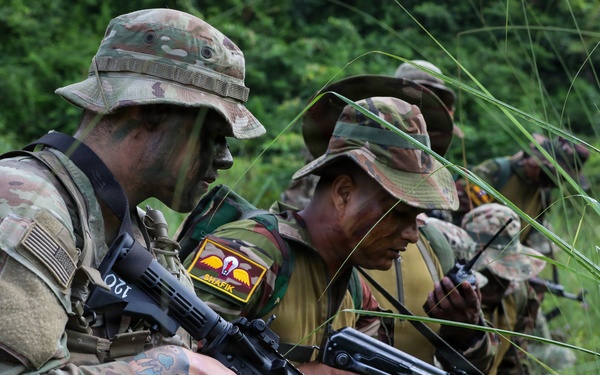
US, Bangladesh Forces conduct FTX during Exercise Tiger Lightning 2026
340th Public Affairs Detachment
Visit images Page
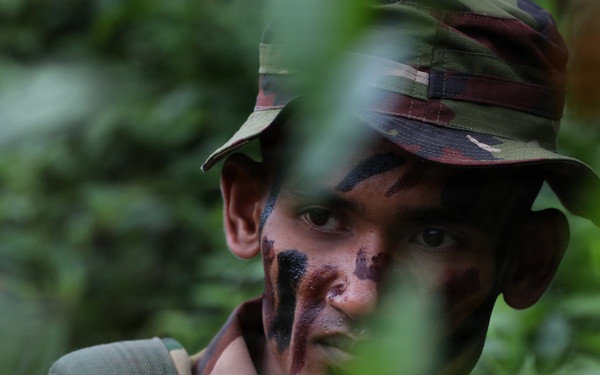
US, Bangladesh Forces conduct FTX during Exercise Tiger Lightning 2026
340th Public Affairs Detachment
Visit images Page
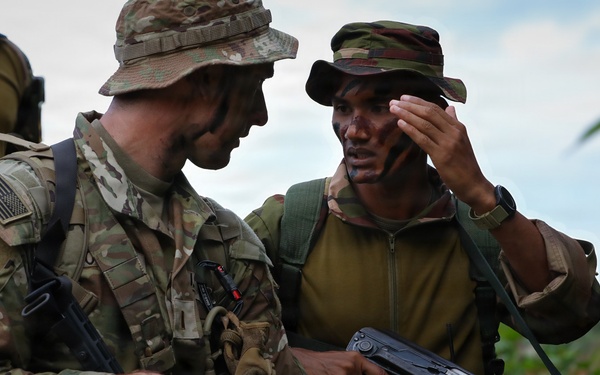
US, Bangladesh Forces conduct FTX during Exercise Tiger Lightning 2026
340th Public Affairs Detachment
Visit images Page
US, Bangladesh Forces conduct FTX during Exercise Tiger Lightning 2026
340th Public Affairs Detachment
Visit images Page
US, Bangladesh Forces conduct FTX during Exercise Tiger Lightning 2026
340th Public Affairs Detachment
Visit images Page
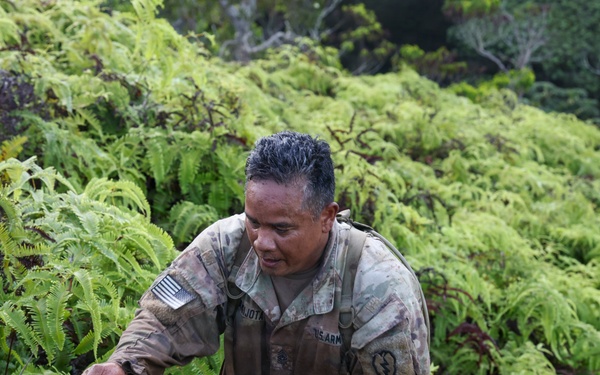
Bartholomees says farewell with final PT
28th Public Affairs Detachment
Visit images Page

Bartholomees says farewell with final PT
28th Public Affairs Detachment
Visit images Page

Bartholomees says farewell with final PT
28th Public Affairs Detachment
Visit images Page
Bartholomees says farewell with final PT
28th Public Affairs Detachment
Visit images Page

Bartholomees says farewell with final PT
28th Public Affairs Detachment
Visit images Page

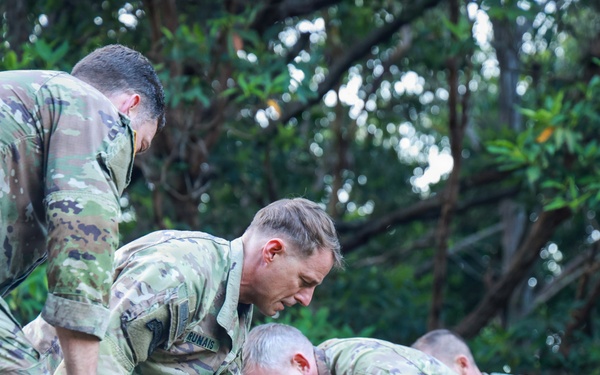
Maj. Gen. James B. Bartholomees says farewell with final PT
28th Public Affairs Detachment
Visit images Page

Maj. Gen. James B. Bartholomees says farewell with final PT
28th Public Affairs Detachment
Visit images Page

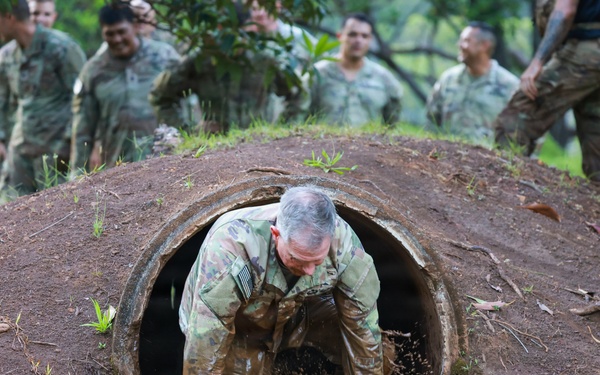
Maj. Gen. James B. Bartholomees says farewell with final PT
28th Public Affairs Detachment
Visit images Page
Maj. Gen. James B. Bartholomees says farewell with final PT
28th Public Affairs Detachment
Visit images Page
Maj. Gen. James B. Bartholomees says farewell with final PT
28th Public Affairs Detachment
Visit images Page

Maj. Gen. James B. Bartholomees says farewell with final PT
28th Public Affairs Detachment
Visit images Page