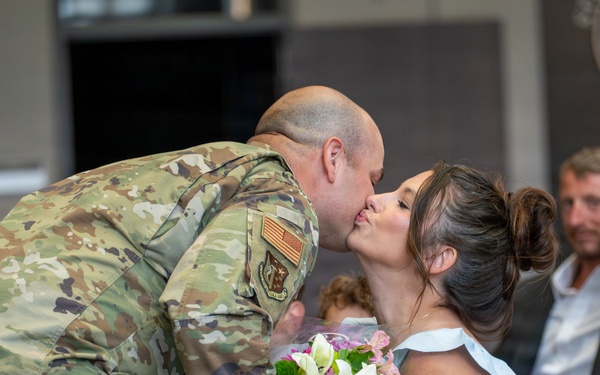
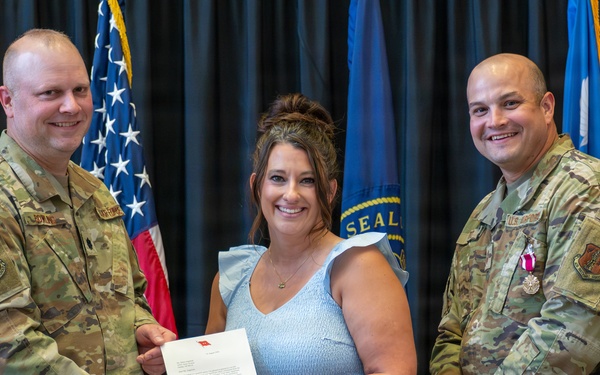
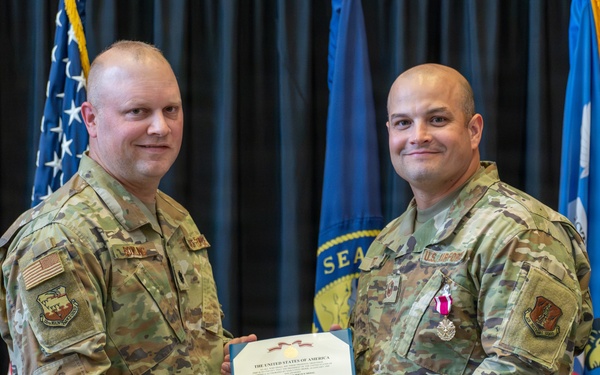
Senior Master Sgt. Ryan Fitz retires from Nebraska Air National Guard
Joint Force Headquarters - Nebraska National Guard
Visit images Page
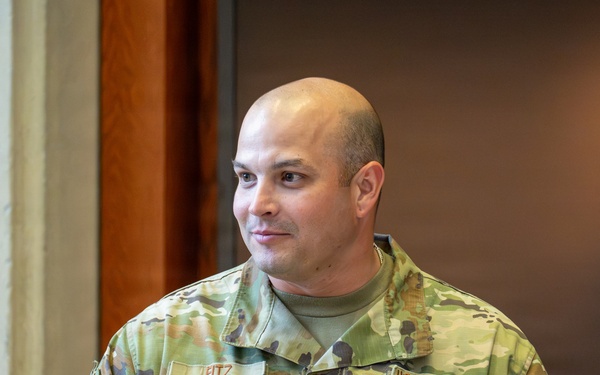
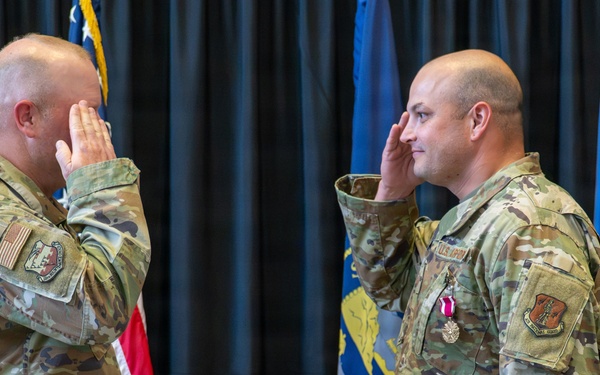
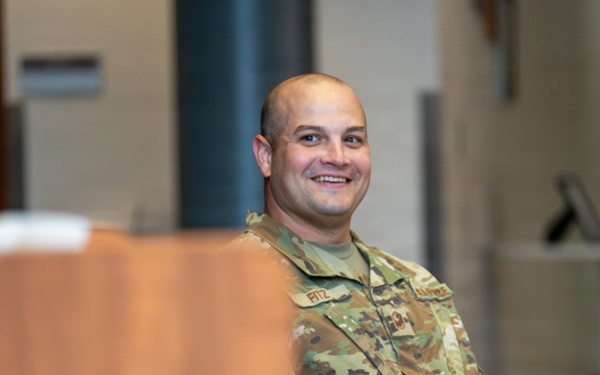
Senior Master Sgt. Ryan Fitz retires from Nebraska Air National Guard
Joint Force Headquarters - Nebraska National Guard
Visit images Page

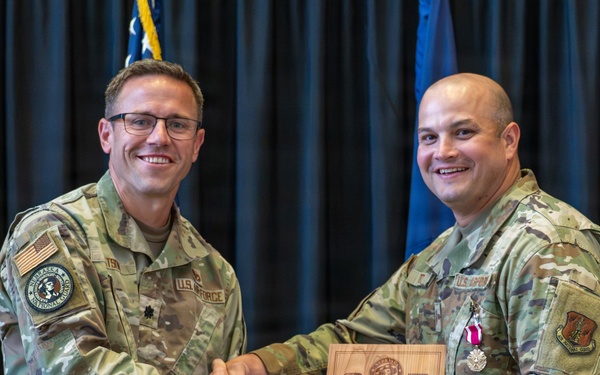
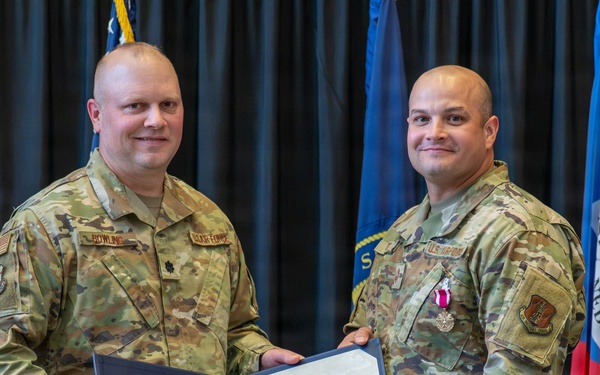
Senior Master Sgt. Ryan Fitz retires from Nebraska Air National Guard
Joint Force Headquarters - Nebraska National Guard
Visit images Page
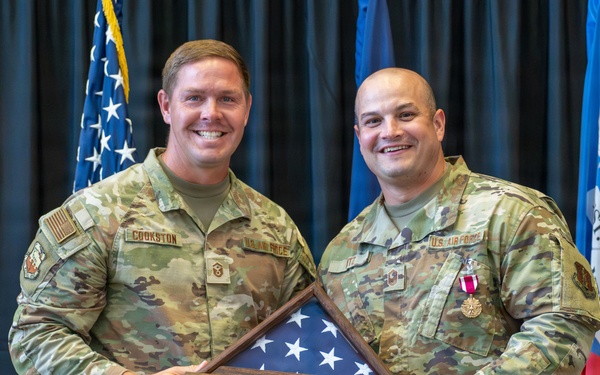
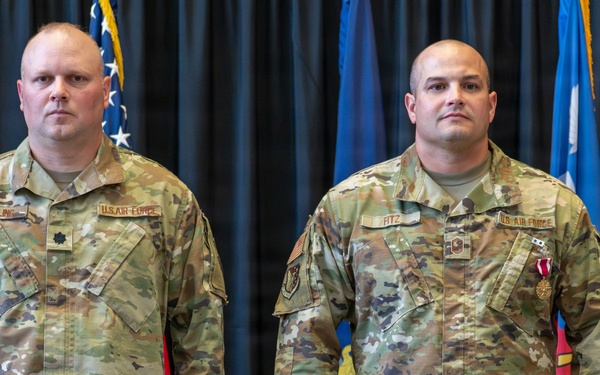
Senior Master Sgt. Ryan Fitz retires from Nebraska Air National Guard
Joint Force Headquarters - Nebraska National Guard
Visit images Page
Senior Master Sgt. Ryan Fitz retires from Nebraska Air National Guard
Joint Force Headquarters - Nebraska National Guard
Visit images Page
Senior Master Sgt. Ryan Fitz retires from Nebraska Air National Guard
Joint Force Headquarters - Nebraska National Guard
Visit images Page
Senior Master Sgt. Ryan Fitz retires from Nebraska Air National Guard
Joint Force Headquarters - Nebraska National Guard
Visit images Page
Senior Master Sgt. Ryan Fitz retires from Nebraska Air National Guard
Joint Force Headquarters - Nebraska National Guard
Visit images Page
Senior Master Sgt. Ryan Fitz retires from Nebraska Air National Guard
Joint Force Headquarters - Nebraska National Guard
Visit images Page
Senior Master Sgt. Ryan Fitz retires from Nebraska Air National Guard
Joint Force Headquarters - Nebraska National Guard
Visit images Page
Senior Master Sgt. Ryan Fitz retires from Nebraska Air National Guard
Joint Force Headquarters - Nebraska National Guard
Visit images Page
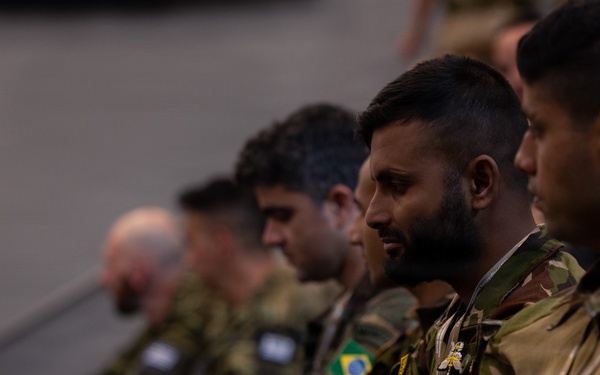
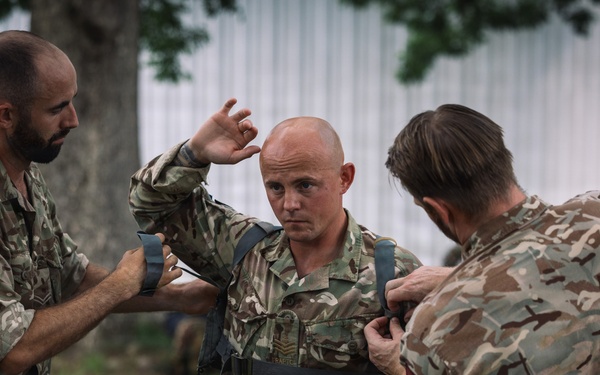
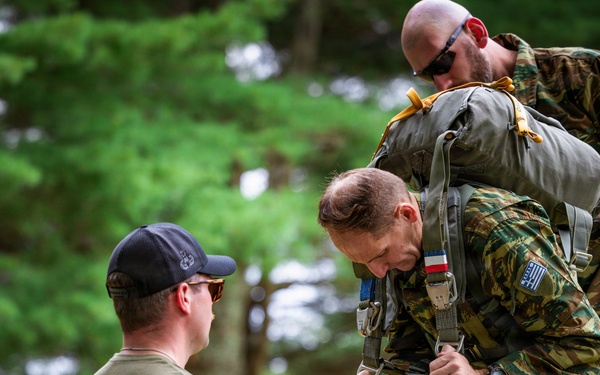
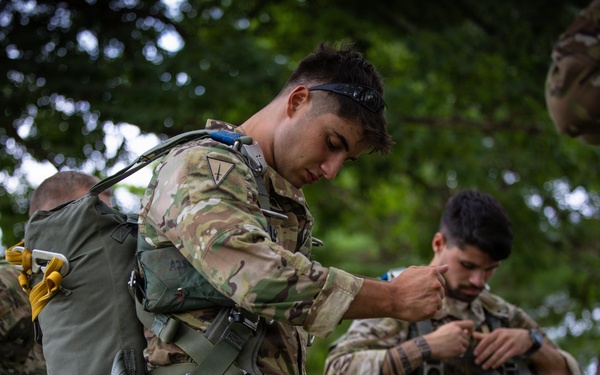
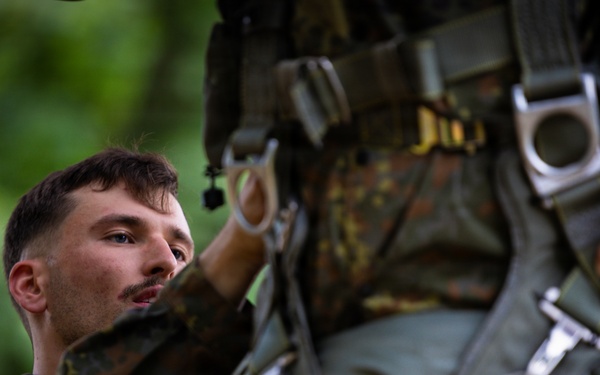
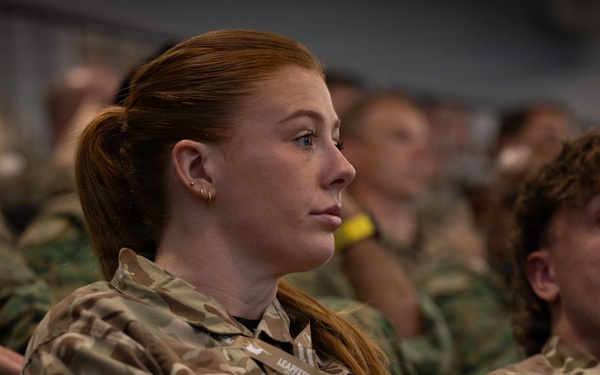
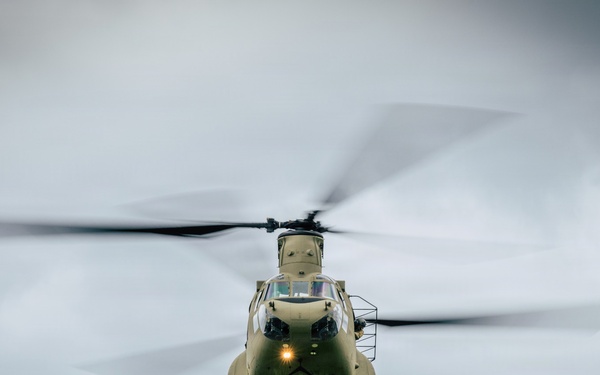
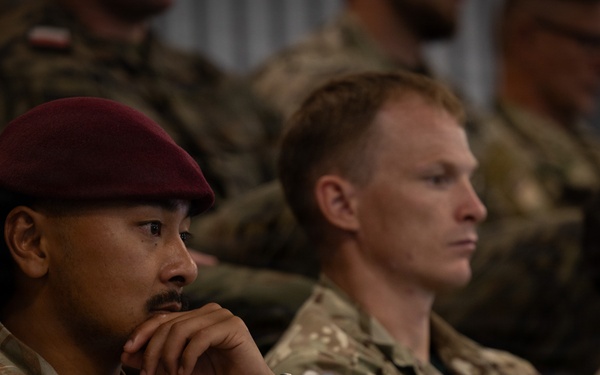
LEAPFEST 2026 (PRE-JUMP TRAINING)
Joint Force Headquarters - Rhode Island National Guard
Visit images Page
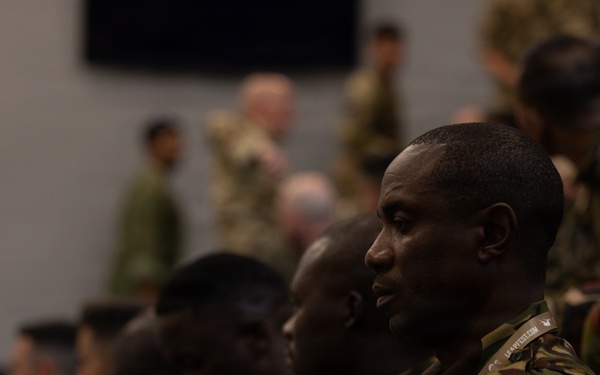
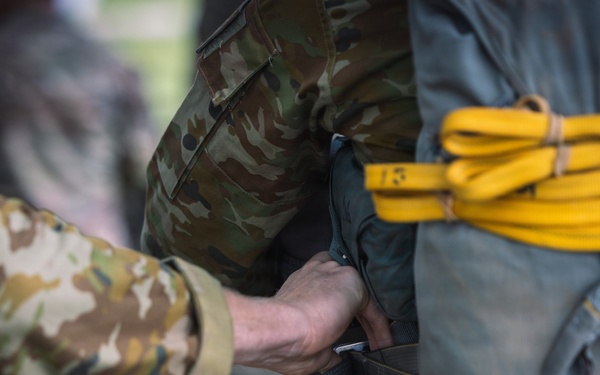
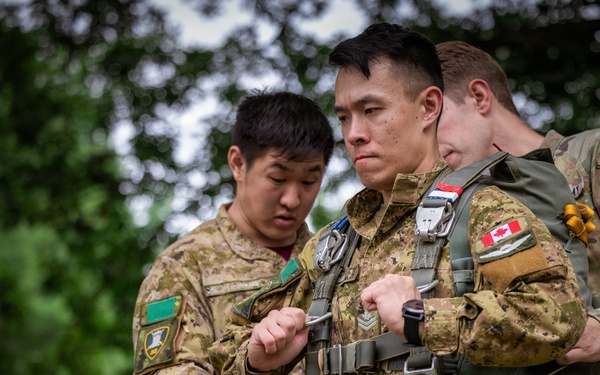
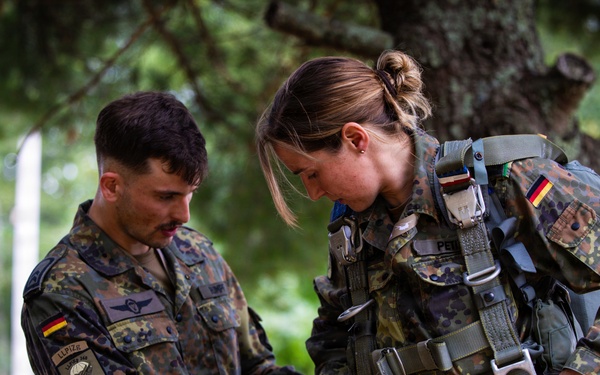
LEAPFEST 2026 (PRE-JUMP TRAINING)
Joint Force Headquarters - Rhode Island National Guard
Visit images Page
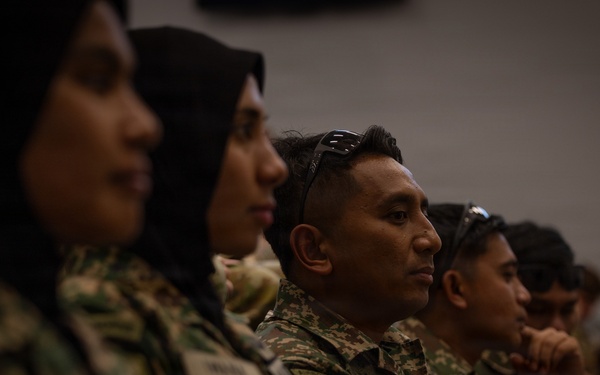
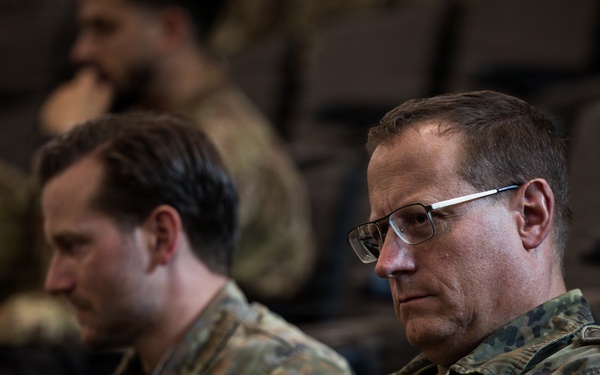
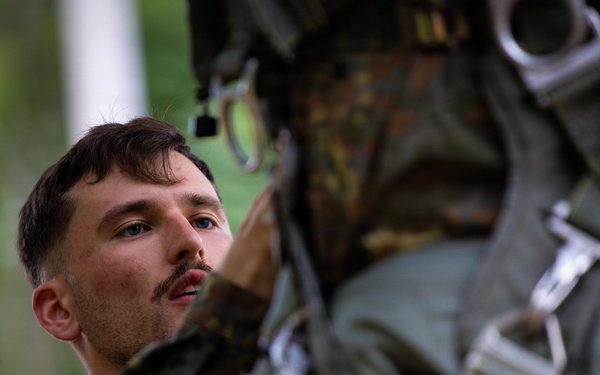
LEAPFEST 2026 (PRE-JUMP TRAINING)
Joint Force Headquarters - Rhode Island National Guard
Visit images Page
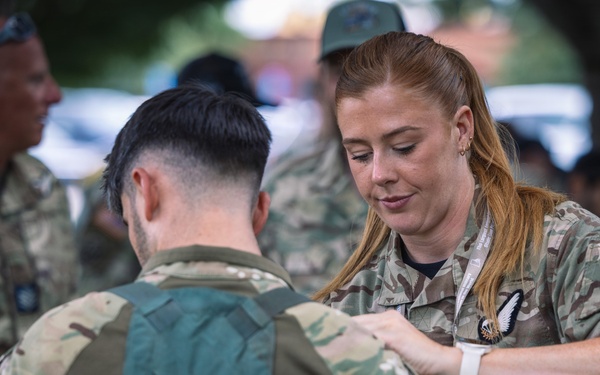
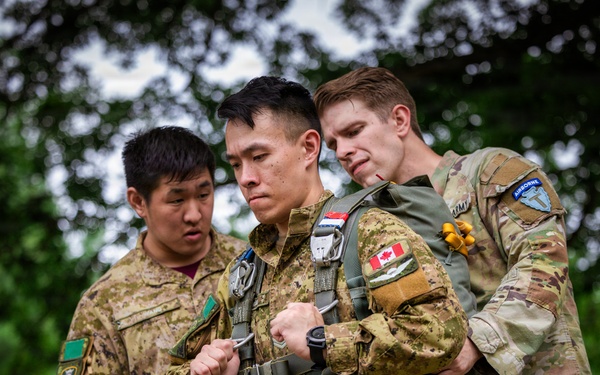
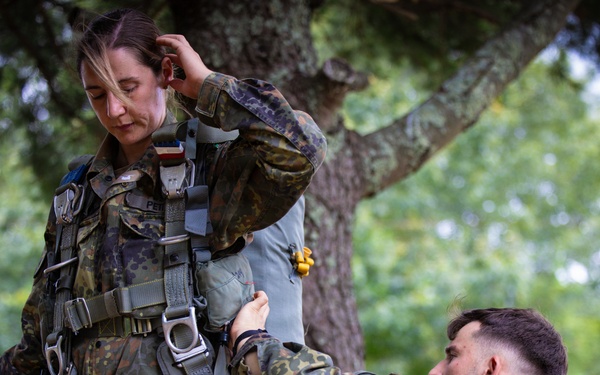
LEAPFEST 2026 (PRE-JUMP TRAINING)
Joint Force Headquarters - Rhode Island National Guard
Visit images Page
LEAPFEST 2026 (PRE-JUMP TRAINING)
Joint Force Headquarters - Rhode Island National Guard
Visit images Page
LEAPFEST 2026 (PRE-JUMP TRAINING)
Joint Force Headquarters - Rhode Island National Guard
Visit images Page
LEAPFEST 2026 (PRE-JUMP TRAINING)
Joint Force Headquarters - Rhode Island National Guard
Visit images Page

LEAPFEST 2026 (PRE-JUMP TRAINING)
Joint Force Headquarters - Rhode Island National Guard
Visit images Page
LEAPFEST 2026 (PRE-JUMP TRAINING)
Joint Force Headquarters - Rhode Island National Guard
Visit images Page
LEAPFEST 2026 (PRE-JUMP TRAINING)
Joint Force Headquarters - Rhode Island National Guard
Visit images Page
LEAPFEST 2026 (PRE-JUMP TRAINING)
Joint Force Headquarters - Rhode Island National Guard
Visit images Page
LEAPFEST 2026 (PRE-JUMP TRAINING)
Joint Force Headquarters - Rhode Island National Guard
Visit images Page
LEAPFEST 2026 (PRE-JUMP TRAINING)
Joint Force Headquarters - Rhode Island National Guard
Visit images Page
LEAPFEST 2026 (PRE-JUMP TRAINING)
Joint Force Headquarters - Rhode Island National Guard
Visit images Page
LEAPFEST 2026 (PRE-JUMP TRAINING)
Joint Force Headquarters - Rhode Island National Guard
Visit images Page
LEAPFEST 2026 (PRE-JUMP TRAINING)
Joint Force Headquarters - Rhode Island National Guard
Visit images Page
LEAPFEST 2026 (PRE-JUMP TRAINING)
Joint Force Headquarters - Rhode Island National Guard
Visit images Page
LEAPFEST 2026 (PRE-JUMP TRAINING)
Joint Force Headquarters - Rhode Island National Guard
Visit images Page
LEAPFEST 2026 (PRE-JUMP TRAINING)
Joint Force Headquarters - Rhode Island National Guard
Visit images Page