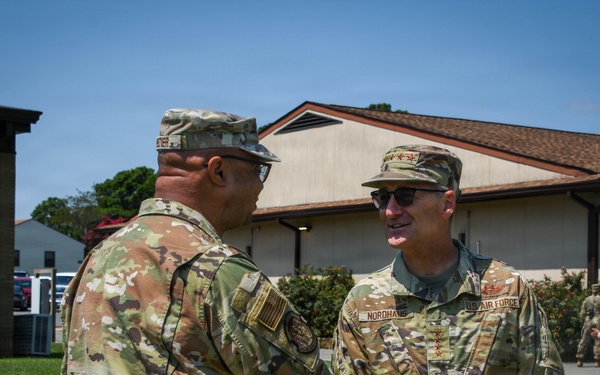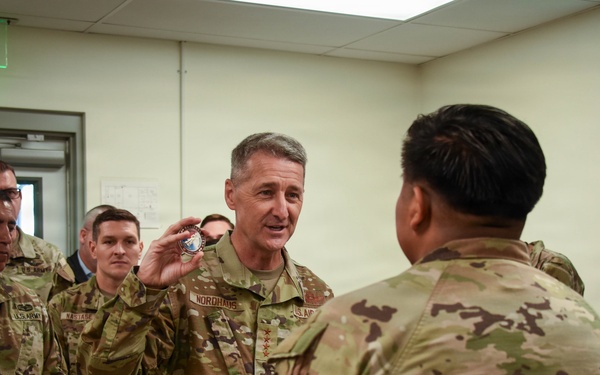
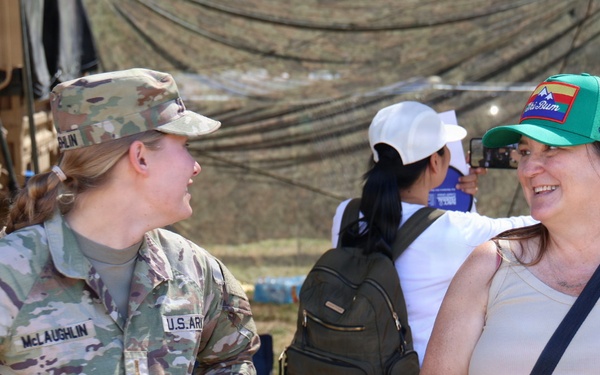
SeaFair 2026
7th Infantry Division (Multi-Domain Command - Pacific)
Visit images Page
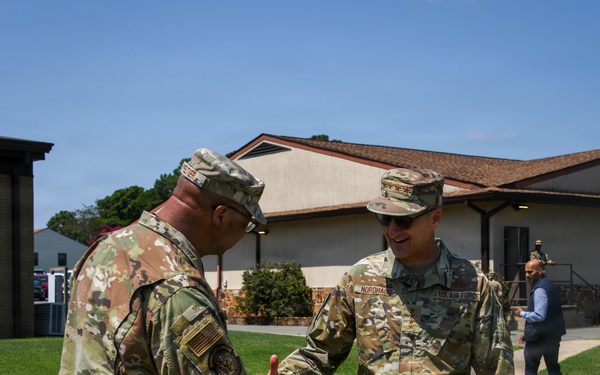
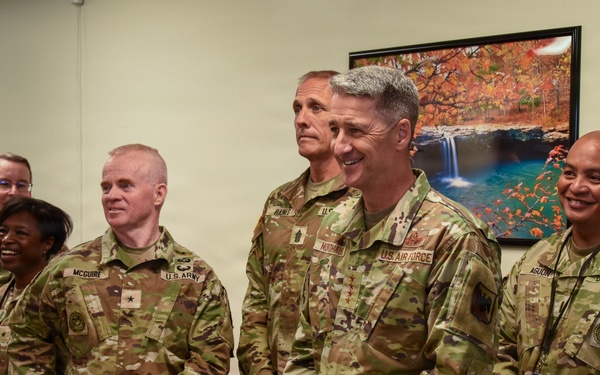
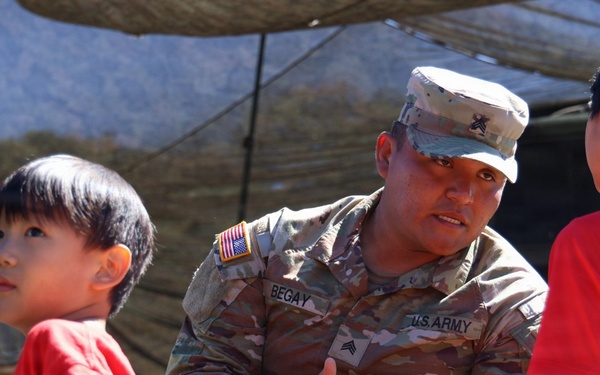
SeaFair 2026
7th Infantry Division (Multi-Domain Command - Pacific)
Visit images Page
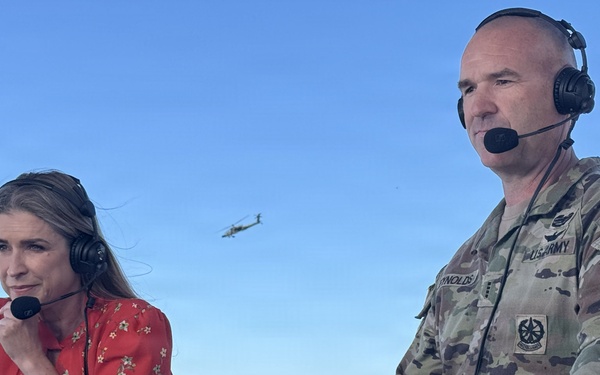
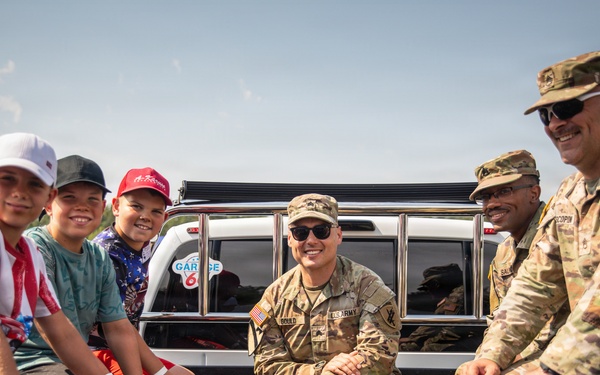
SeaFair 2026
7th Infantry Division (Multi-Domain Command - Pacific)
Visit images Page
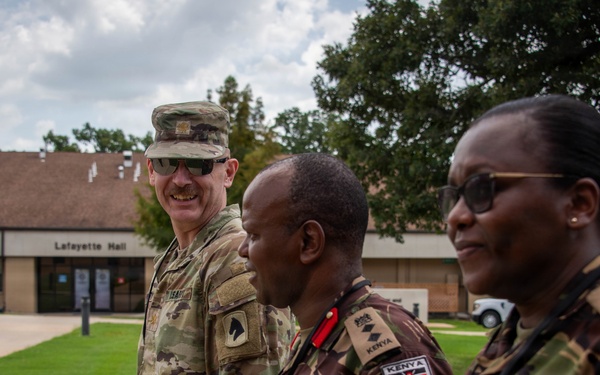
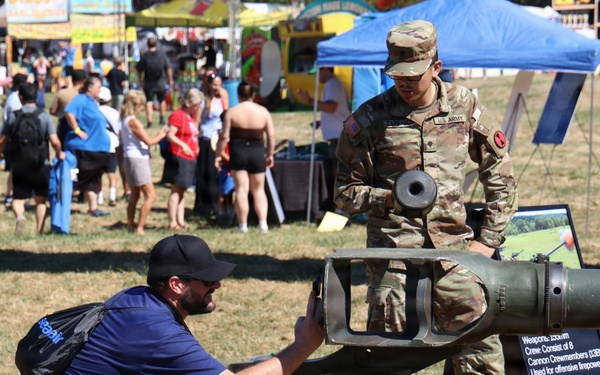
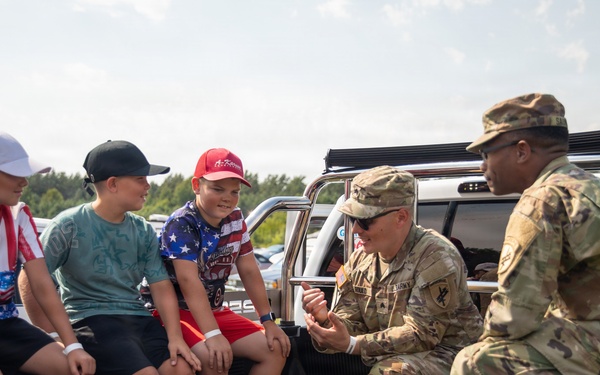
SeaFair 2026
7th Infantry Division (Multi-Domain Command - Pacific)
Visit images Page

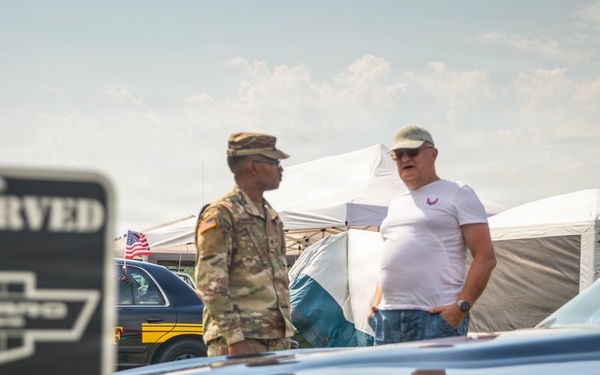
Civil Affairs Soldiers attend Lithuania's largest American car show
U.S. Army V Corps
Visit images Page
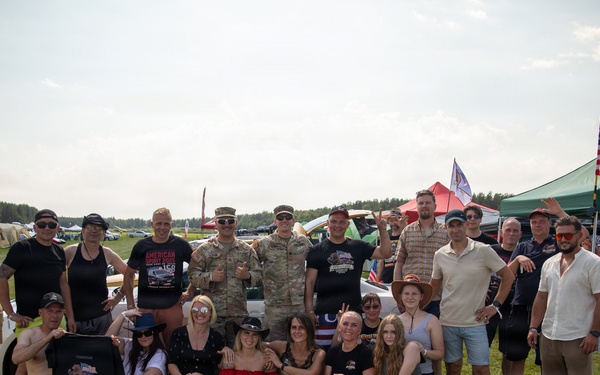
Civil Affairs Soldiers attend Lithuania's largest American car show
U.S. Army V Corps
Visit images Page
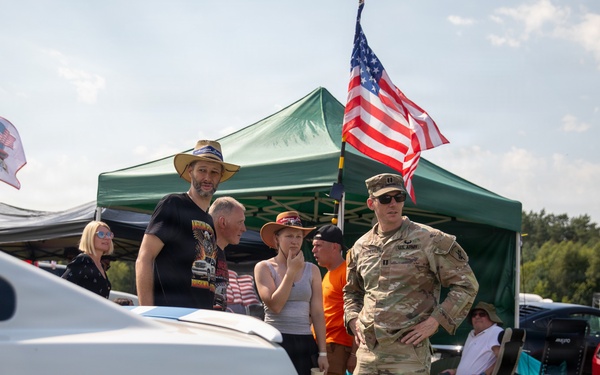
Civil Affairs Soldiers attend Lithuania's largest American car show
U.S. Army V Corps
Visit images Page
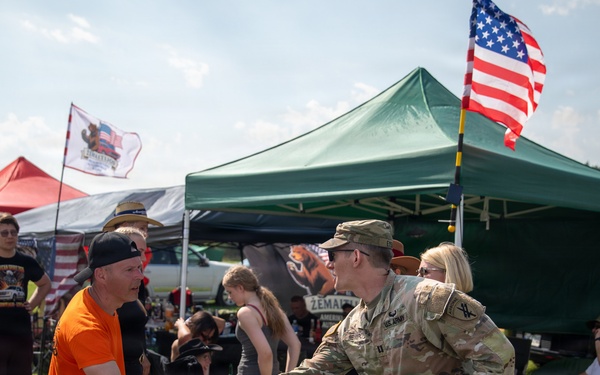
Civil Affairs Soldiers attend Lithuania's largest American car show
U.S. Army V Corps
Visit images Page
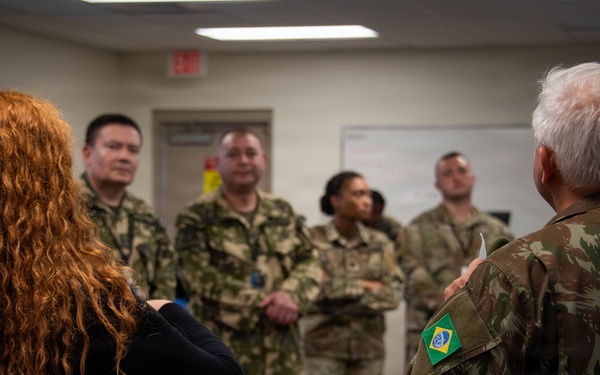
Civil Affairs Soldiers attend Lithuania's largest American car show
U.S. Army V Corps
Visit images Page
Civil Affairs Soldiers attend Lithuania's largest American car show
U.S. Army V Corps
Visit images Page
Civil Affairs Soldiers attend Lithuania's largest American car show
U.S. Army V Corps
Visit images Page
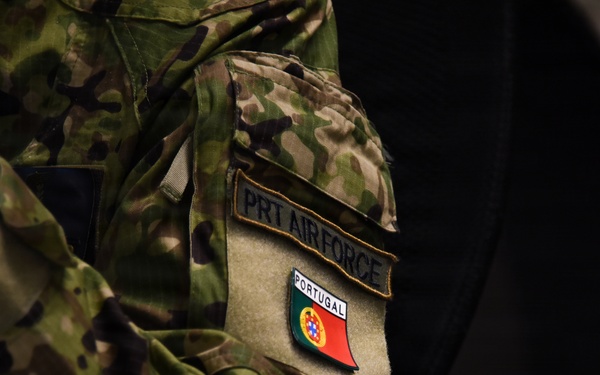
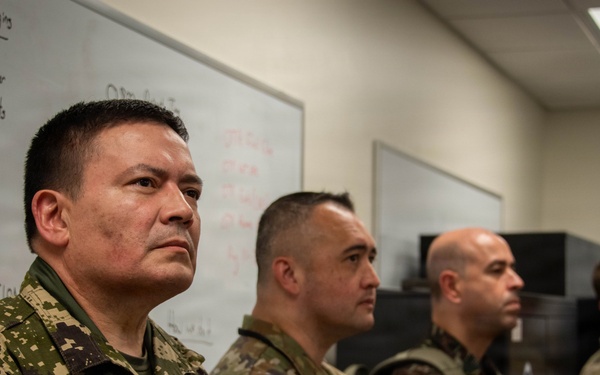
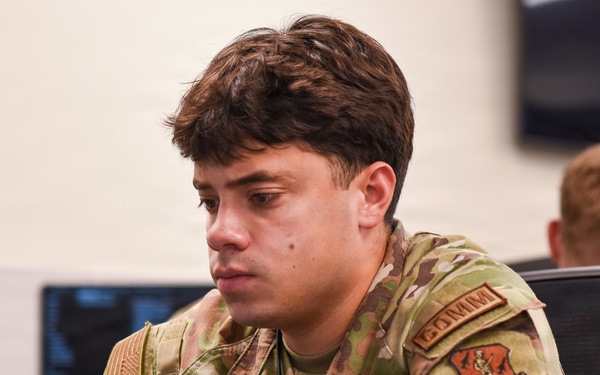
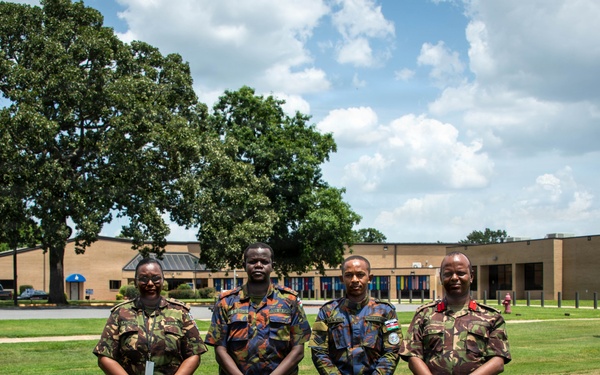
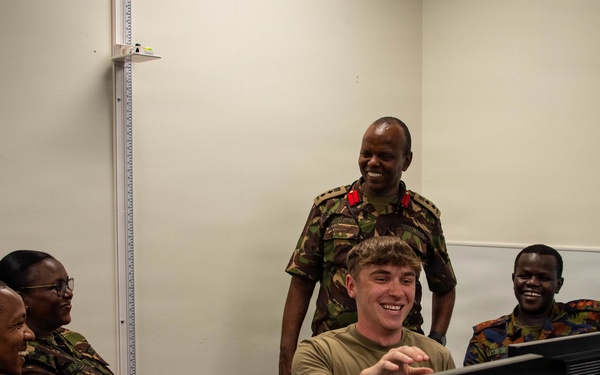
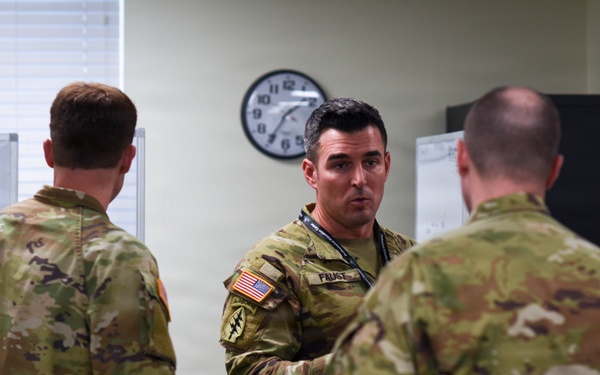
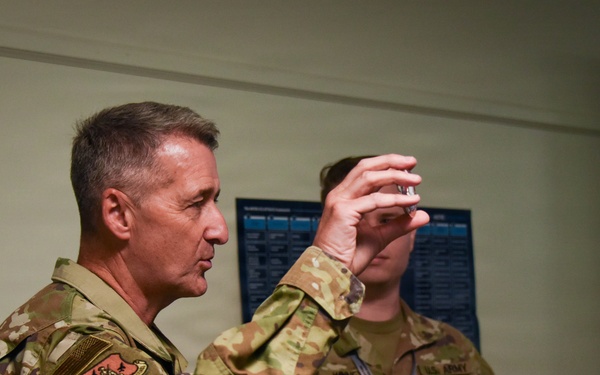
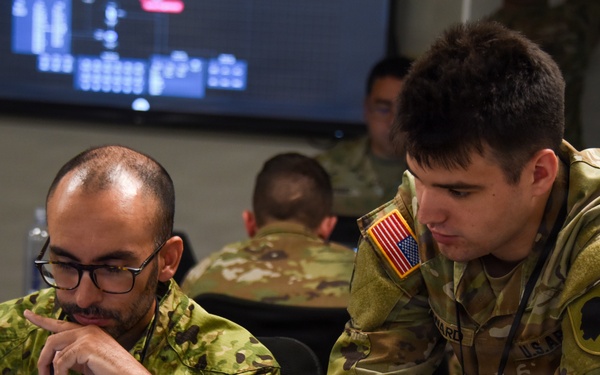
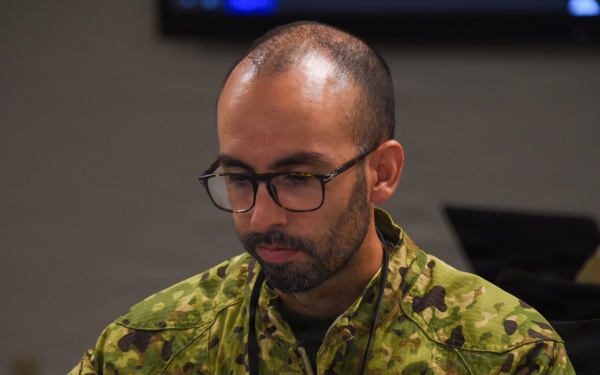
ILNG Collaborates with New State Partners during Cyber Shield 2026
183rd Wing
Visit images Page
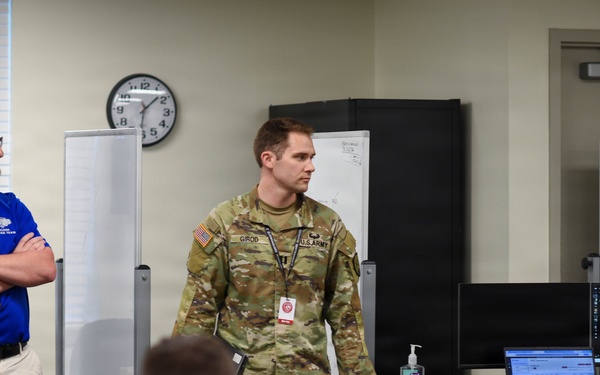
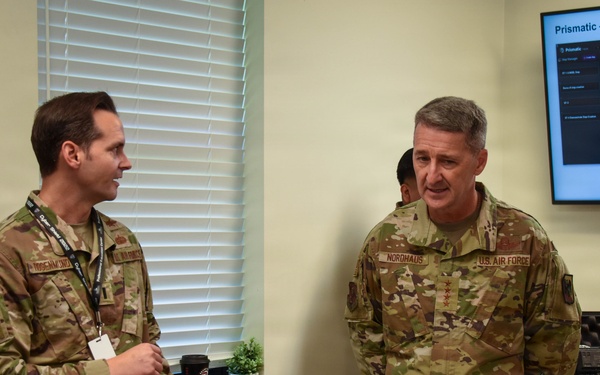
ILNG Collaborates with New State Partners during Cyber Shield 2026
183rd Wing
Visit images Page
ILNG Collaborates with New State Partners during Cyber Shield 2026
183rd Wing
Visit images Page