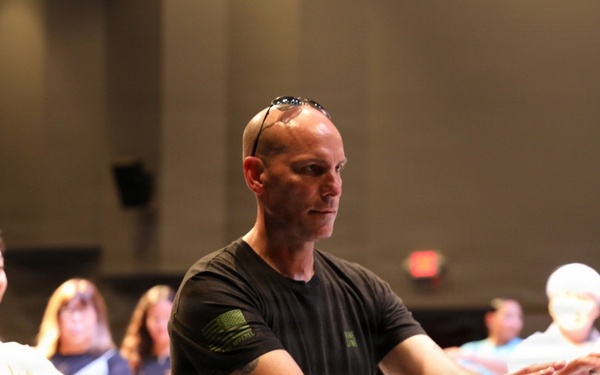
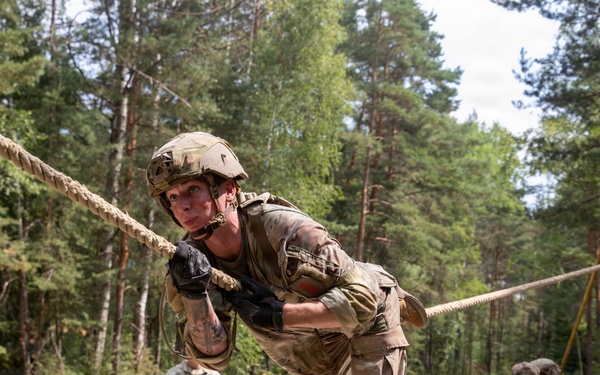
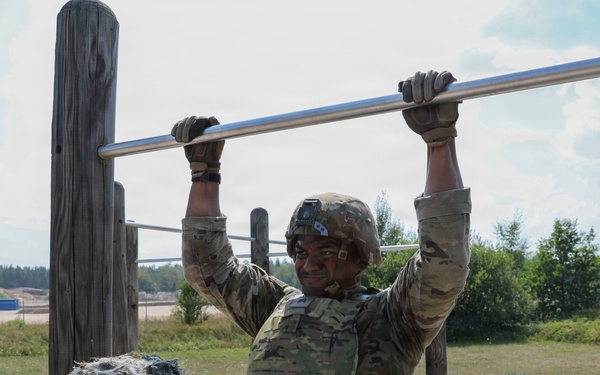
USAREUR-AF Best Squad Competition: Soldiers tackle obstacle course in Germany
U.S. Army V Corps
Visit images Page
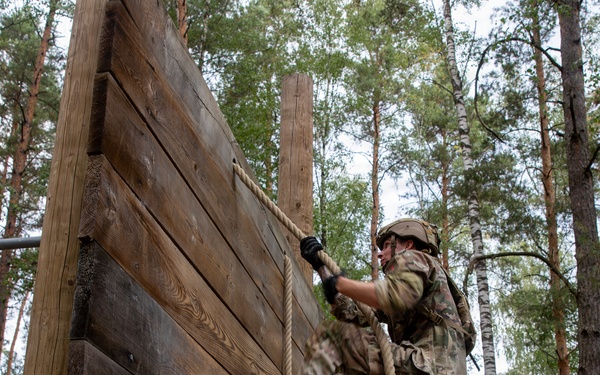
USAREUR-AF Best Squad Competition: Soldiers tackle obstacle course in Germany
U.S. Army V Corps
Visit images Page
USAREUR-AF Best Squad Competition: Soldiers tackle obstacle course in Germany
U.S. Army V Corps
Visit images Page
USAREUR-AF Best Squad Competition: Soldiers tackle obstacle course in Germany
U.S. Army V Corps
Visit images Page
USAREUR-AF Best Squad Competition: Soldiers tackle obstacle course in Germany
U.S. Army V Corps
Visit images Page
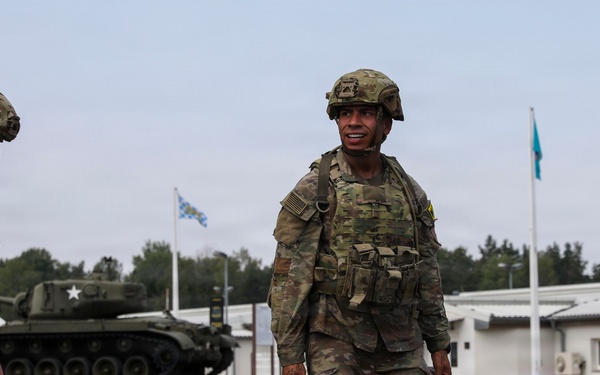
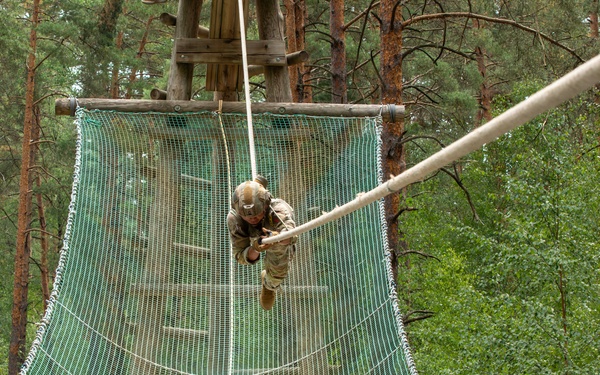
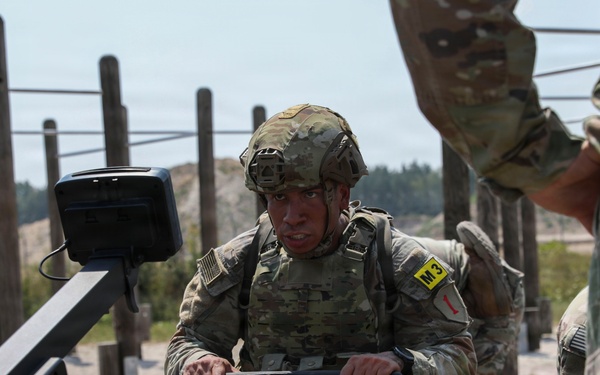
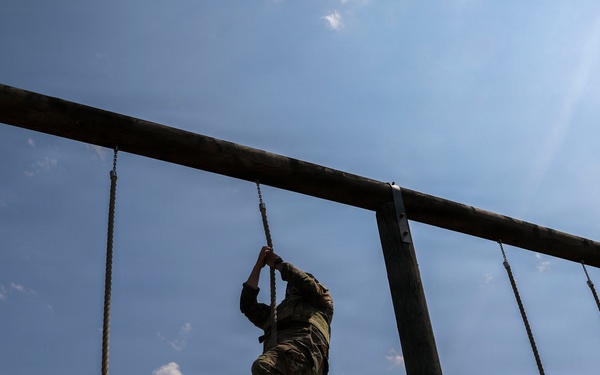
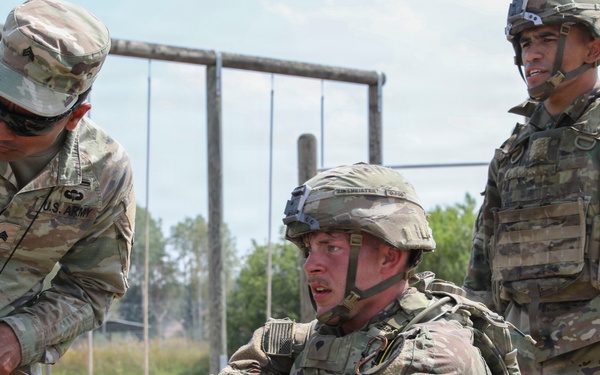
USAREUR-AF Best Squad Competition Iron Squad Event
U.S. Army V Corps
Visit images Page

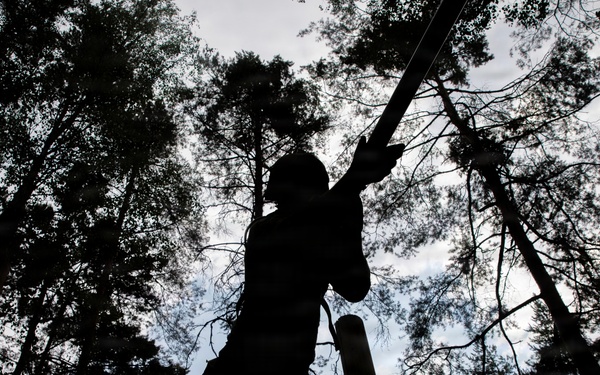
USAREUR-AF Best Squad Competition Iron Squad Event
U.S. Army V Corps
Visit images Page
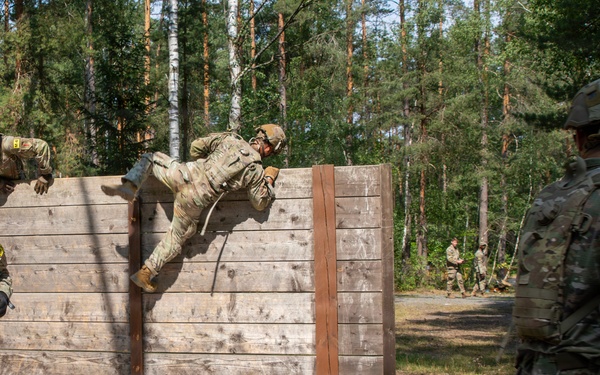
USAREUR-AF Best Squad Competition Iron Squad Event
U.S. Army V Corps
Visit images Page
USAREUR-AF Best Squad Competition Iron Squad Event
U.S. Army V Corps
Visit images Page
USAREUR-AF Best Squad Competition Iron Squad Event
U.S. Army V Corps
Visit images Page
USAREUR-AF Best Squad Competition Iron Squad Event
U.S. Army V Corps
Visit images Page
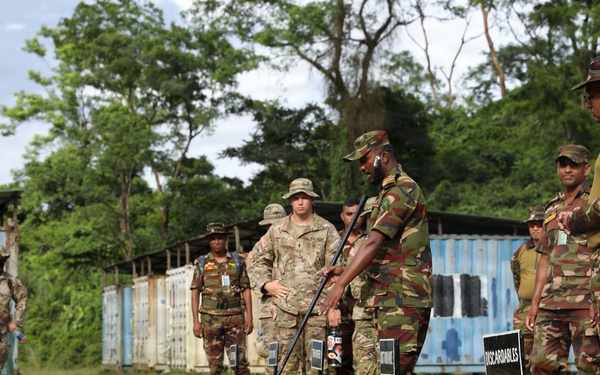
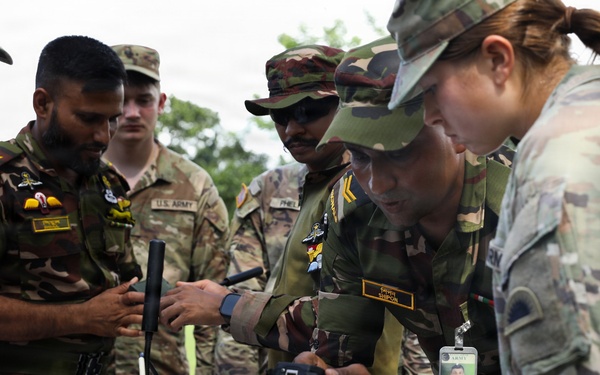
U.S. Army Pacific Soldiers and Bangladesh Army Soldiers Conduct Counterterrorism Training
340th Public Affairs Detachment
Visit images Page
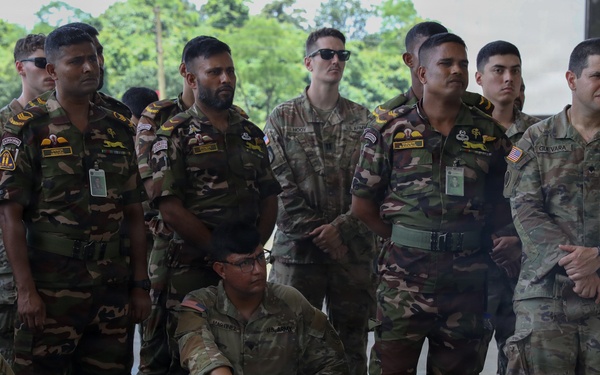
U.S. Army Pacific Soldiers and Bangladesh Army Soldiers Conduct Counterterrorism Training
340th Public Affairs Detachment
Visit images Page
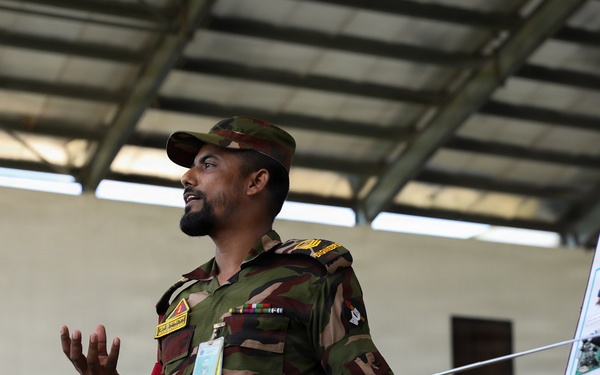
U.S. Army Pacific Soldiers and Bangladesh Army Soldiers Conduct Counterterrorism Training
340th Public Affairs Detachment
Visit images Page
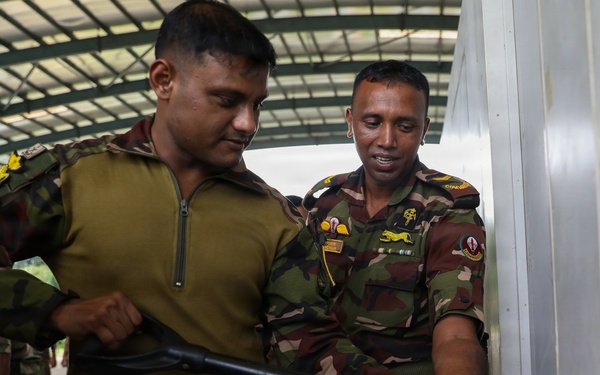
U.S. Army Pacific Soldiers and Bangladesh Army Soldiers Conduct Counterterrorism Training
340th Public Affairs Detachment
Visit images Page
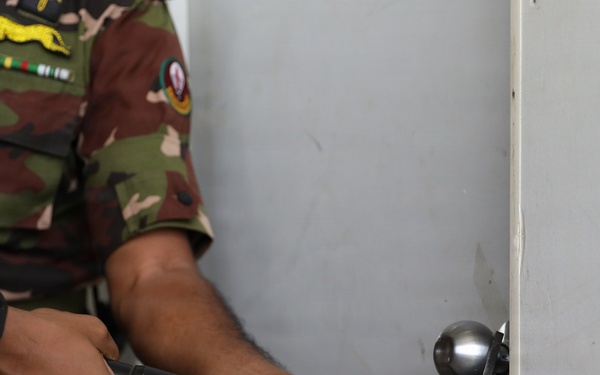
.S. Army Pacific Soldiers and Bangladesh Army Soldiers Conduct Counterterrorism Training
340th Public Affairs Detachment
Visit images Page
U.S. Army Pacific Soldiers and Bangladesh Army Soldiers Conduct Counterterrorism Training
340th Public Affairs Detachment
Visit images Page