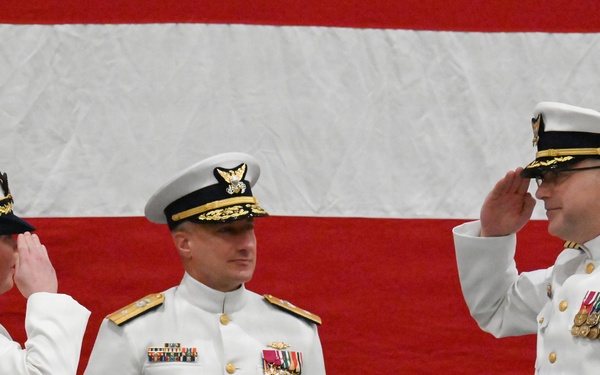
Coast Guard Air Station Savannah holds change-of-command ceremony
U.S. Coast Guard Southeast
Visit images Page
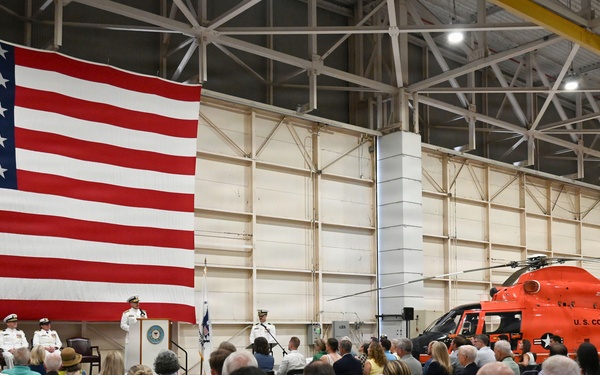
Coast Guard Air Station Savannah holds change-of-command ceremony
U.S. Coast Guard Southeast
Visit images Page
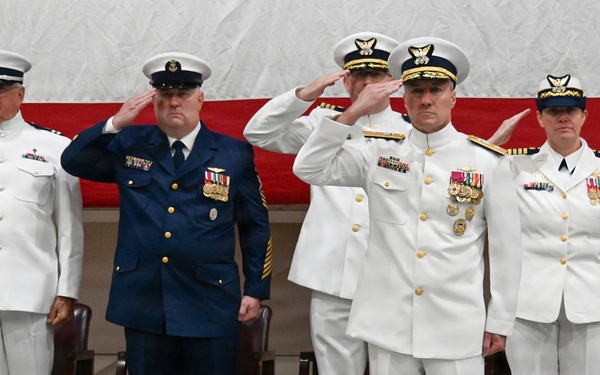
Coast Guard Air Station Savannah holds change-of-command ceremony
U.S. Coast Guard Southeast
Visit images Page

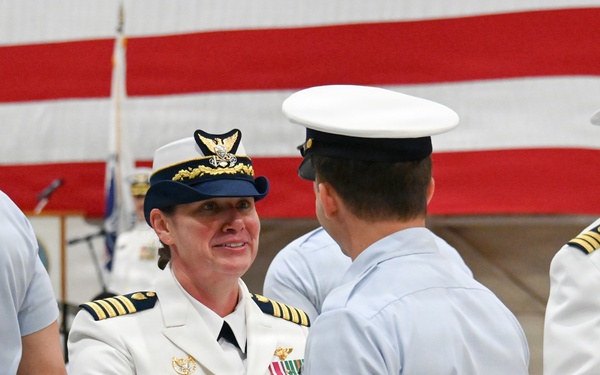
Coast Guard Air Station Savannah holds change-of-command ceremony
U.S. Coast Guard Southeast
Visit images Page
Coast Guard Air Station Savannah holds change-of-command ceremony
U.S. Coast Guard Southeast
Visit images Page

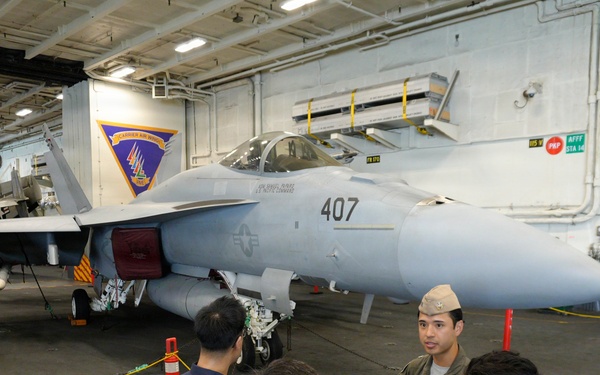
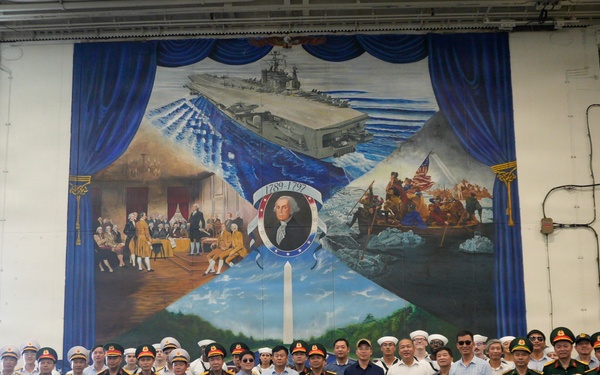
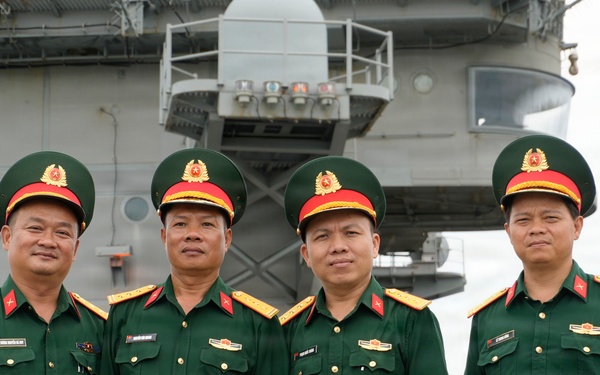
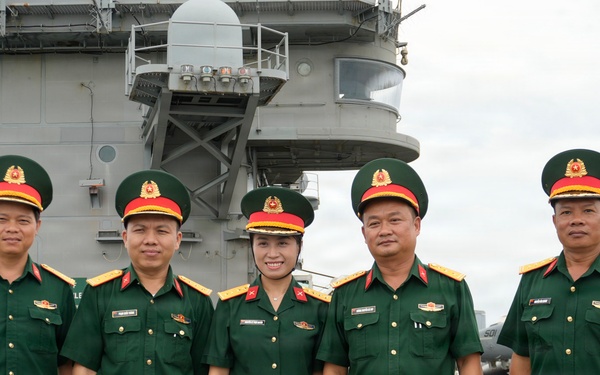
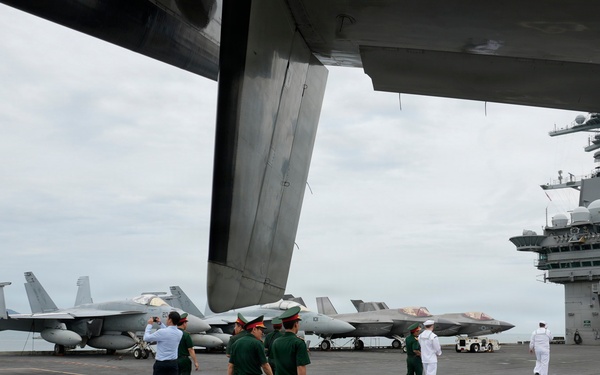
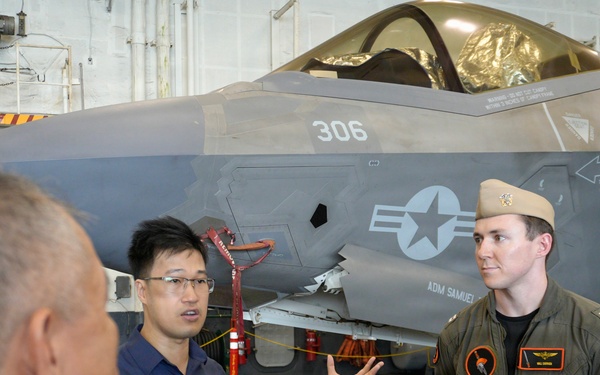
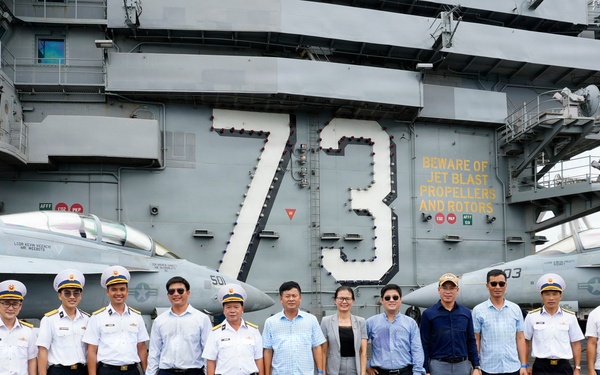
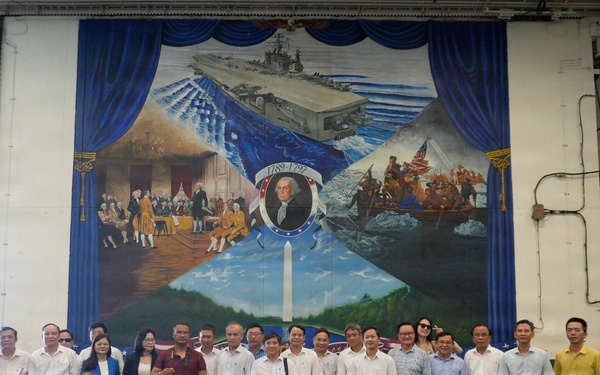
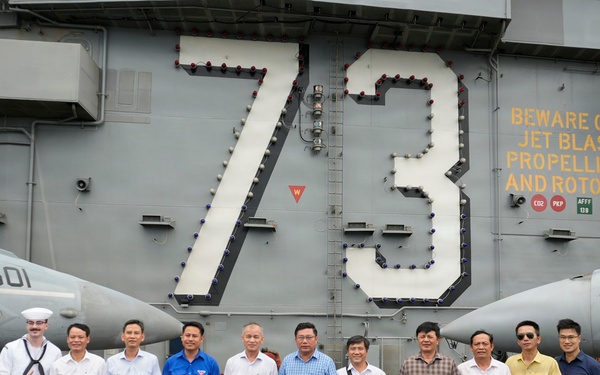
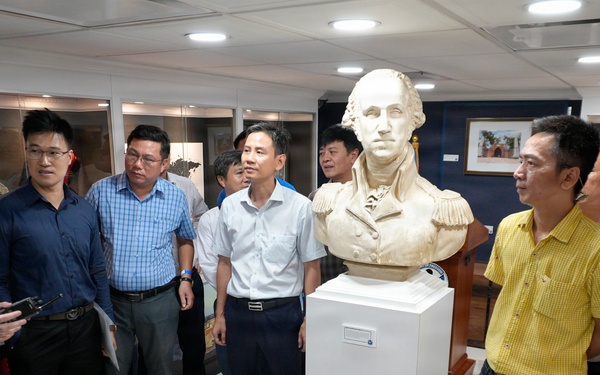
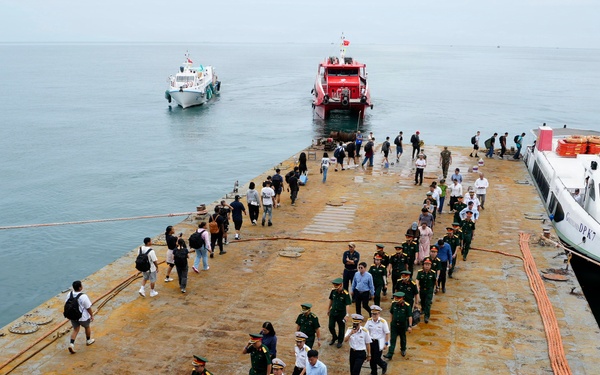
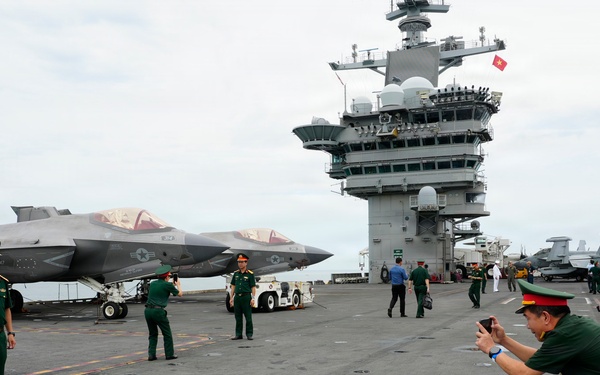
George Washington Hosts Tours in Da Nang, Vietnam
USS GEORGE WASHINGTON (CVN 73)
Visit images Page
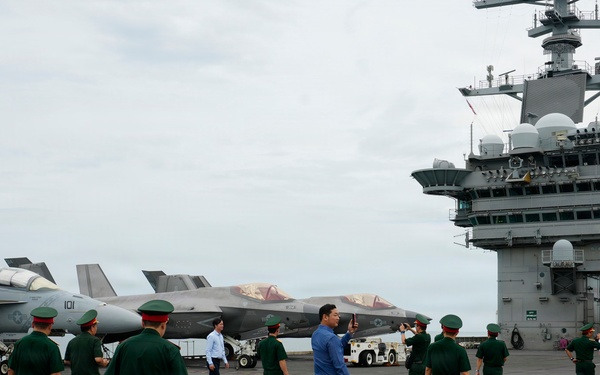
George Washington Hosts Tours in Da Nang, Vietnam
USS GEORGE WASHINGTON (CVN 73)
Visit images Page
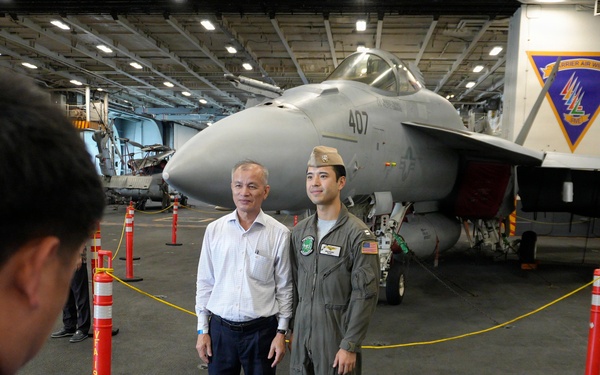
George Washington Hosts Tours in Da Nang, Vietnam
USS GEORGE WASHINGTON (CVN 73)
Visit images Page
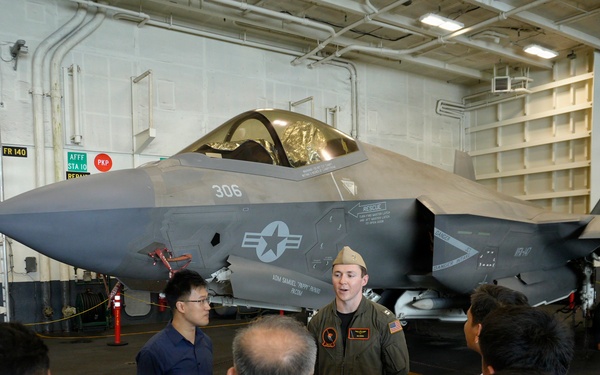
George Washington Hosts Tours in Da Nang, Vietnam
USS GEORGE WASHINGTON (CVN 73)
Visit images Page
George Washington Hosts Tours in Da Nang, Vietnam
USS GEORGE WASHINGTON (CVN 73)
Visit images Page
George Washington Hosts Tours in Da Nang, Vietnam
USS GEORGE WASHINGTON (CVN 73)
Visit images Page
George Washington Hosts Tours in Da Nang, Vietnam
USS GEORGE WASHINGTON (CVN 73)
Visit images Page
George Washington Hosts Tours in Da Nang, Vietnam
USS GEORGE WASHINGTON (CVN 73)
Visit images Page
George Washington Hosts Tours in Da Nang, Vietnam
USS GEORGE WASHINGTON (CVN 73)
Visit images Page
George Washington Hosts Tours in Da Nang, Vietnam
USS GEORGE WASHINGTON (CVN 73)
Visit images Page
George Washington Hosts Tours in Da Nang, Vietnam
USS GEORGE WASHINGTON (CVN 73)
Visit images Page
George Washington Hosts Tours in Da Nang, Vietnam
USS GEORGE WASHINGTON (CVN 73)
Visit images Page
George Washington Hosts Tours in Da Nang, Vietnam
USS GEORGE WASHINGTON (CVN 73)
Visit images Page
George Washington Hosts Tours in Da Nang, Vietnam
USS GEORGE WASHINGTON (CVN 73)
Visit images Page
George Washington Hosts Tours in Da Nang, Vietnam
USS GEORGE WASHINGTON (CVN 73)
Visit images Page
George Washington Hosts Tours in Da Nang, Vietnam
USS GEORGE WASHINGTON (CVN 73)
Visit images Page

George Washington Hosts Tours in Da Nang, Vietnam
USS GEORGE WASHINGTON (CVN 73)
Visit images Page
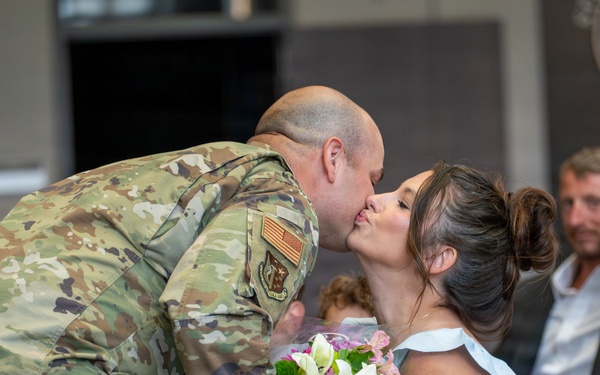
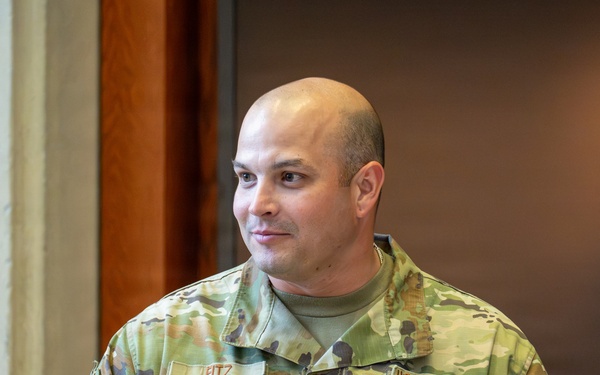
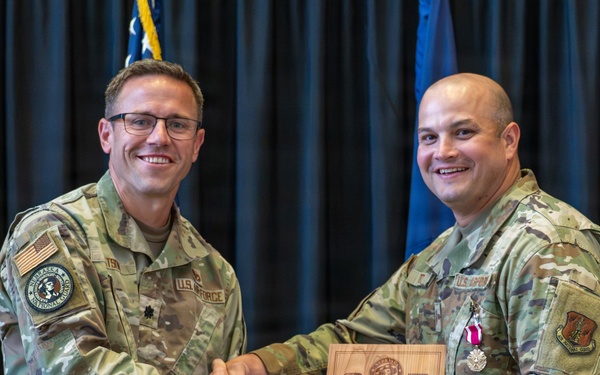
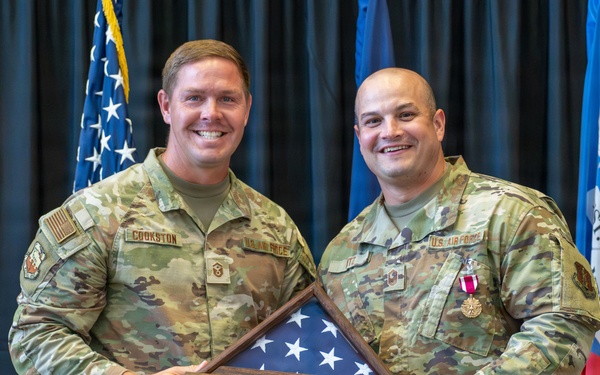
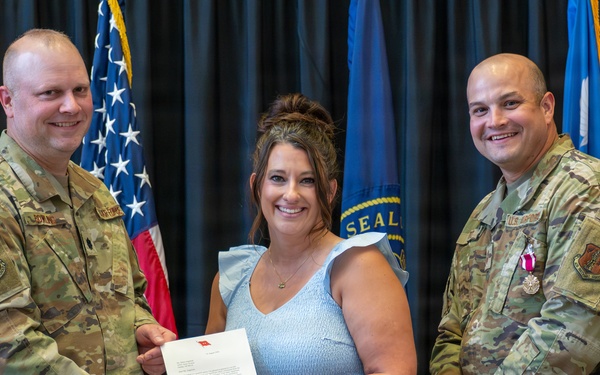
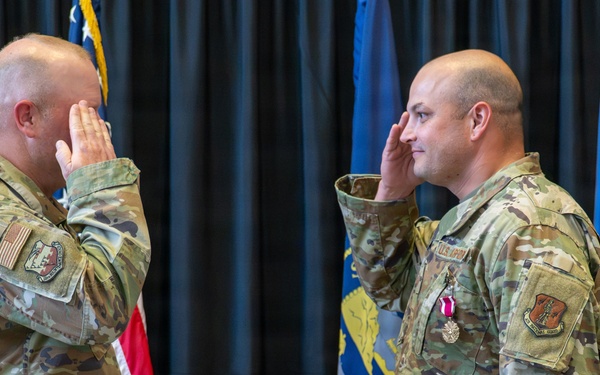
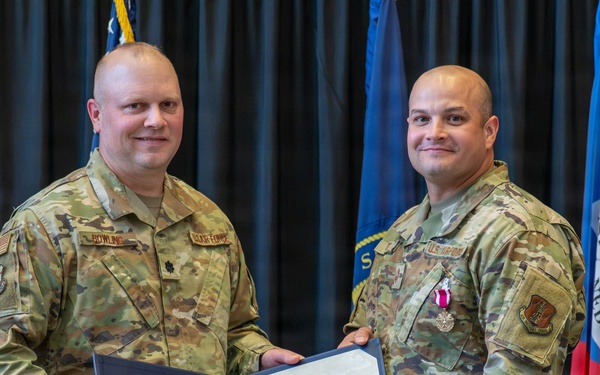
Senior Master Sgt. Ryan Fitz retires from Nebraska Air National Guard
Joint Force Headquarters - Nebraska National Guard
Visit images Page
Senior Master Sgt. Ryan Fitz retires from Nebraska Air National Guard
Joint Force Headquarters - Nebraska National Guard
Visit images Page

Senior Master Sgt. Ryan Fitz retires from Nebraska Air National Guard
Joint Force Headquarters - Nebraska National Guard
Visit images Page
Senior Master Sgt. Ryan Fitz retires from Nebraska Air National Guard
Joint Force Headquarters - Nebraska National Guard
Visit images Page
Senior Master Sgt. Ryan Fitz retires from Nebraska Air National Guard
Joint Force Headquarters - Nebraska National Guard
Visit images Page
Senior Master Sgt. Ryan Fitz retires from Nebraska Air National Guard
Joint Force Headquarters - Nebraska National Guard
Visit images Page
Senior Master Sgt. Ryan Fitz retires from Nebraska Air National Guard
Joint Force Headquarters - Nebraska National Guard
Visit images Page
Senior Master Sgt. Ryan Fitz retires from Nebraska Air National Guard
Joint Force Headquarters - Nebraska National Guard
Visit images Page